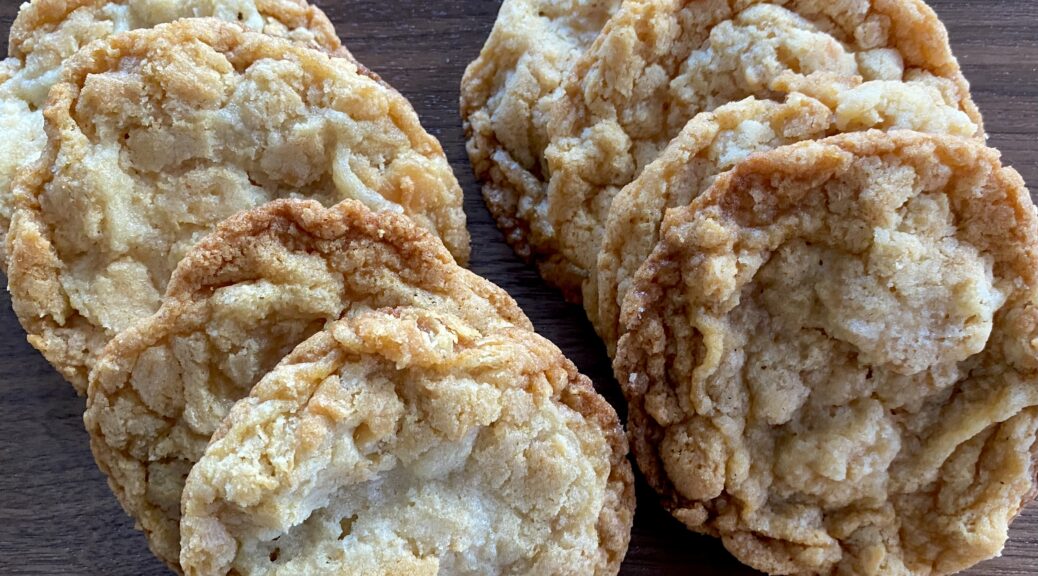
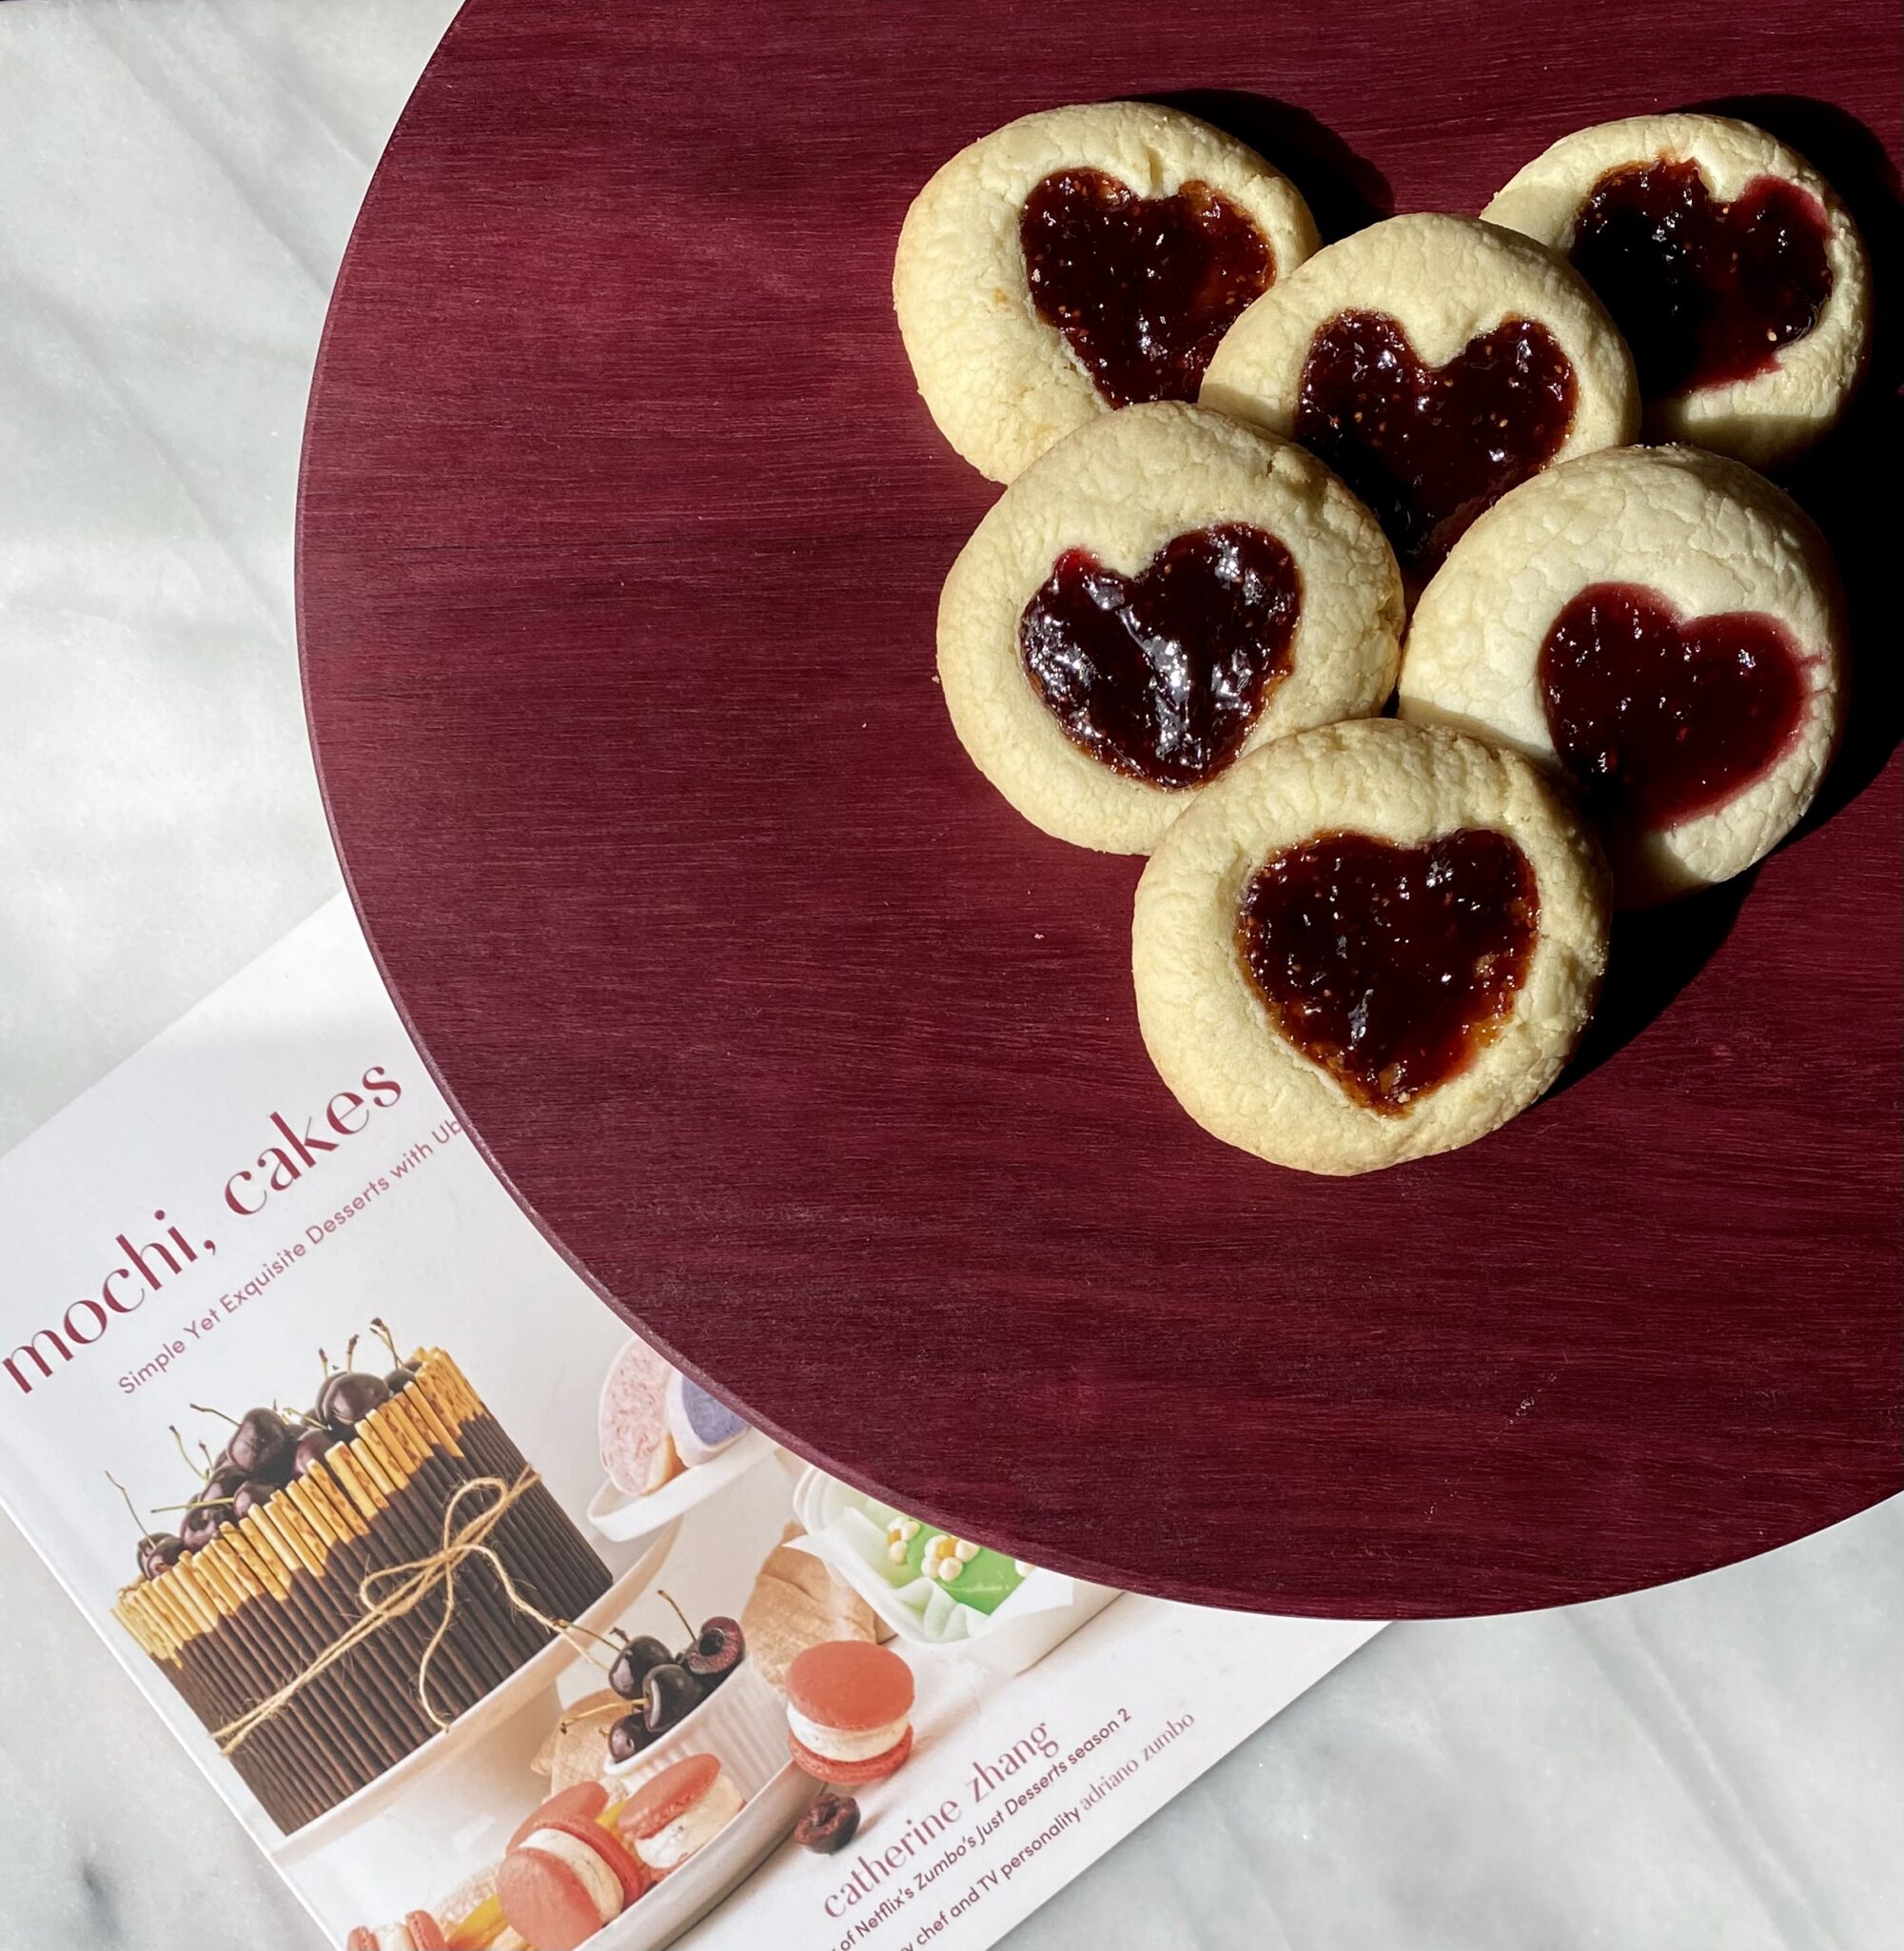
Heartfelt Thumbprint Cookies
Just in time for Valentine’s Day…2024!
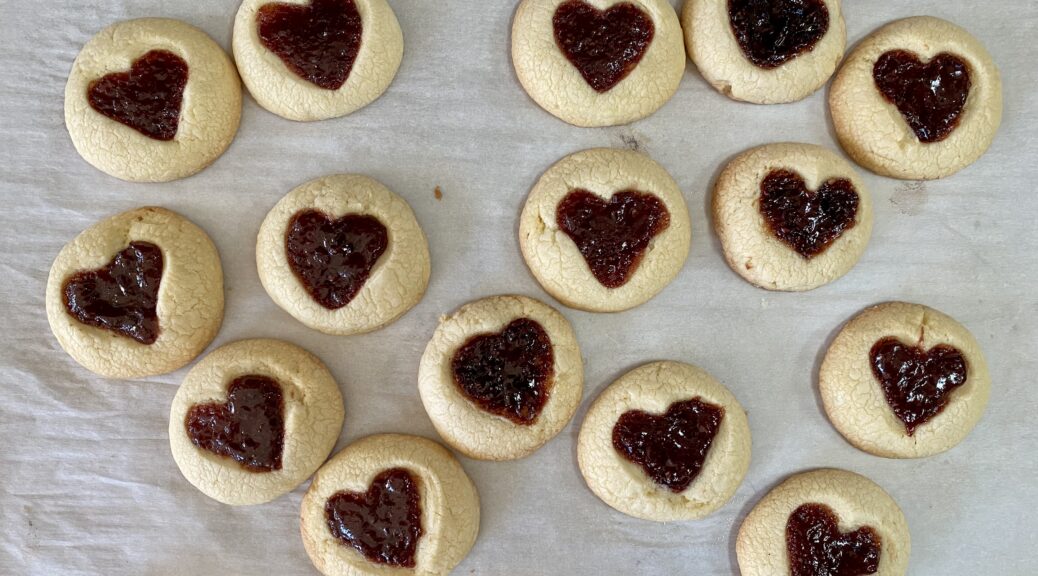
Thumbprint cookies with a heart-shaped center. Do I hear a collective “Awwwww, how cute”? Yes! I came across these delectable morsels on a fab blog I follow by Catherine Zhang, Desserts with a Hint of Asian Inspiration. After watching her on Netflix’s Zumbo, an Australian Baking Contest/Show, I went hunting for her blog. Cute as a button (I can say that I’m a MOM), she looks like a teenybopper but can razzle-dazzle us with her mad “baking skillz” on both her blog and her cookbook, “Mochi, Cakes and Bakes”. Her skills are beyond her years. Her book is available at all my favorite places.
Thumbs Up Thumbprints
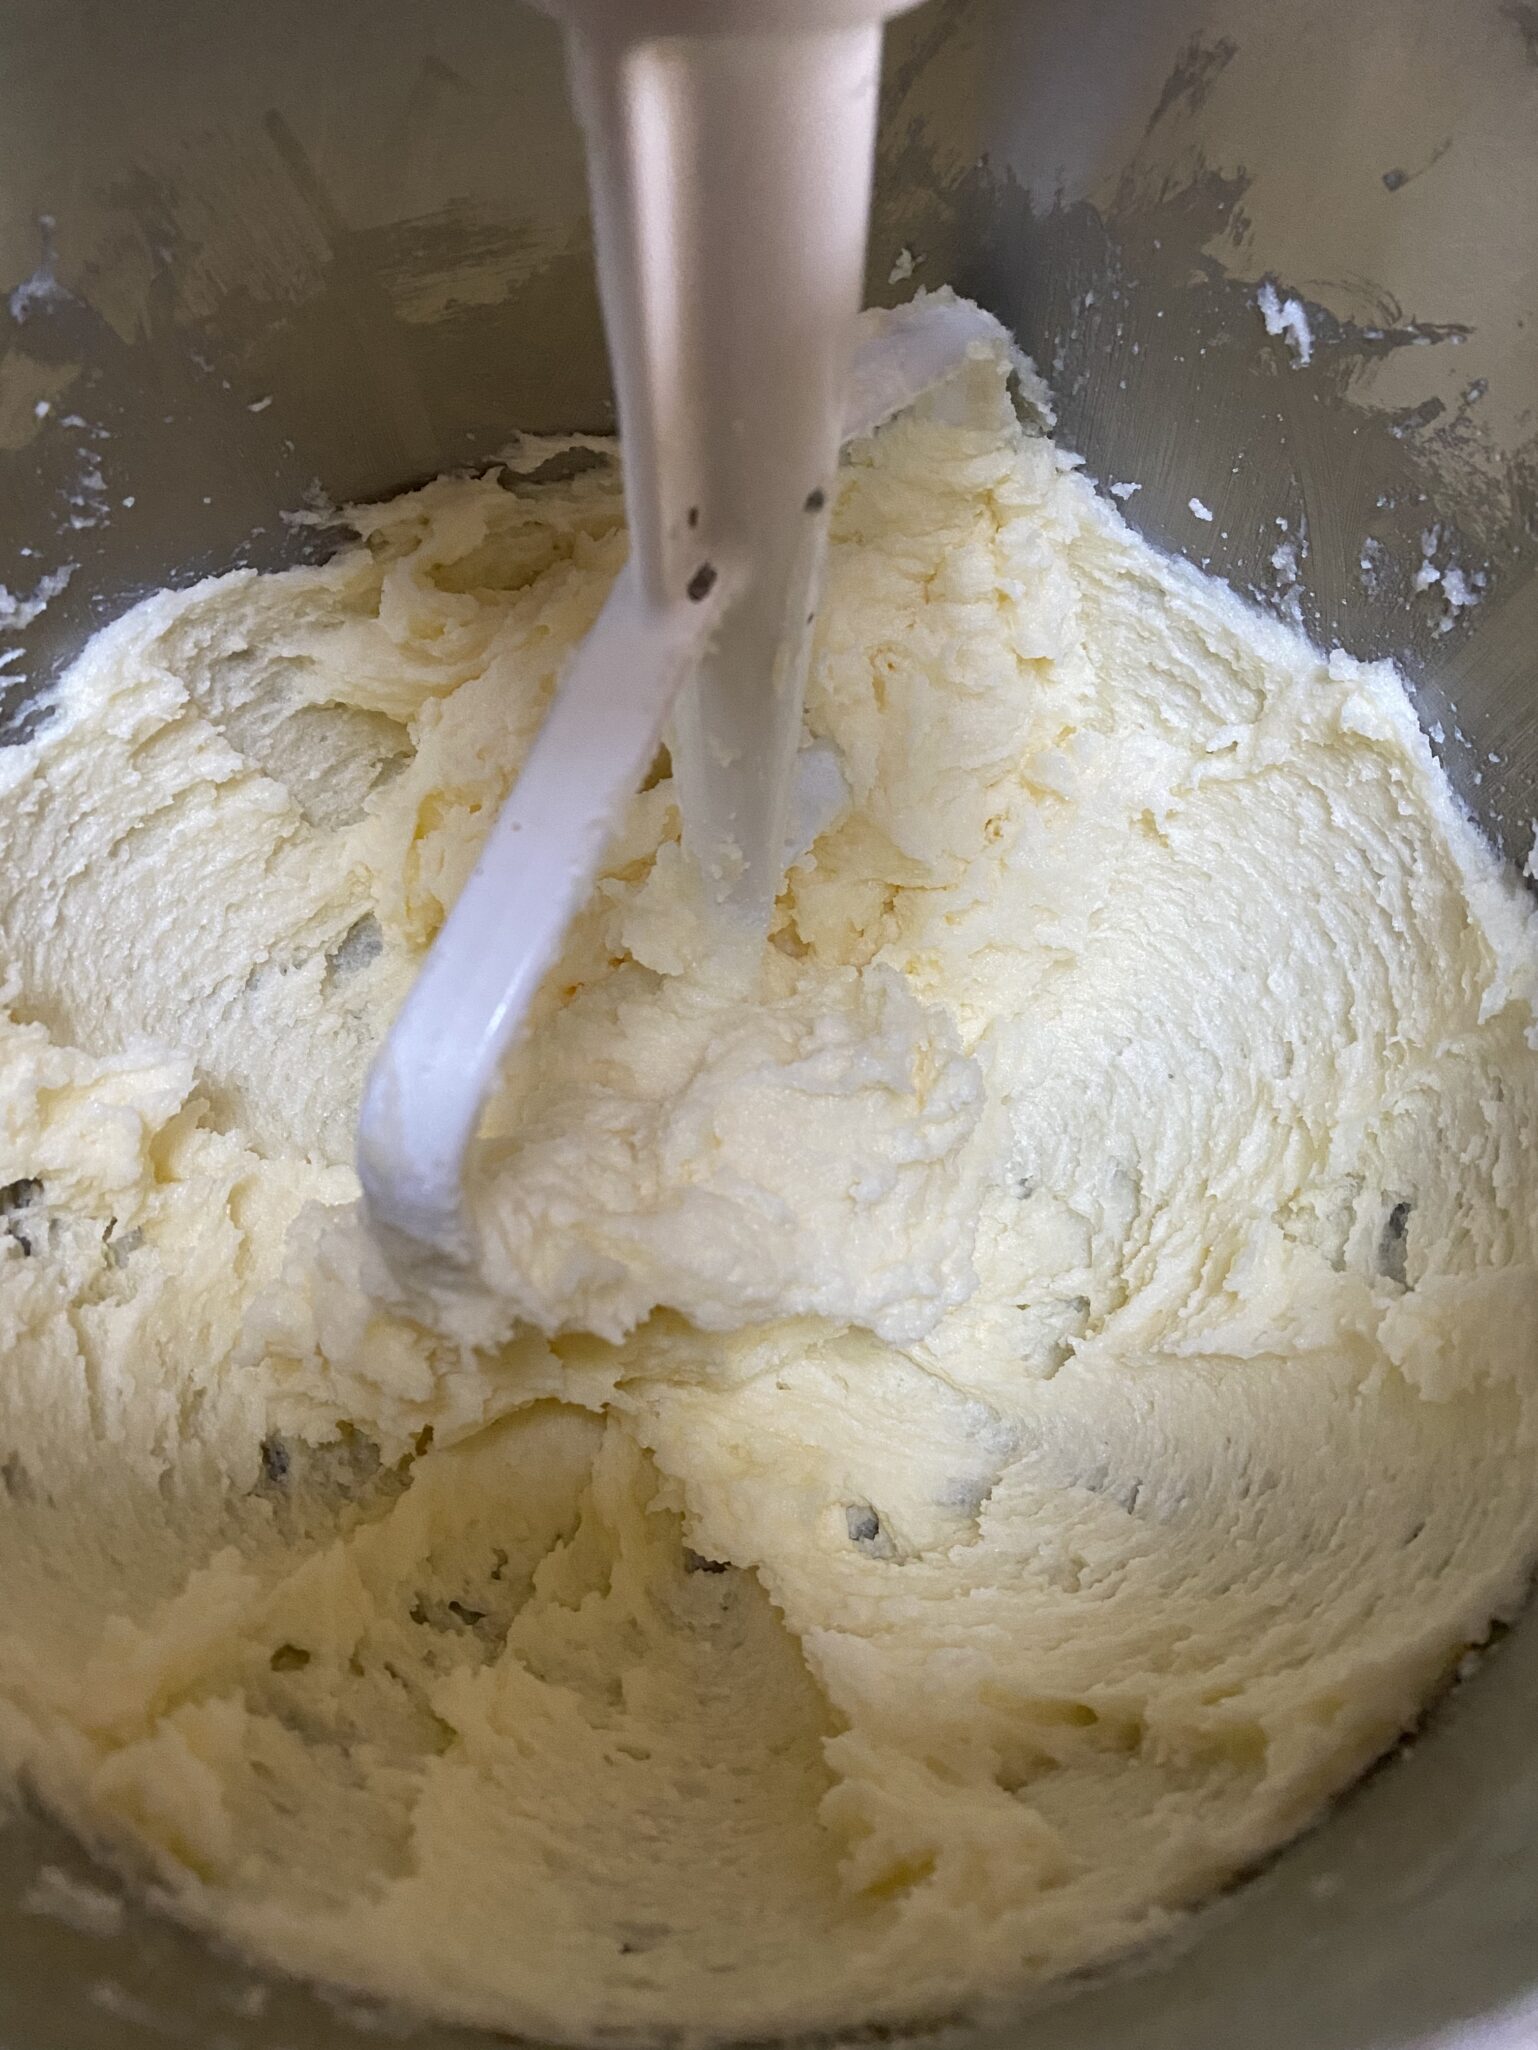
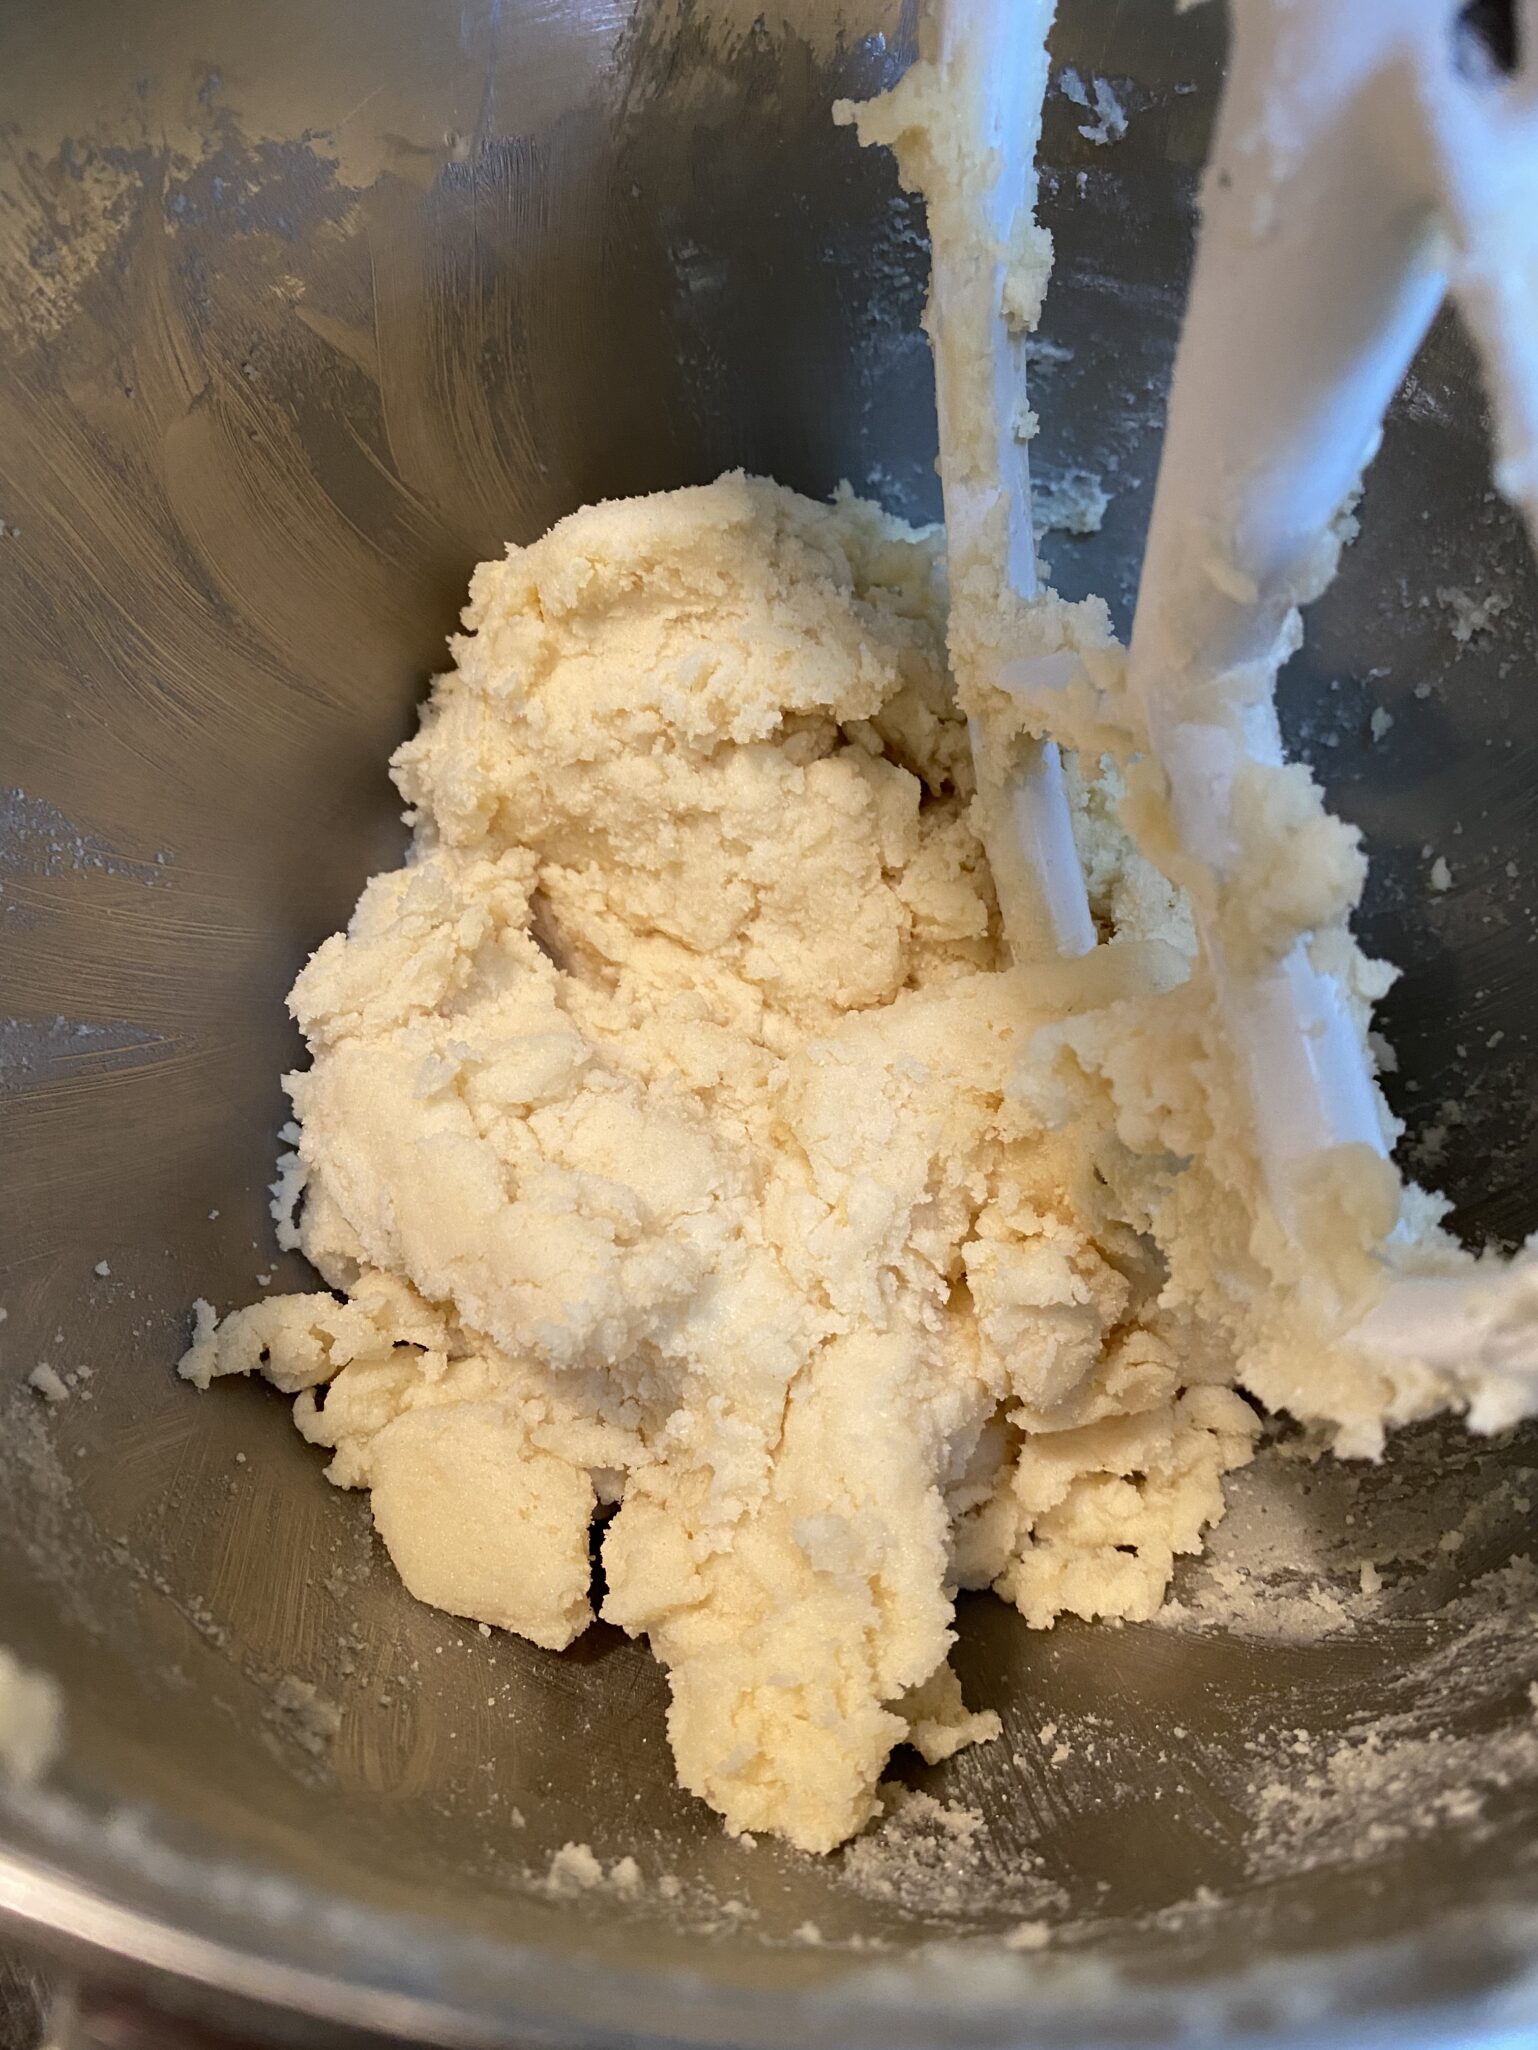
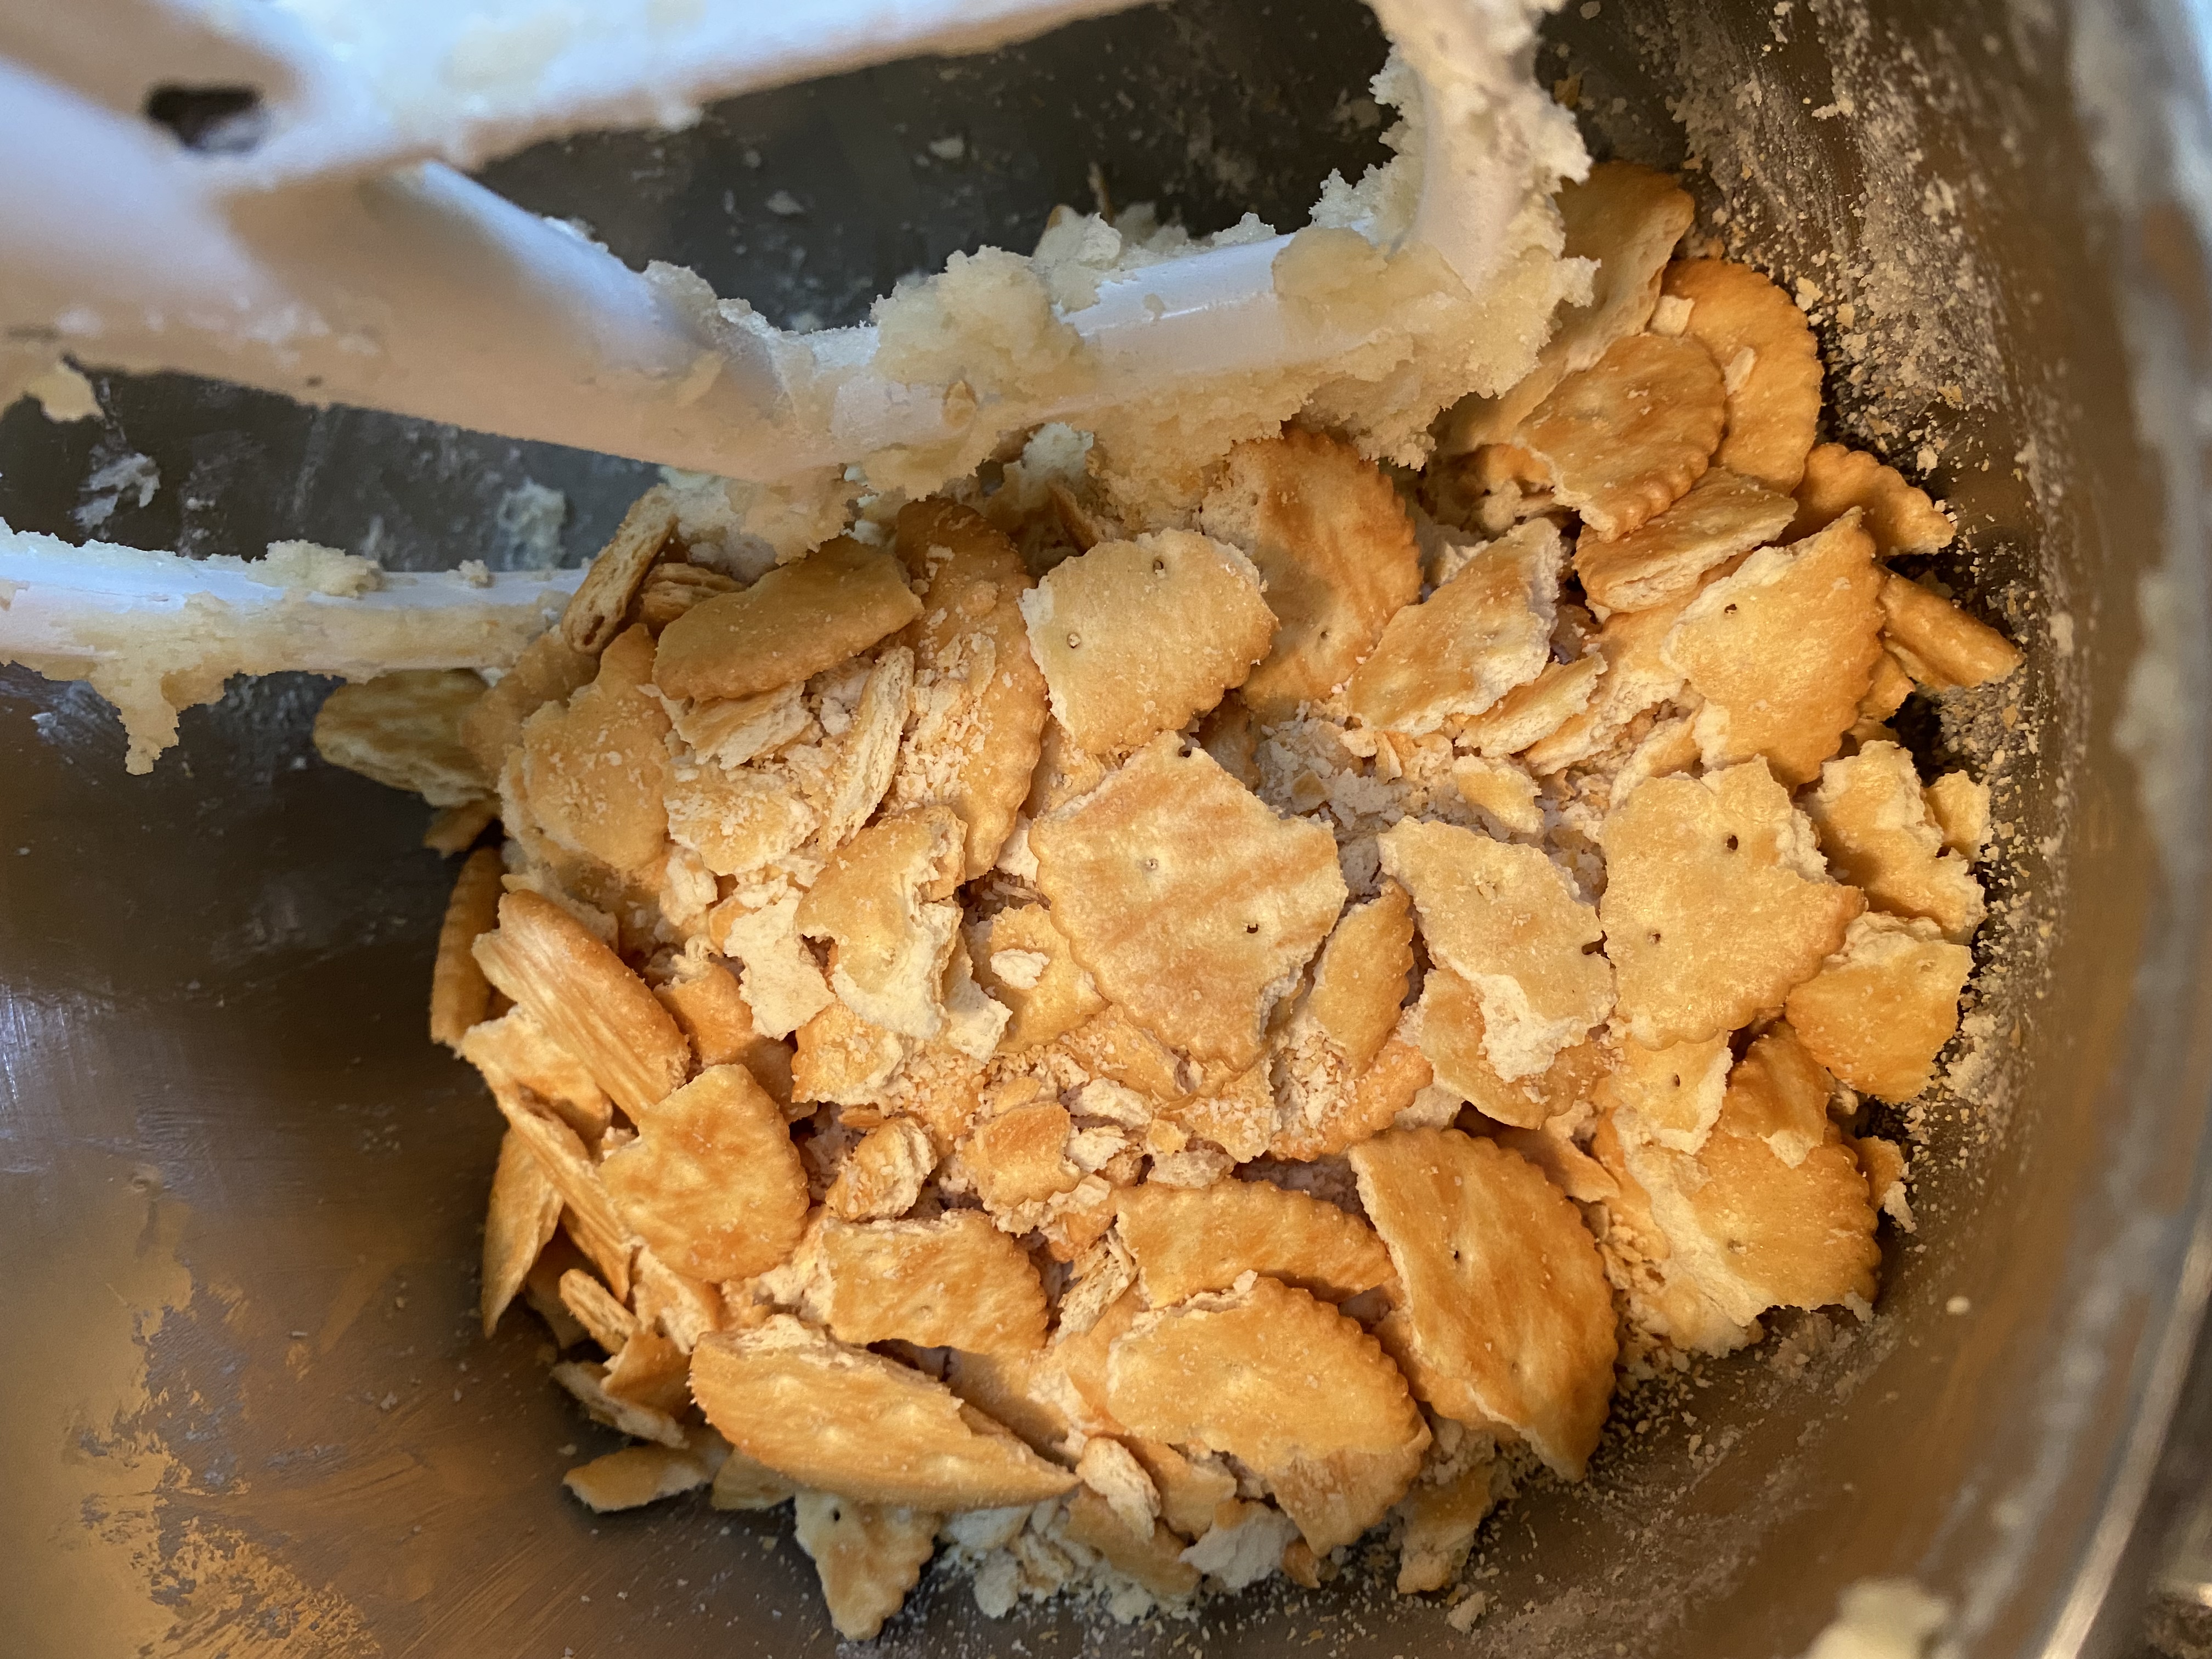
These thumbprints are buttery, tender, and delicious. She adds powdered sugar which sweetens and tenderizes the cookie and cornstarch which further lowers the protein content of the flour and ensures a tender and slightly crumbly cookie. I added a touch of salt to bring out the flavor. For a hint of citrus, try adding lemon or orange zest to the dough. Cream the butter and powdered sugar until light and fluffy, add the egg yolk and vanilla (be generous), and finally, the flour and cornstarch. Stir just until combined. Don’t overmix. Scrape the sides of the bowl after adding each ingredient.
Cookie Hacks
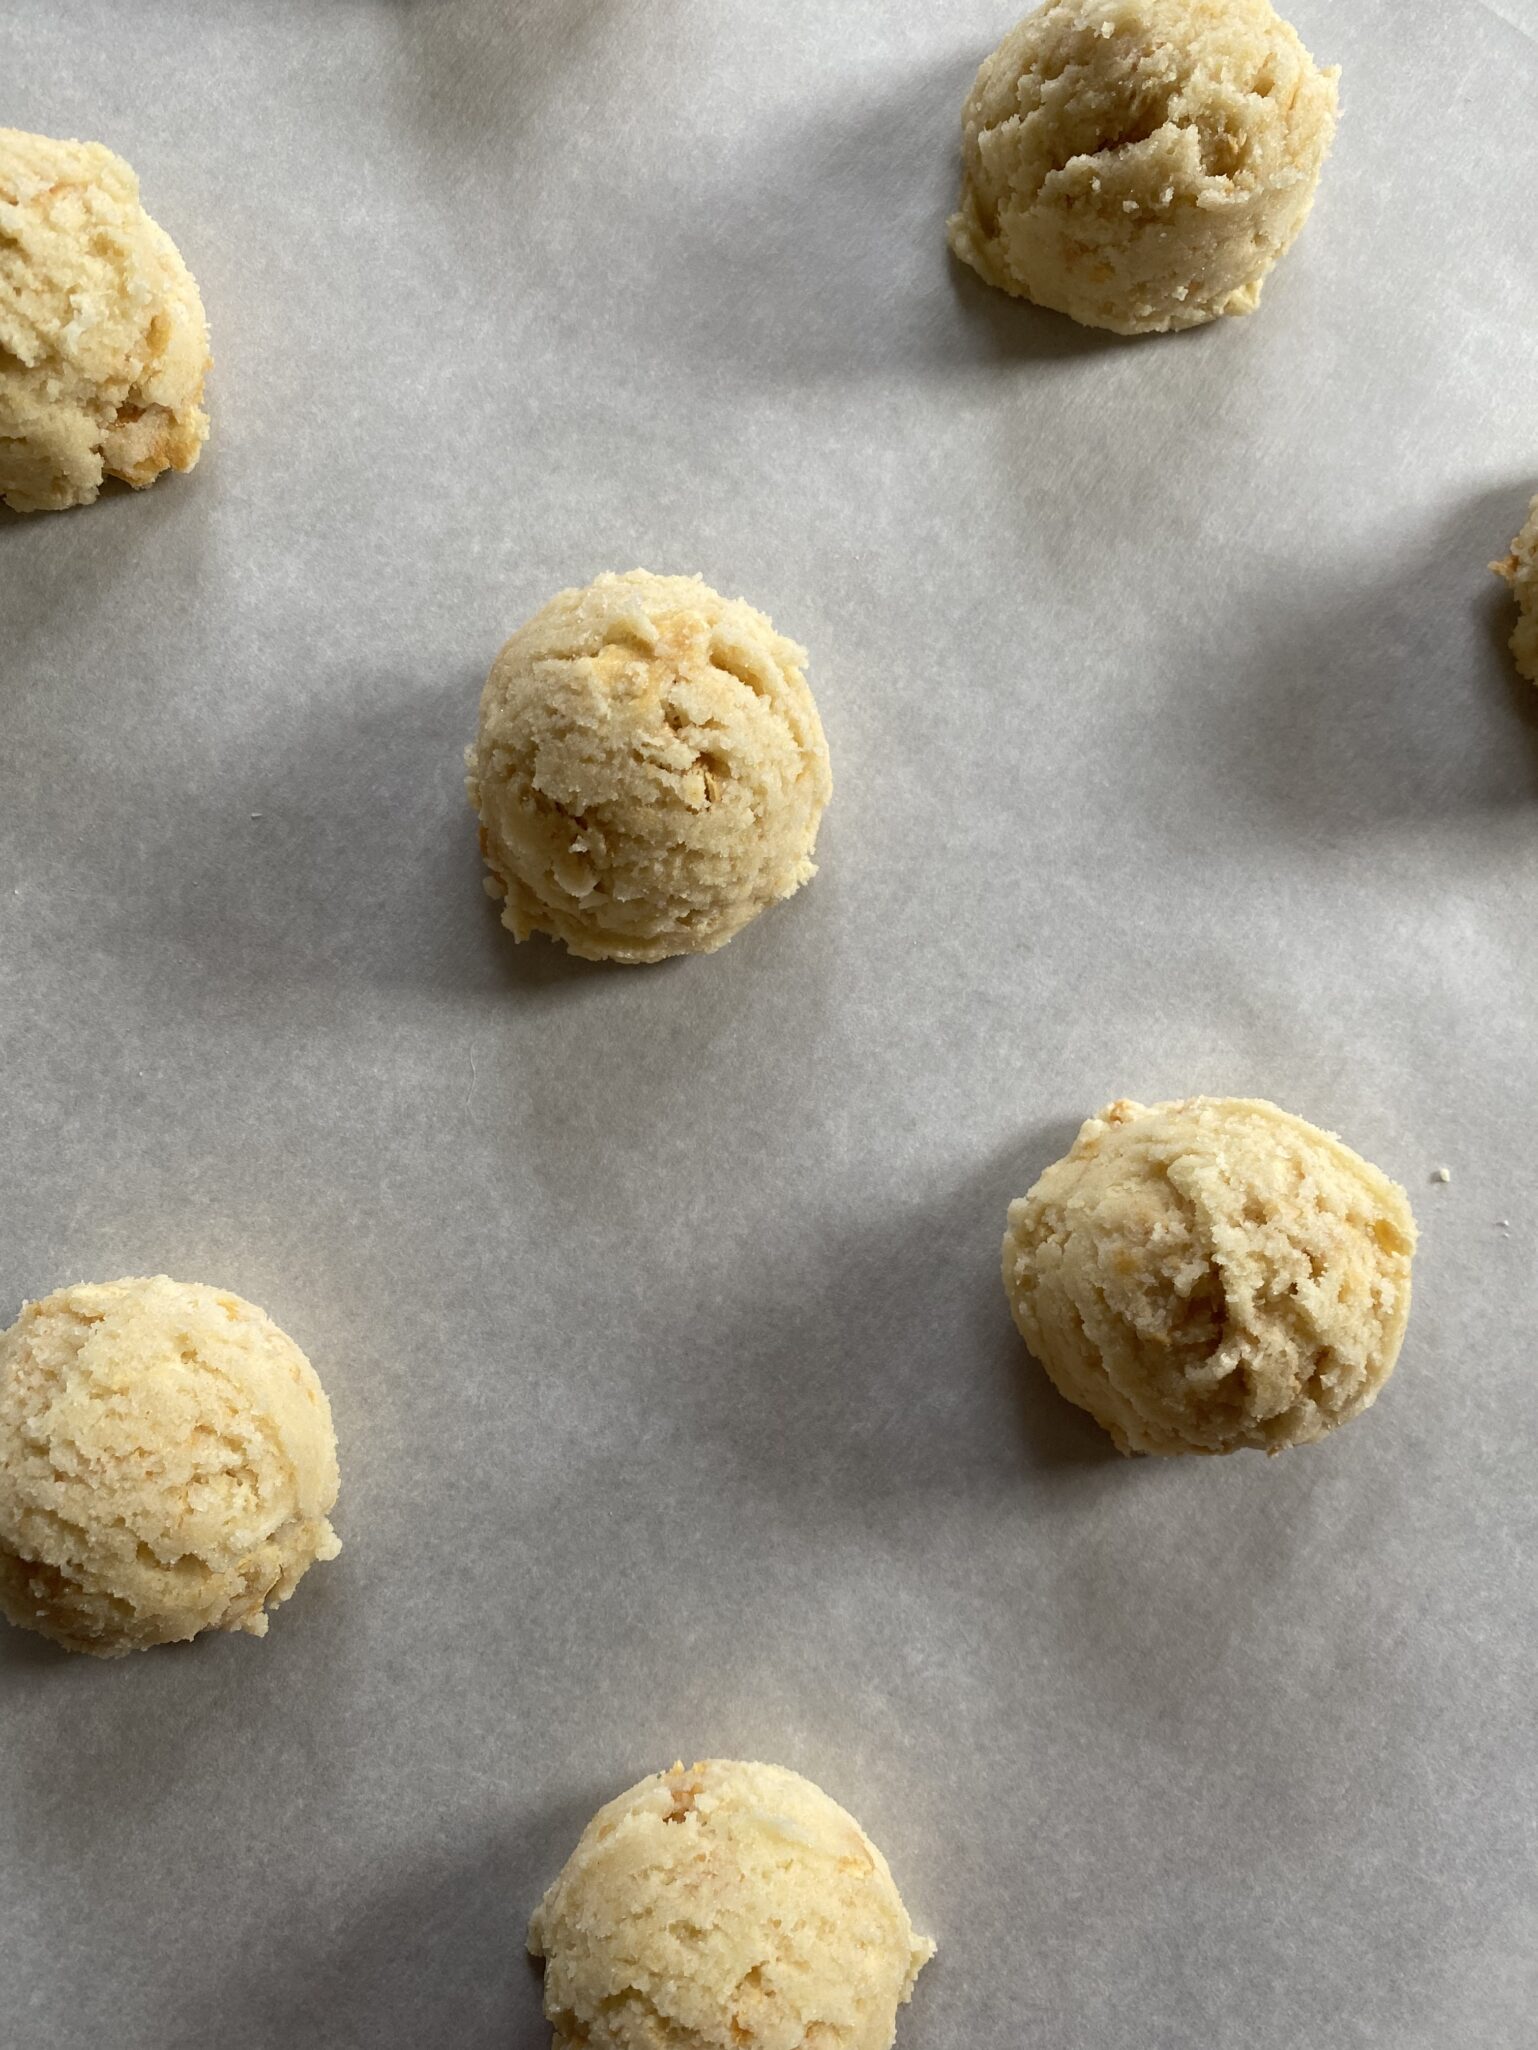
Kudos to the cookie baker, chef, or whomever who had that 💡 moment while scooping out cookie dough, THIS would be so much easier if I used an ice cream scoop. My cookies will be round and all the same size! For these thumbprints I used a #50 ice cream scoop (~0.68 ounce or 1.25 tablespoon) which made approximately 12-14 cookies about 2.5 inches in diameter. Each scoop of dough weighed about 25-27 grams.
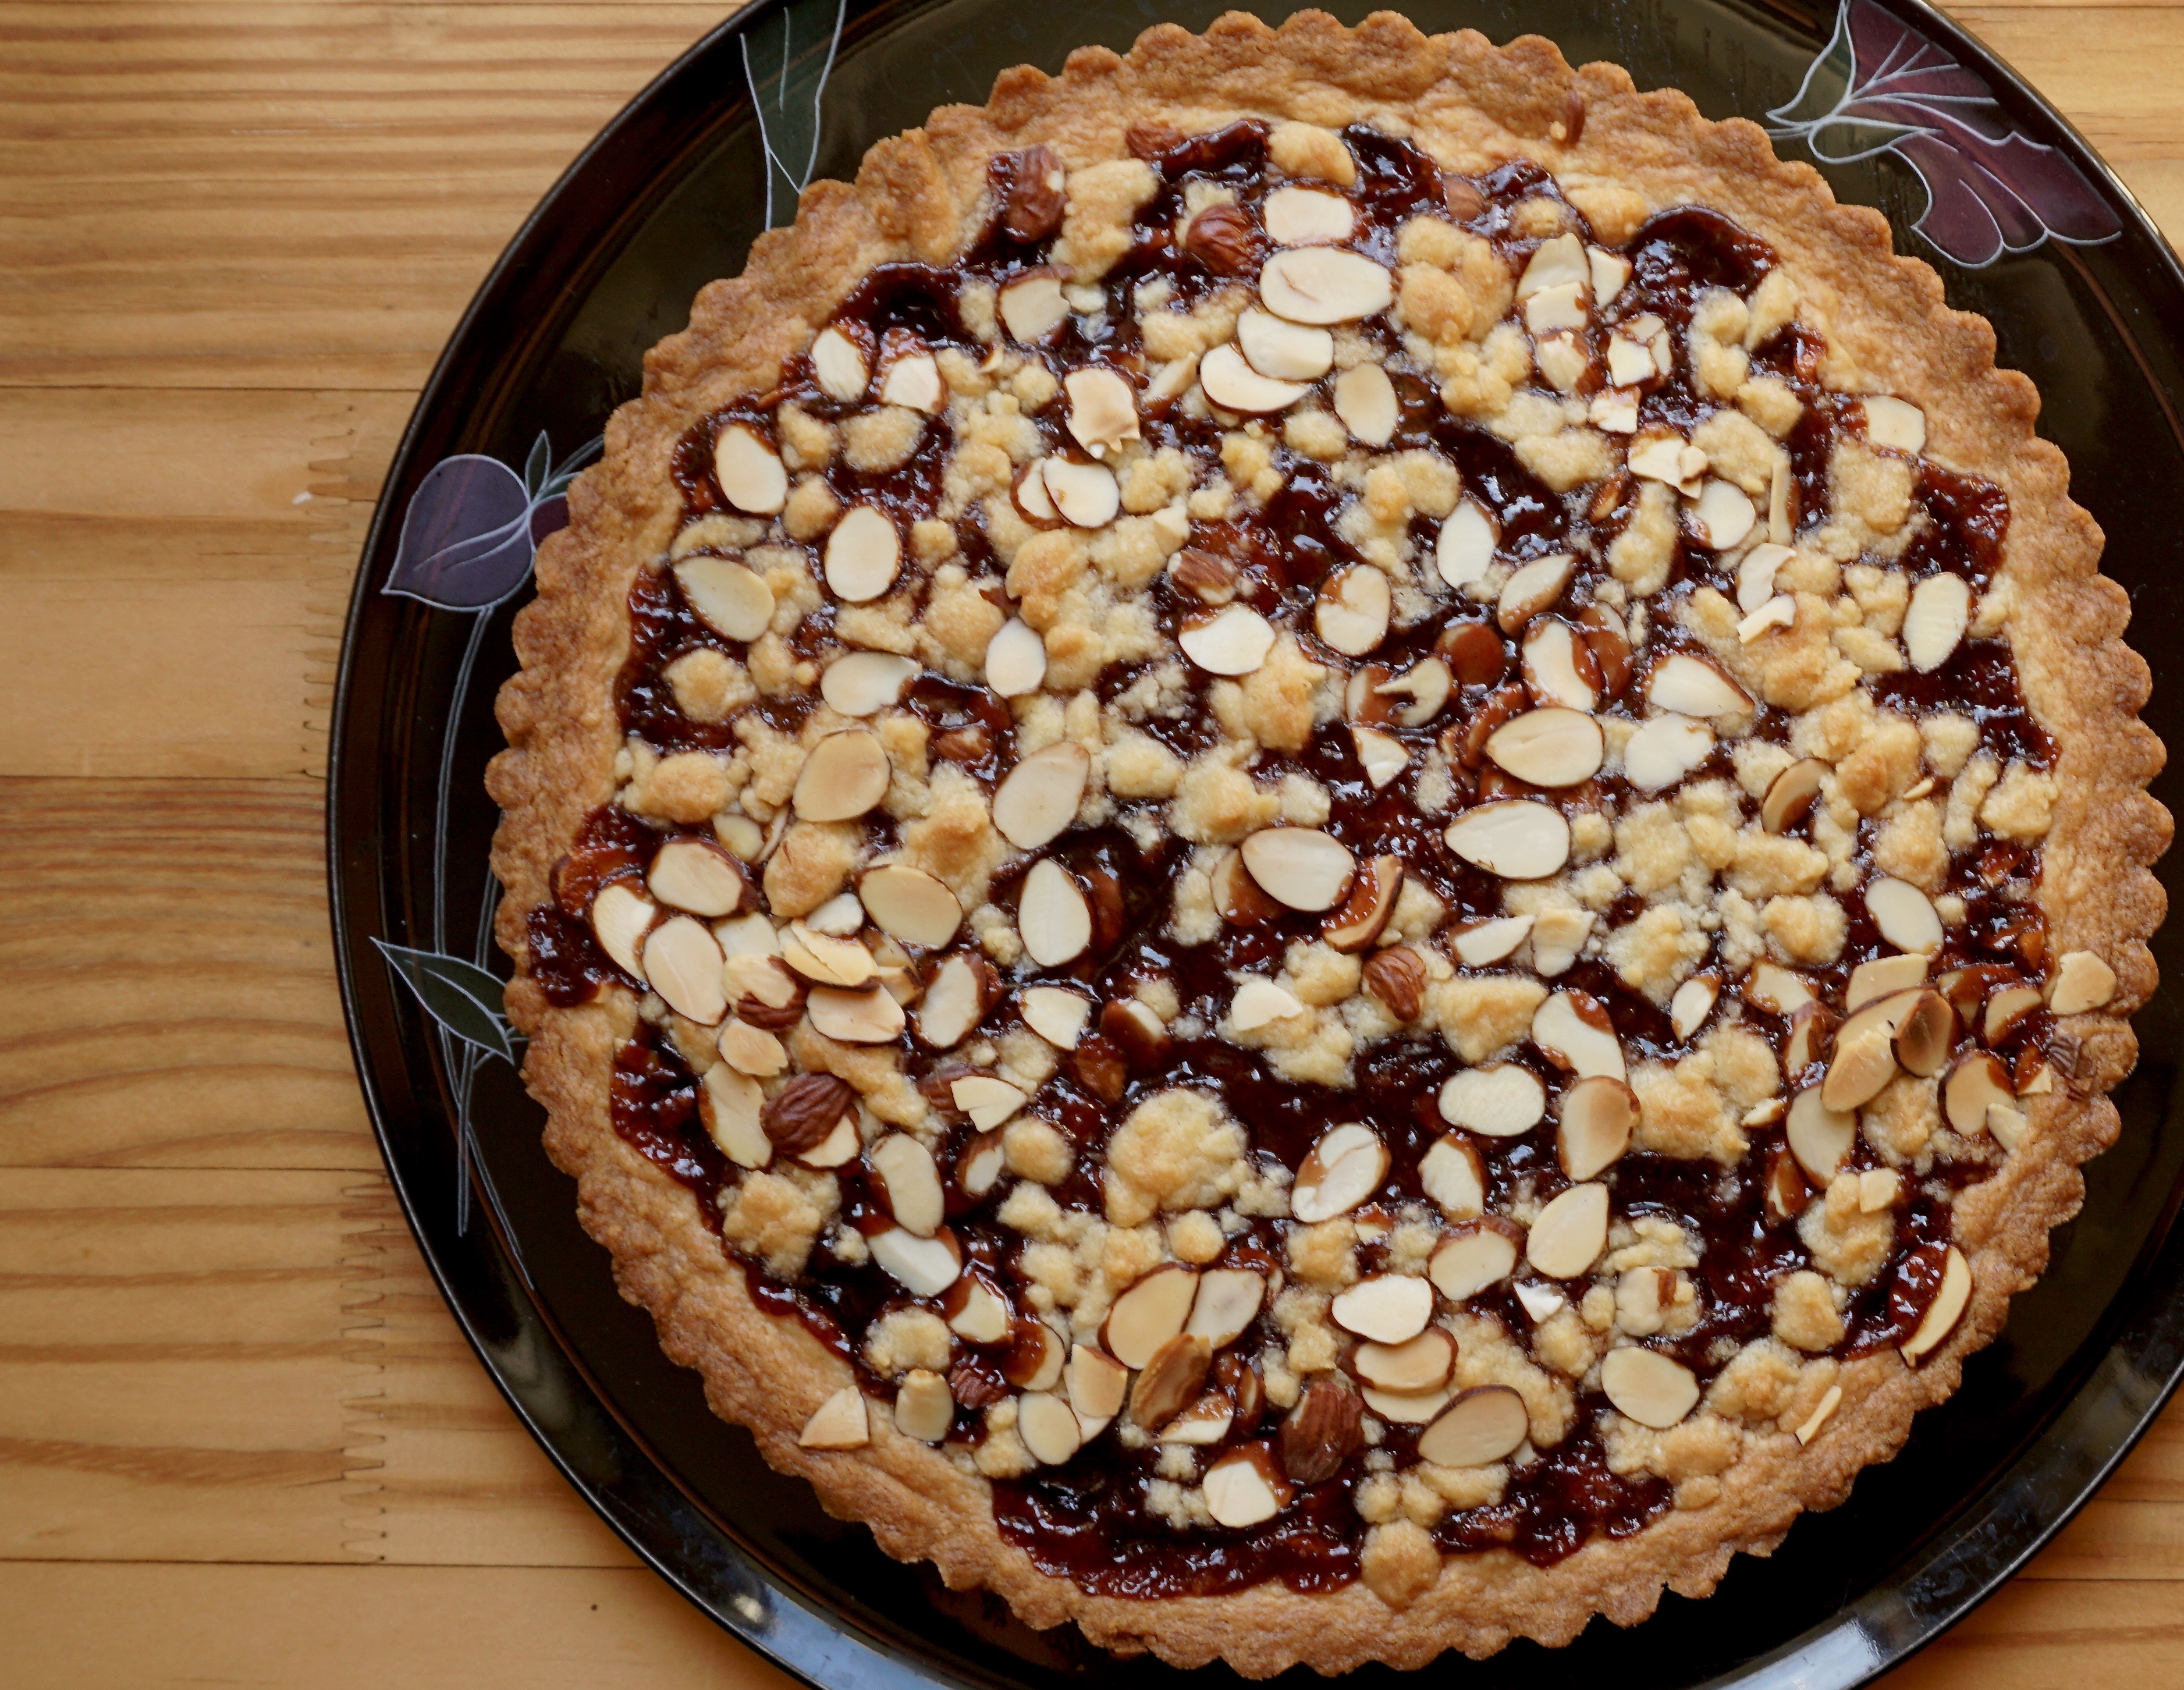
Catherine’s thumbprints call for making a cherry jam for the cookie centers. I opted to use one of the many jams I have, a luscious strawberry jam from my favorite farmer’s market vendor, Live Earth Farm. Depending on the consistency of your jam, you might have to heat and reduce the jam to thicken it. This is what I did with their strawberry jam, worked like a charm.
To fill each cookie, use a squeeze bottle. Put the jam in a squeeze bottle topped with a large bore cap. I save the honey caps from Trader Joe’s, they work like a charm.
View these hacks on my IG reel under 3jamigos bakes.
Modern Old Inventions to Make it Simple
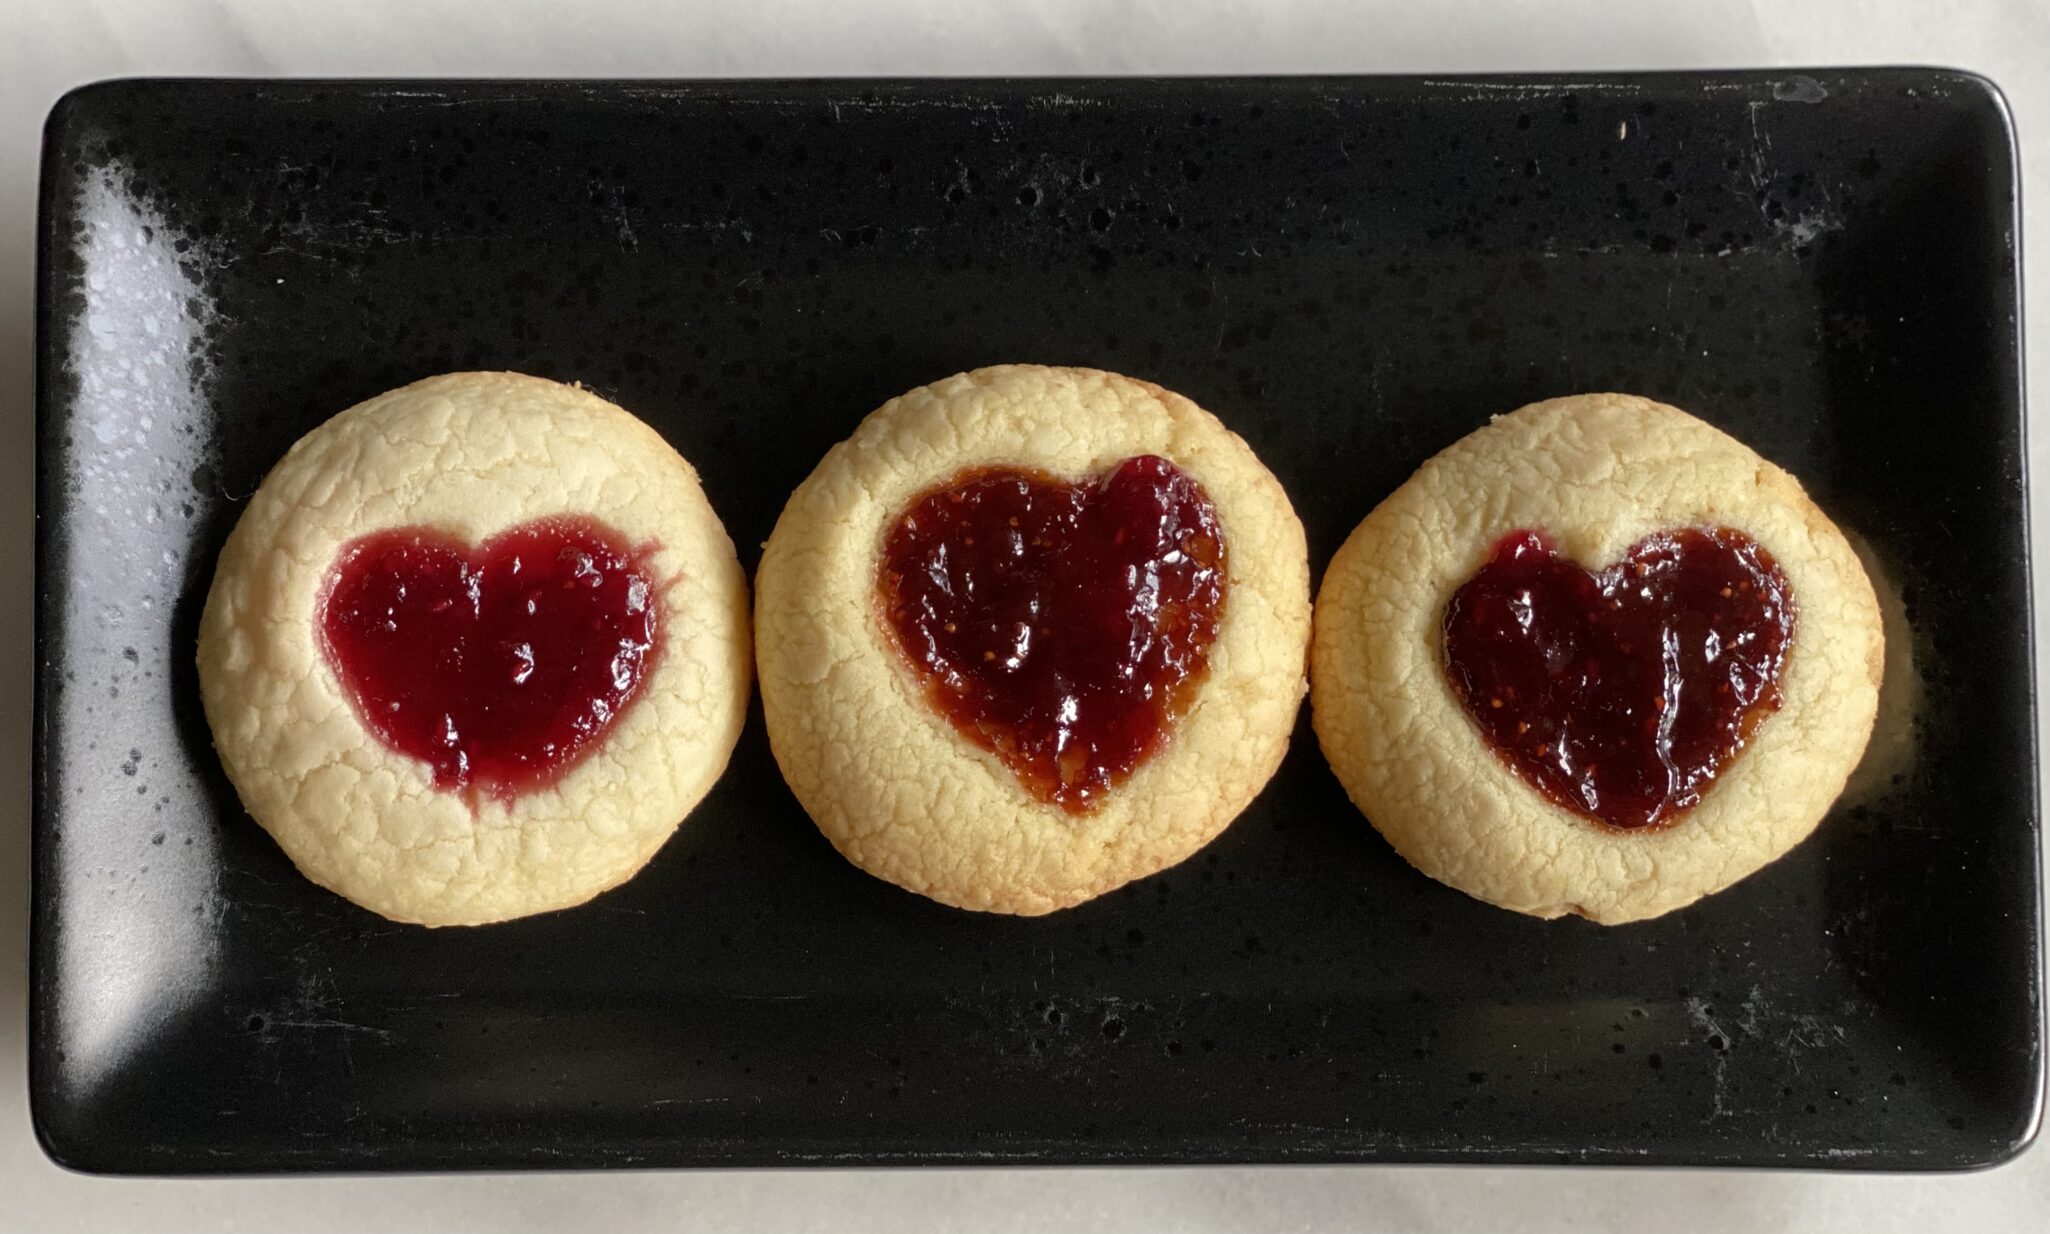
So, the tweak to this thumbprint cookie is using your thumb and pressing the center of your cookie dough TWICE, in the shape of a V to make the heart. Two things, it’s a little cumbersome and she must have tiny thumbs, I had to use my pointer finger.
So there I was in my kitchen…
Enter Wes from the garage, his mancave, into the kitchen.
Wes: Whatcha doing?
Me: Making thumbprints with a heart in the middle, it’s a bit more work, but hey, it’s Valentine’s Day.
Wes: Hmmm, I could make a heart shape stamp, would that make it easier?
Me: YES…back to the garage for you!
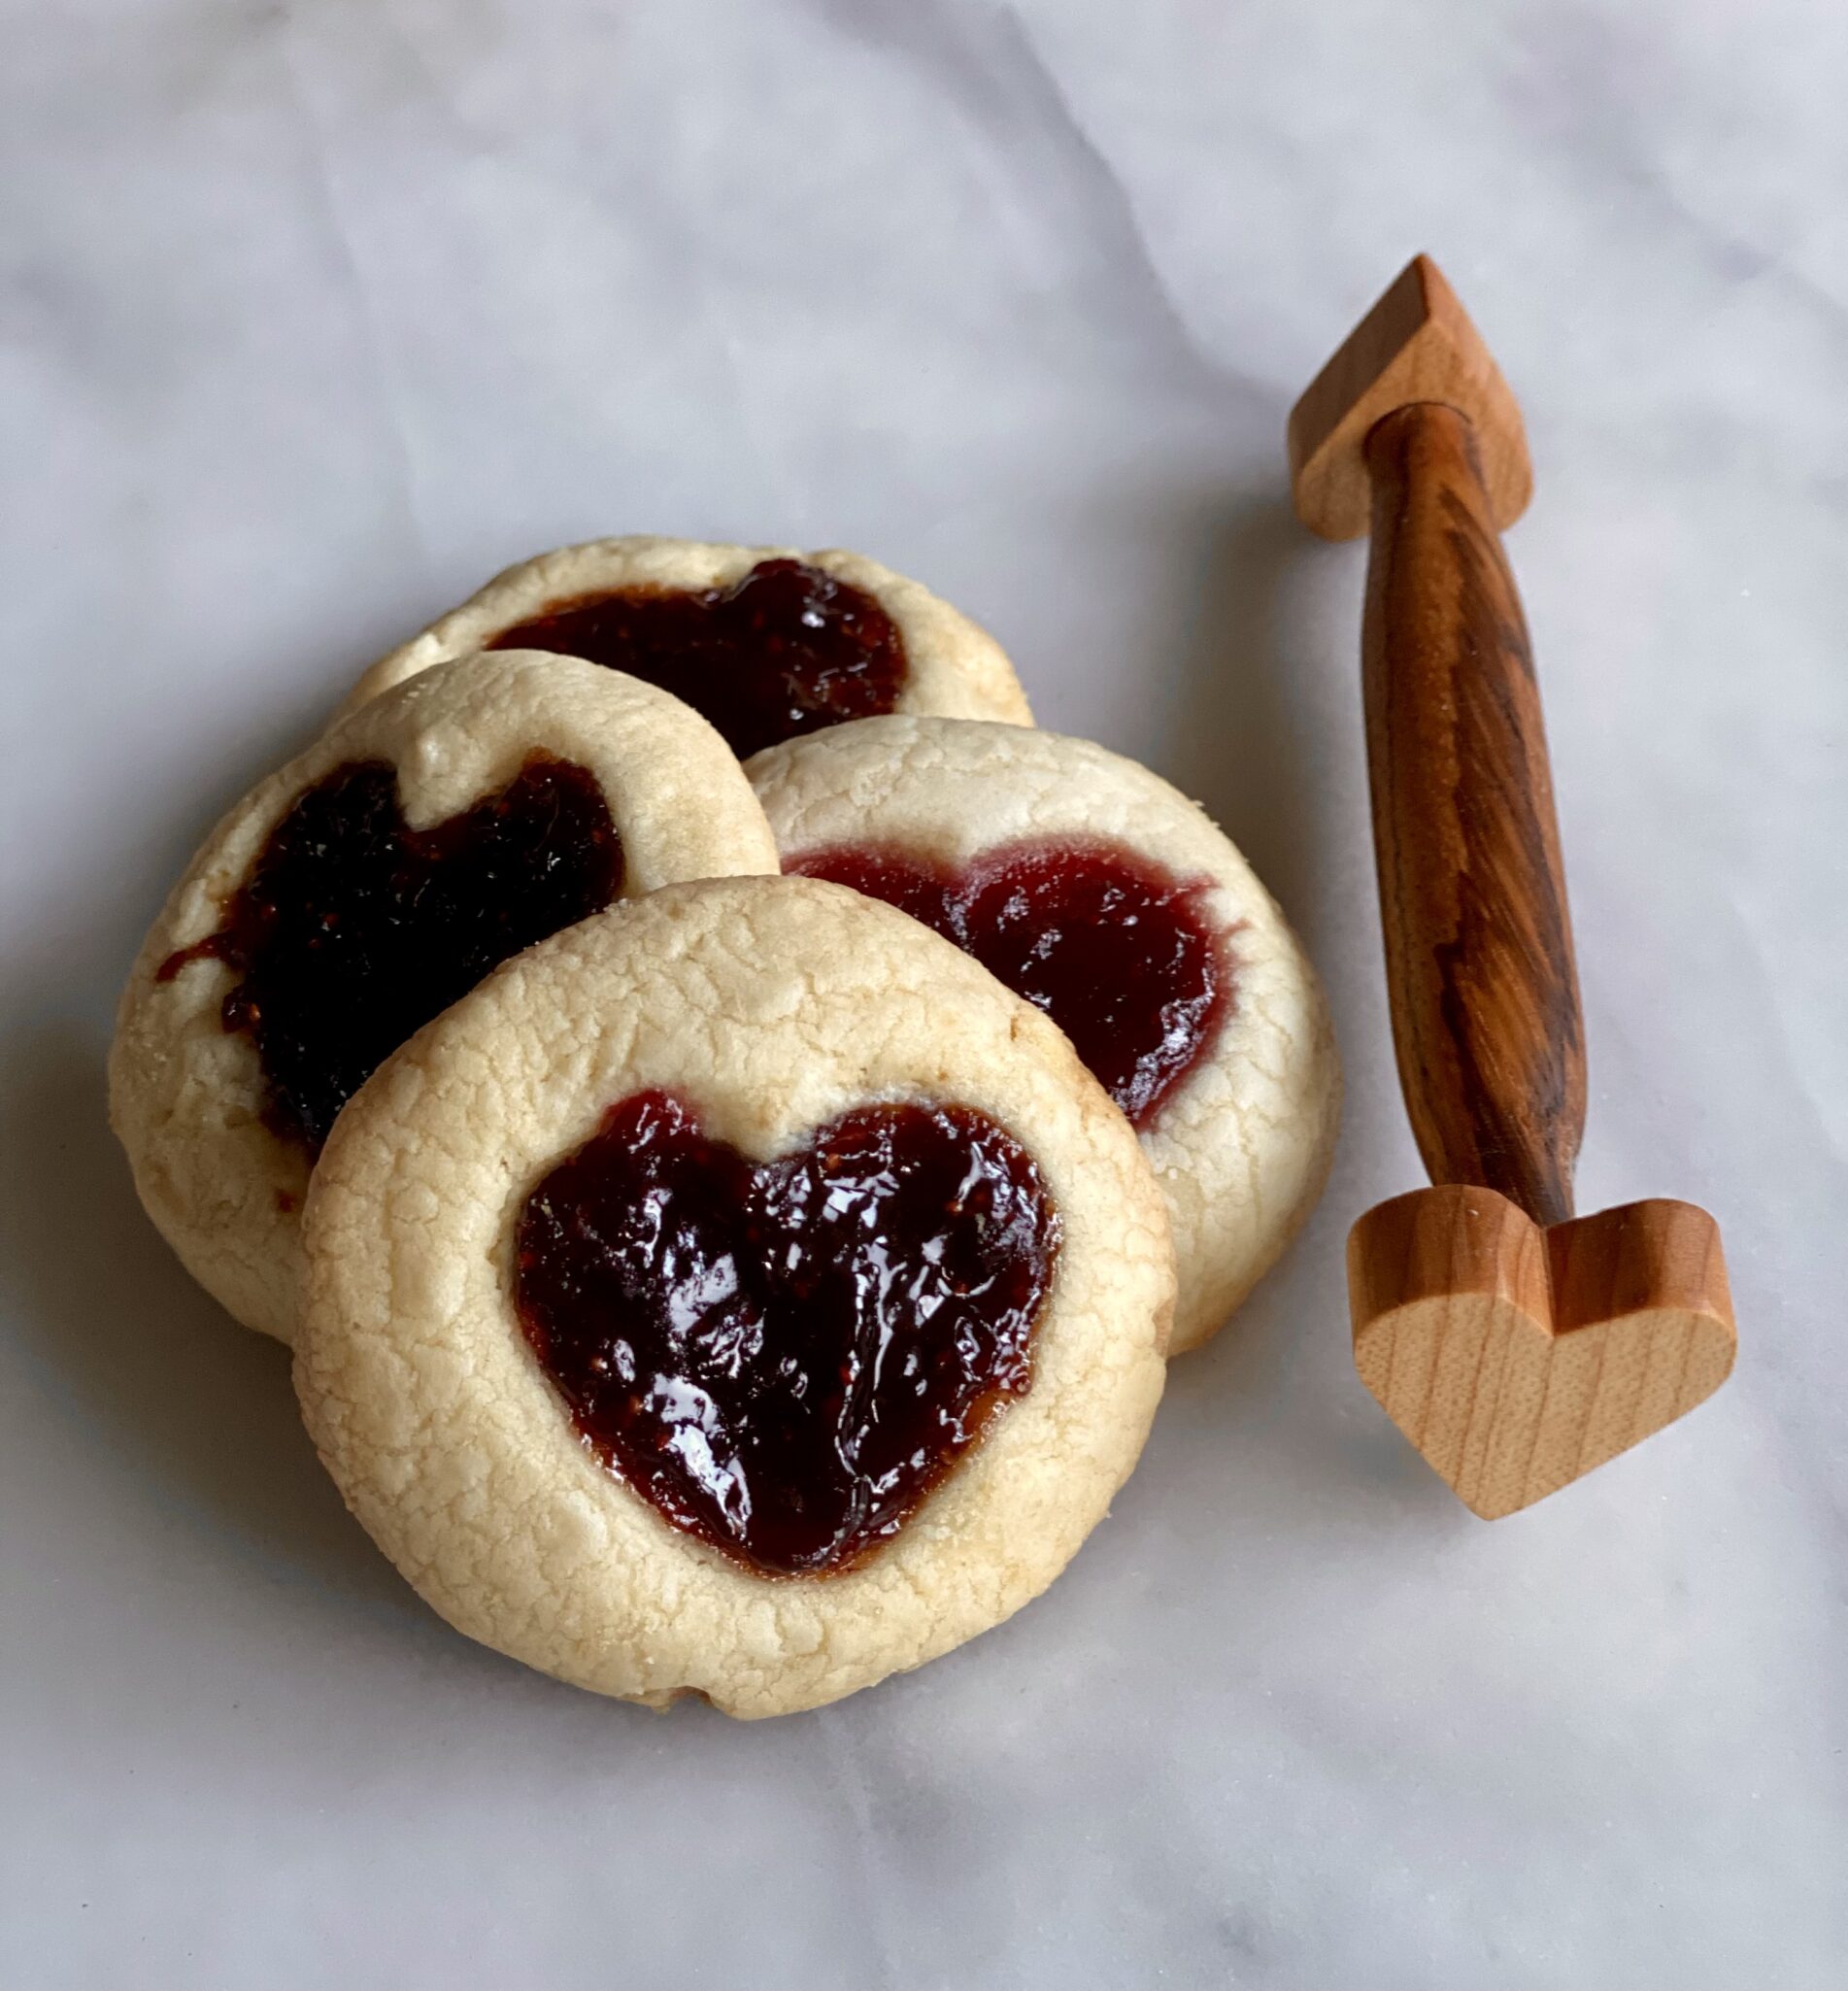
A few hours later…
Ooh, I LOVE my ❤️ shaped cookie stamp! It does make it easier, but you can totally make these with your own little digits! And, the cookies will be so cute.
Heart Thumbprints
Ingredients
CHERRY JAM: But feel free to substitute your favorite red jam, like strawberry or raspberry!
- 150 g Whole cherries approx. 1 cup
- 50 g 1/4 cup Sugar
- 1 tsp Lemon juice
COOKIE
Creamed Mixture
- 115 g Unsalted butter (1/2 cup) room temperature 68 degrees, shuld not be soft and melty
- 60 g powdered sugar (1/2 cup)
- 1 Egg yolk
- 1/2 tsp Vanilla extract
The Dry Stuff
- 140 g All purpose flour (3/4 cup + 2 tbsp)
- 15 g Cornstarch (2 tbsp)
- 1/4 tsp salt
- 1/2 Tsp lemon or orange zest, OPTIONAL finely grated
Instructions
- Preheat the oven to 350F
CHERRY JAM
- Finely chop cherries
- Combine cherries, sugar and lemon juice in a small saucepan
- Heat over medium heat for 8-10 minutes until thickened. Cool
COOKIE
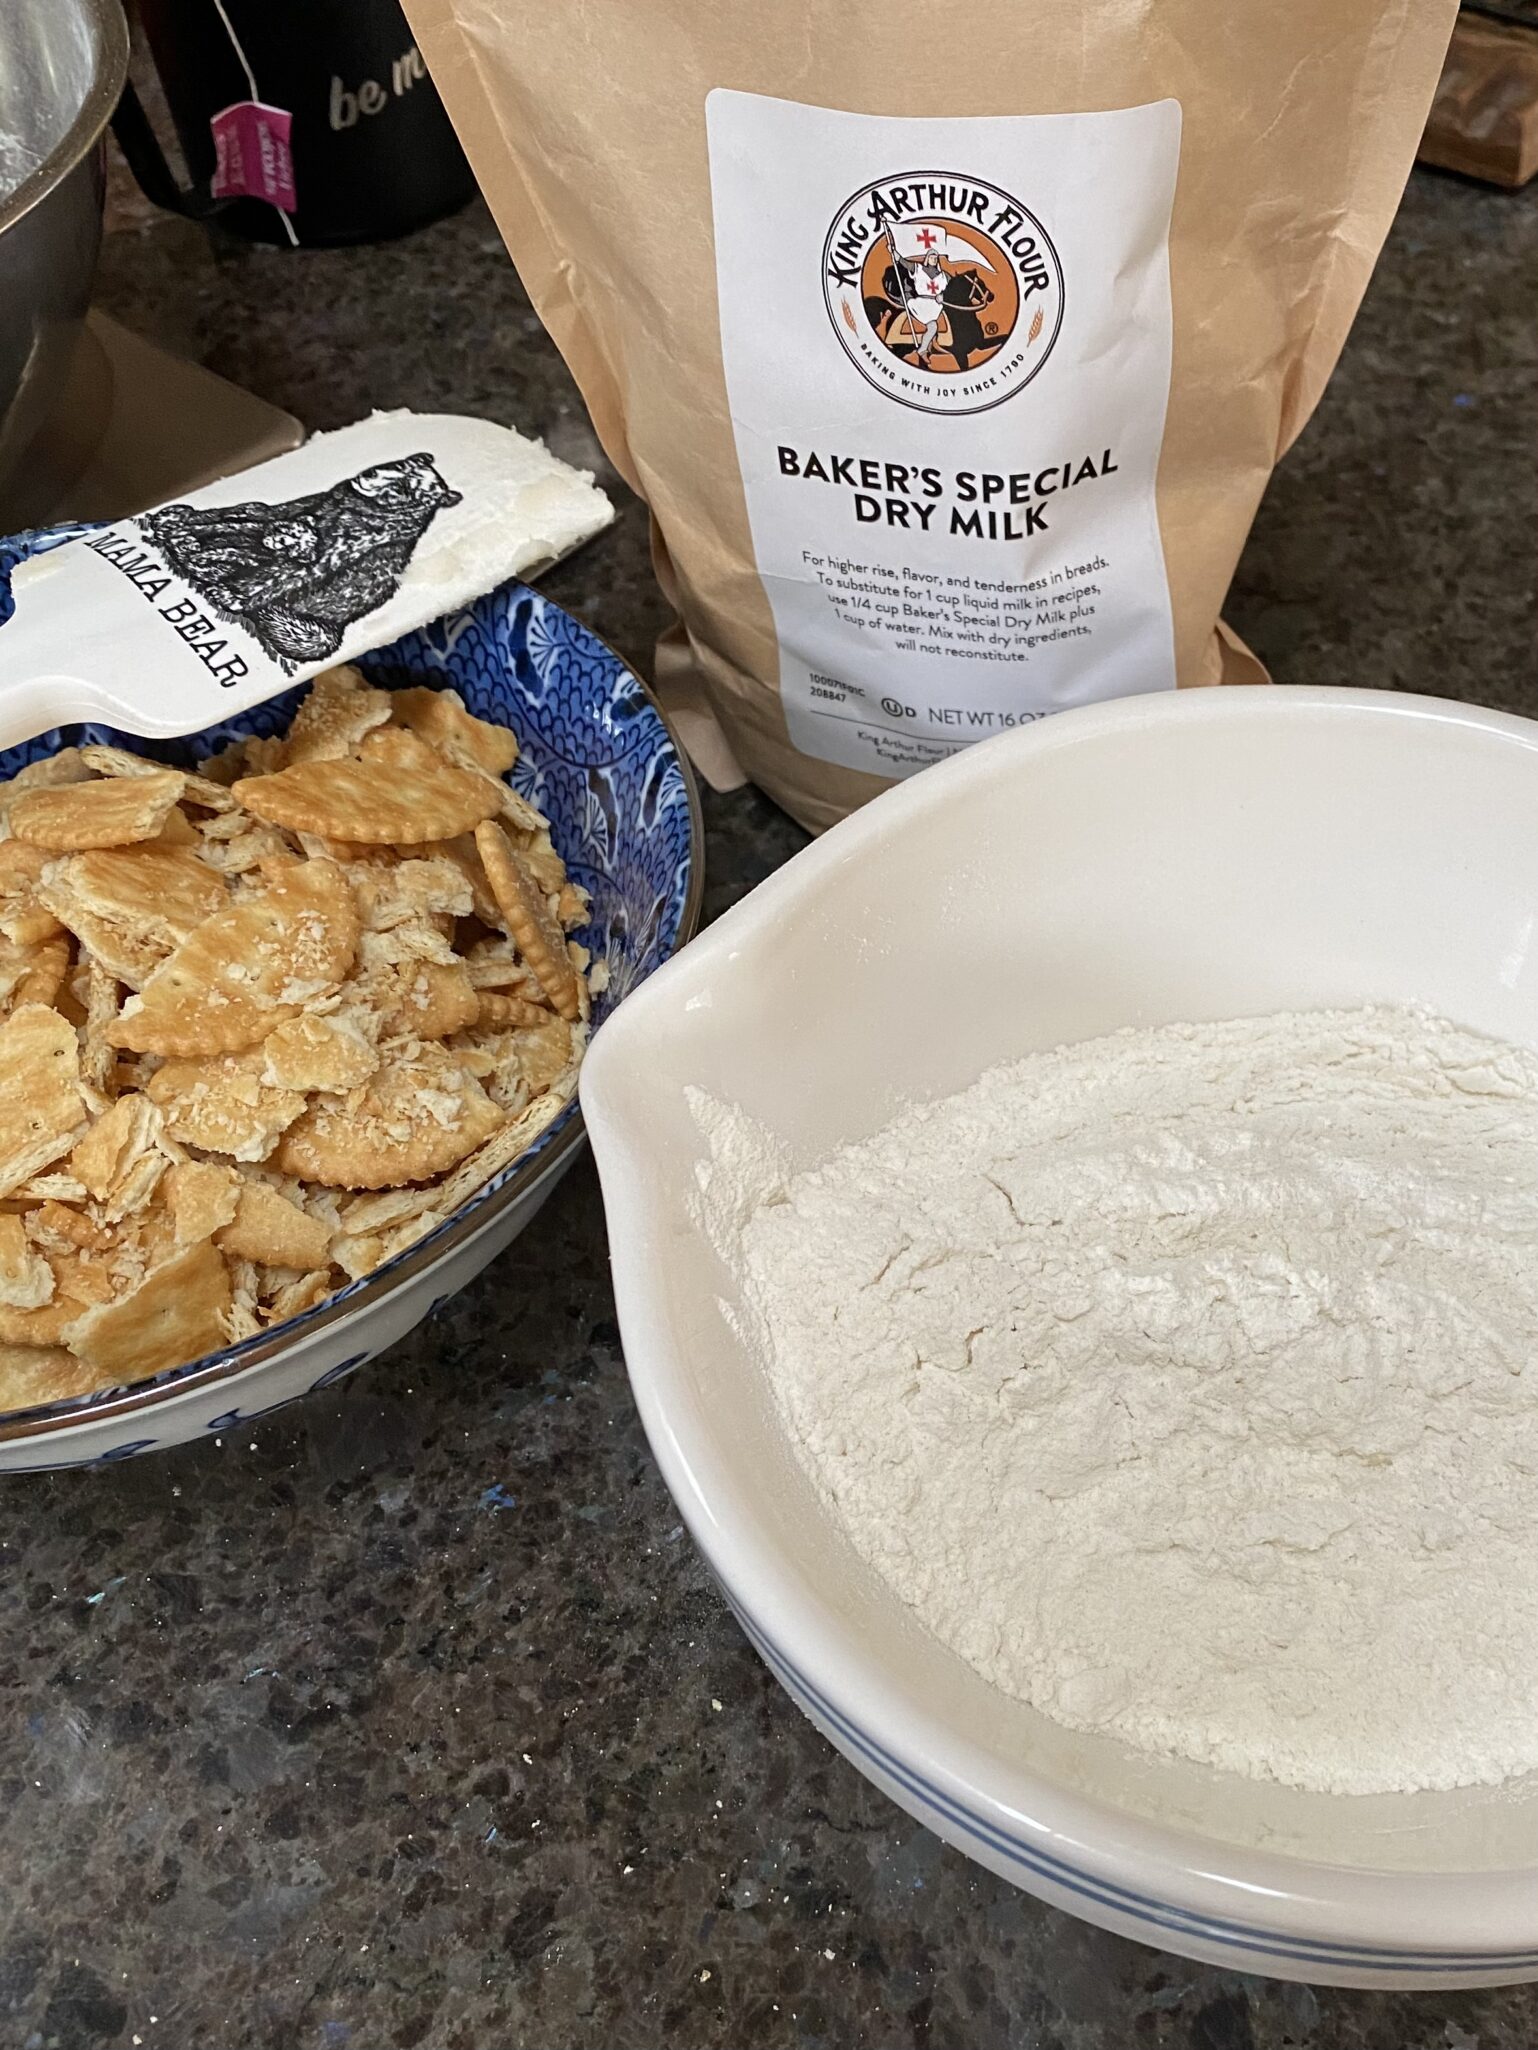
- Combine flour and cornstarch in a bowl. Set aside.
- Cream butter and powdered sugar until light and fluffy
- Add egg yolk and vanilla extract, beat until well mixed.
- Add flour mixture and stir until combined.
- Use a #50 scoop to form 12-14 balls. If dough is sticky, chill for 10 minutes before scooping. Remove from fridge and roll into smooth balls. This is essential, a smooth surface, or you will have cracks in your finsihed cookie. Create a heart shape in the center of each ball using two thumbprints (I used my pointer finger) pressed in a V shape. Chill for 10-15 minutes.
- Fill the thumbprint with cooled cherry jam or jam of your choice*
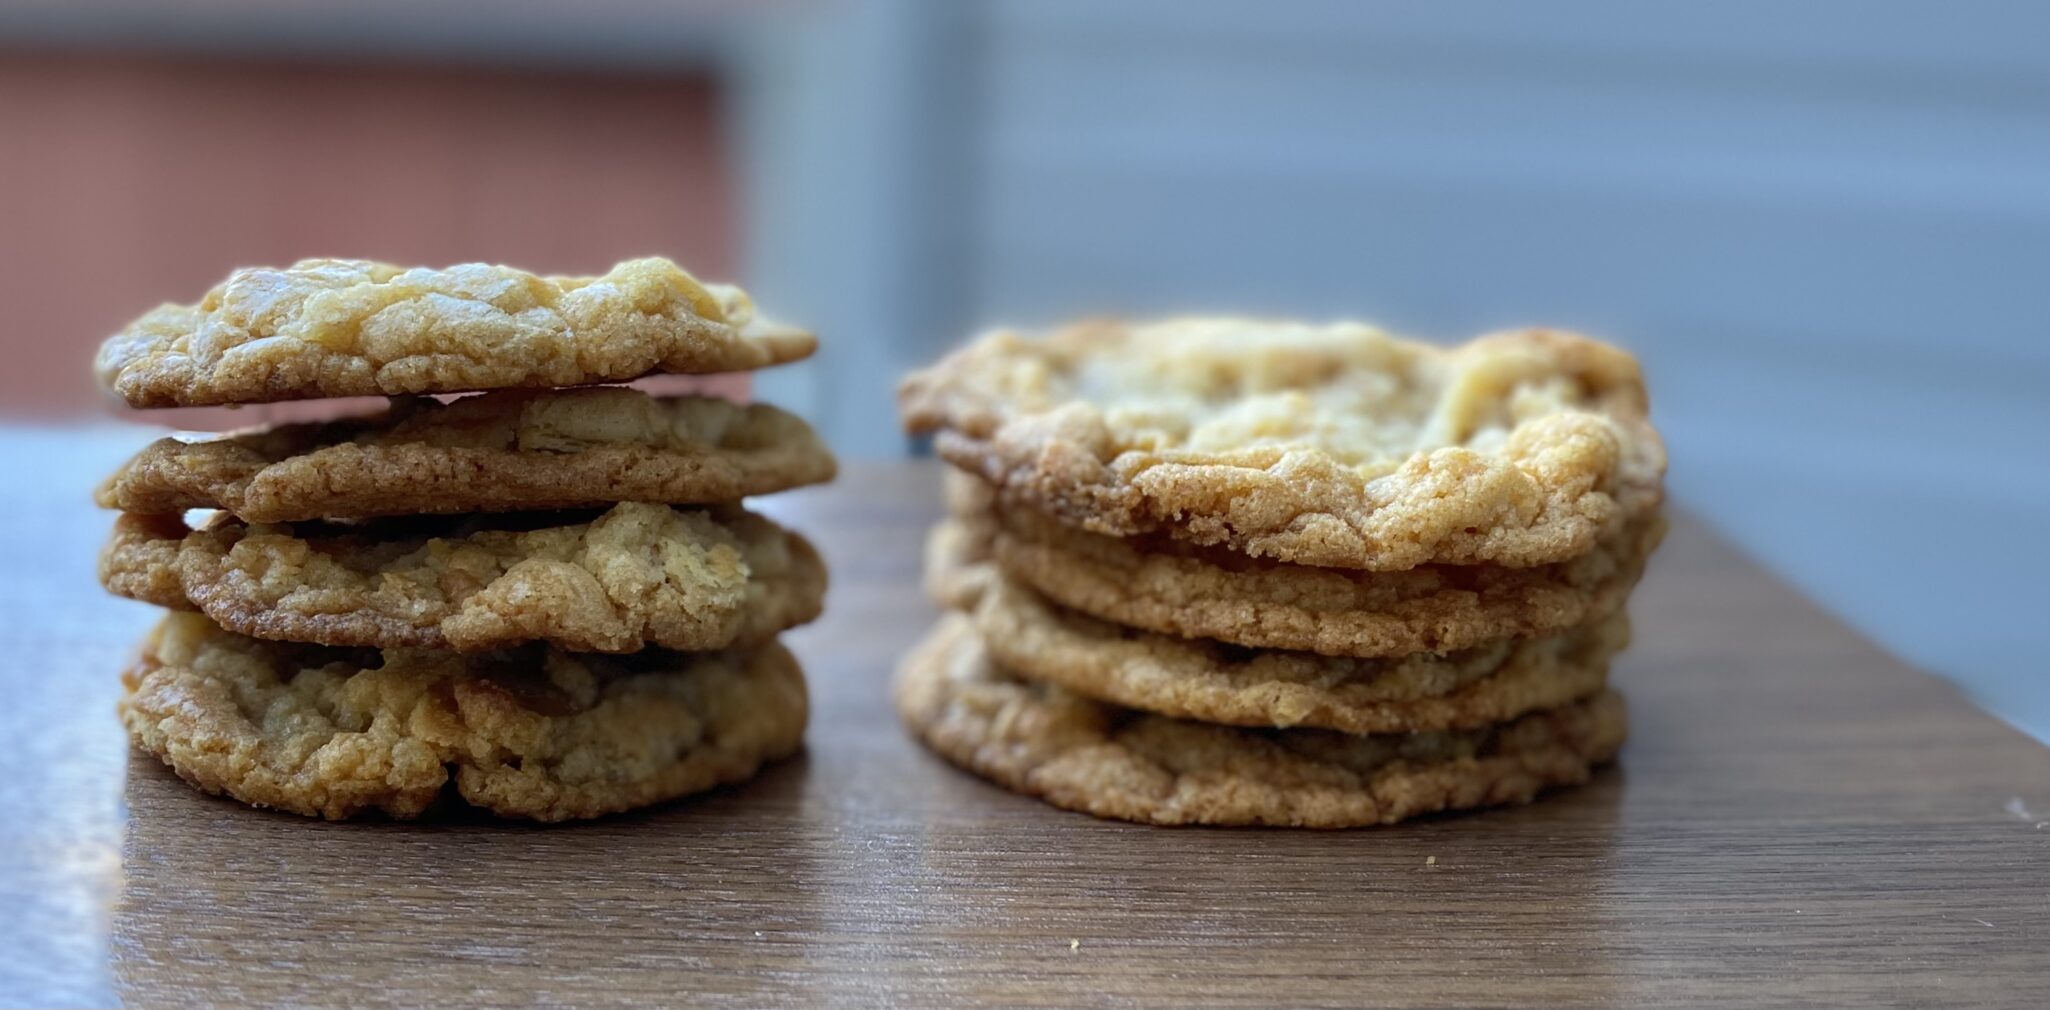
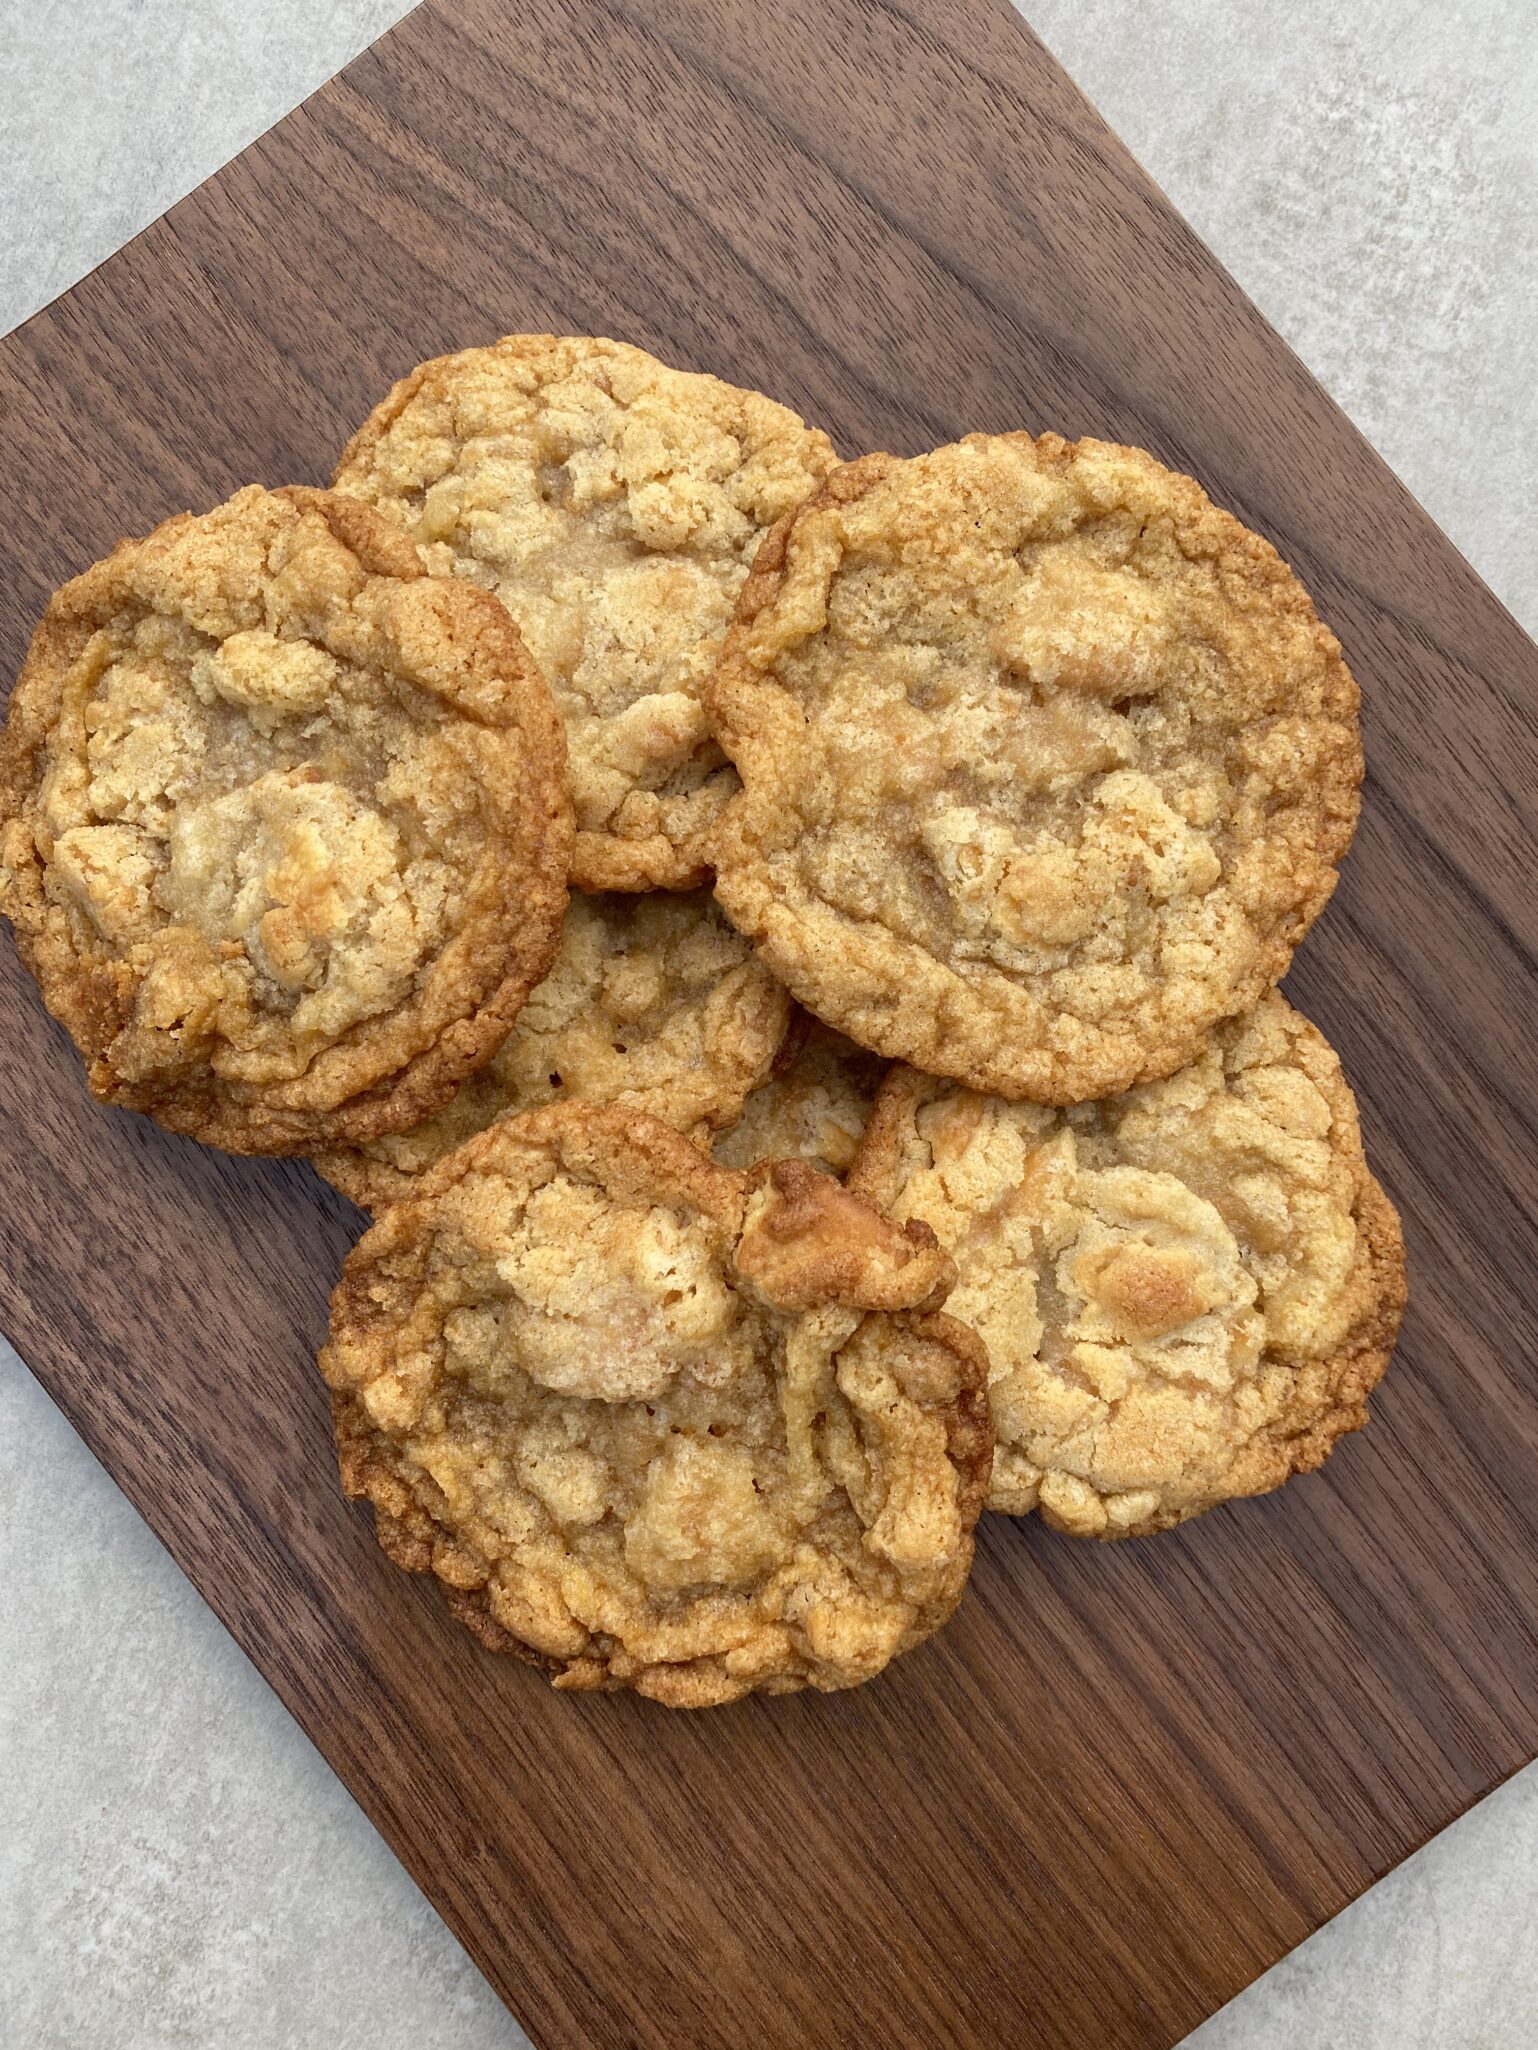
- Bake for 10-12 minutes, or until lightly golden brown.