Tag: #Achefslife

Pudding In the Late Night Hours Calls for Chocolate

Pudding In the Late Night Hours Calls for Chocolate

Life is on hold as we await the results of the 2020 presidential election.  I swore I wasn’t going to agonize over the process leading to the final result.  My plan was to ignore CNN, Twitter, WAPO, NYT…I decided to watch Hamilton for the umpteenth time, followed by my favorite K-drama.  As they say…

The Best Laid Plans

A quick sneak peek at Twitter and I was hooked.  It has been an agonizingly slow crawl to the finish as the Biden/Harris ticket chips away at the vote count in the battleground states. There I was tabbing back and forth between my K-drama and Twitter.  At 2am I had to stop the madness, I resorted to my favorite stress-buster activity, COOKING followed by my second favorite stress reliever-EATING.

Win-Win

At that time of the night, I needed something delicious, and comforting.  I had been eyeing a recipe in NYTcooking for a chocolate pudding made with oat milk.  Many of my friends are dairy intolerant or vegan so I am always on the lookout for desserts that fit the bill.  The fact that this pudding was quick and easy made this a no-brainer for my sleep-deprived, anxiety-riddled brain.

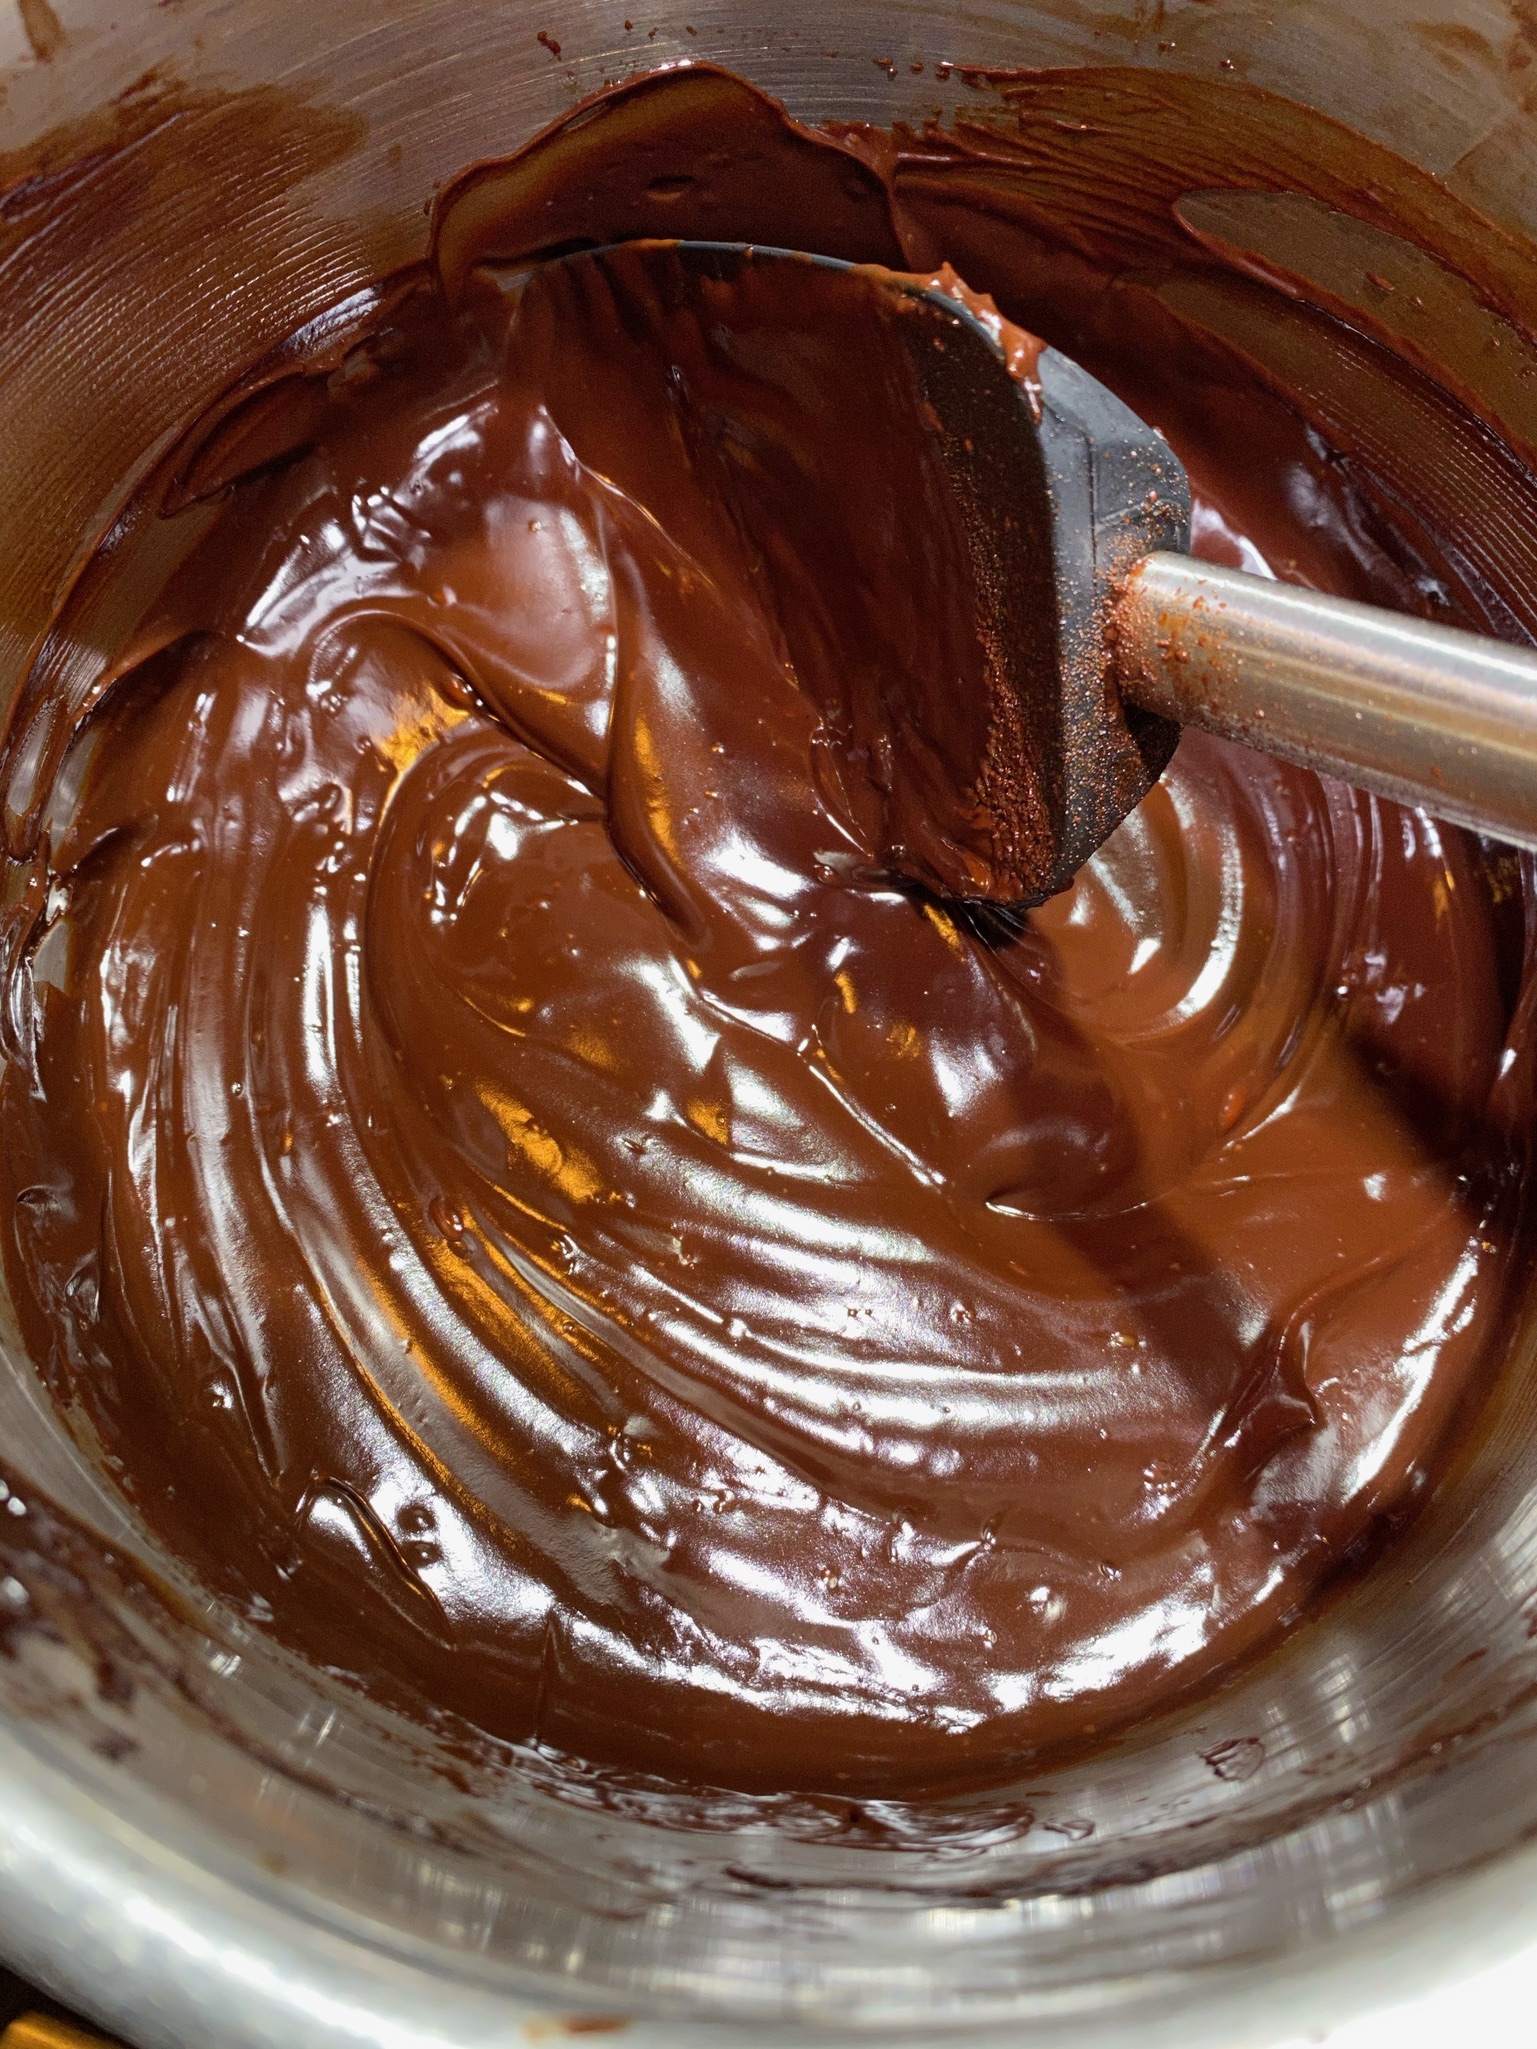
This pudding is so ridiculously easy and so incredibly delicious bookmark this post now.  You will thank me.  I used Planet Oat Milk but the recipe states you can use soy or almond, I’m sticking with oat milk.  I used Dutch-processed cocoa which gives the pudding its intense dark color.  You can use natural cocoa which will give you a lighter-colored pudding, either is fine.  Whisk the dry ingredients together, cocoa, sugar, cornstarch, and salt.  Slowly add the oat milk and then cook it over medium heat, STIRRING constantly so it doesn’t scorch and stays lump-free and smooth.  I used TJ’s Dark Chocolate Pound Plus Bar which resulted in a rich, intense chocolate flavor.  Experiment with different chocolates to change the sweetness and chocolate intensity.

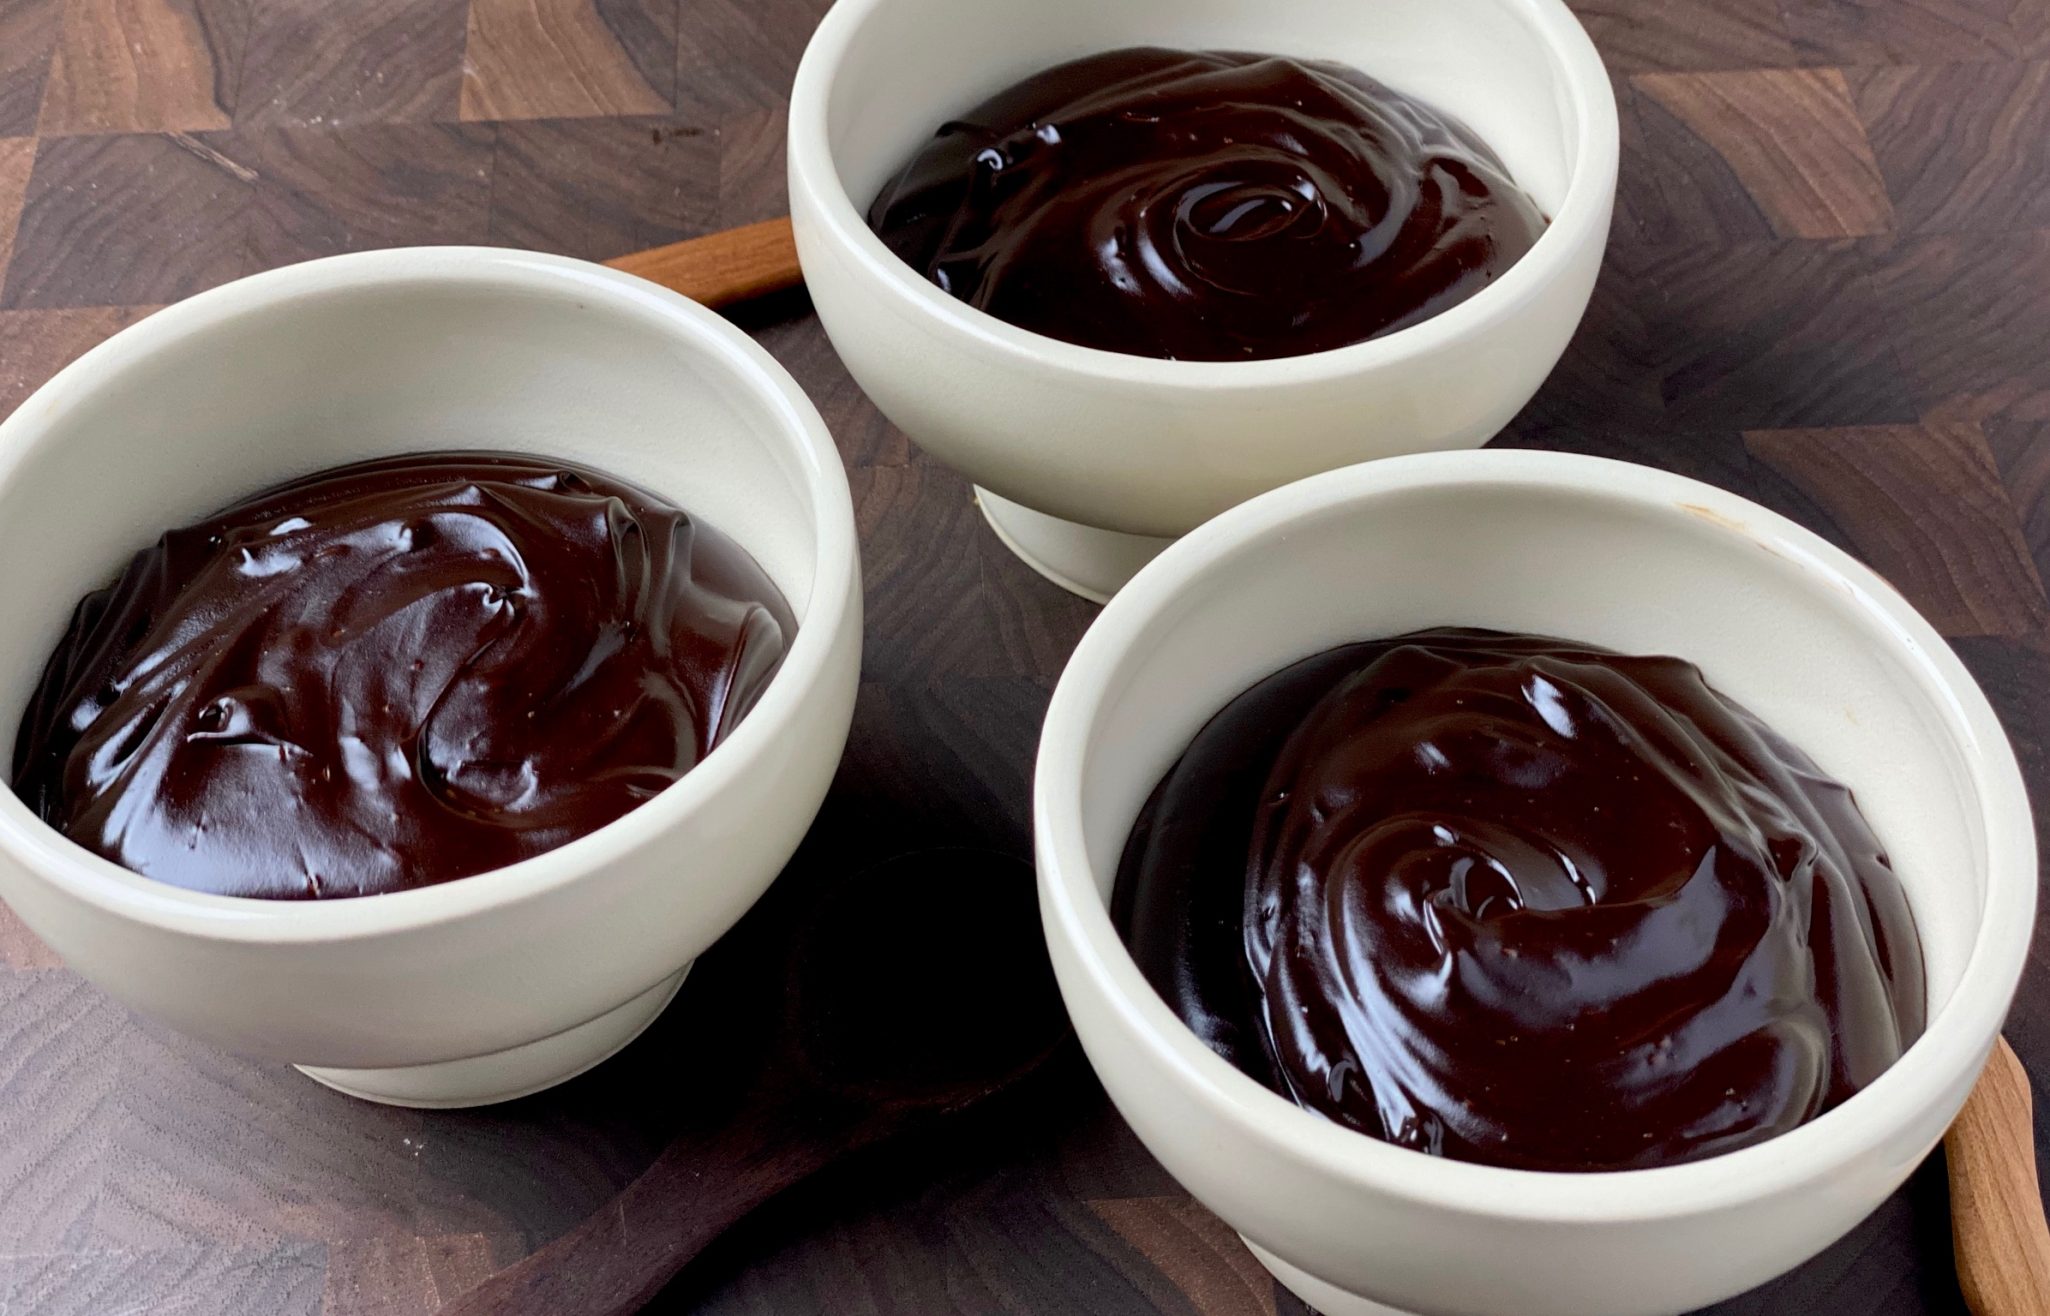
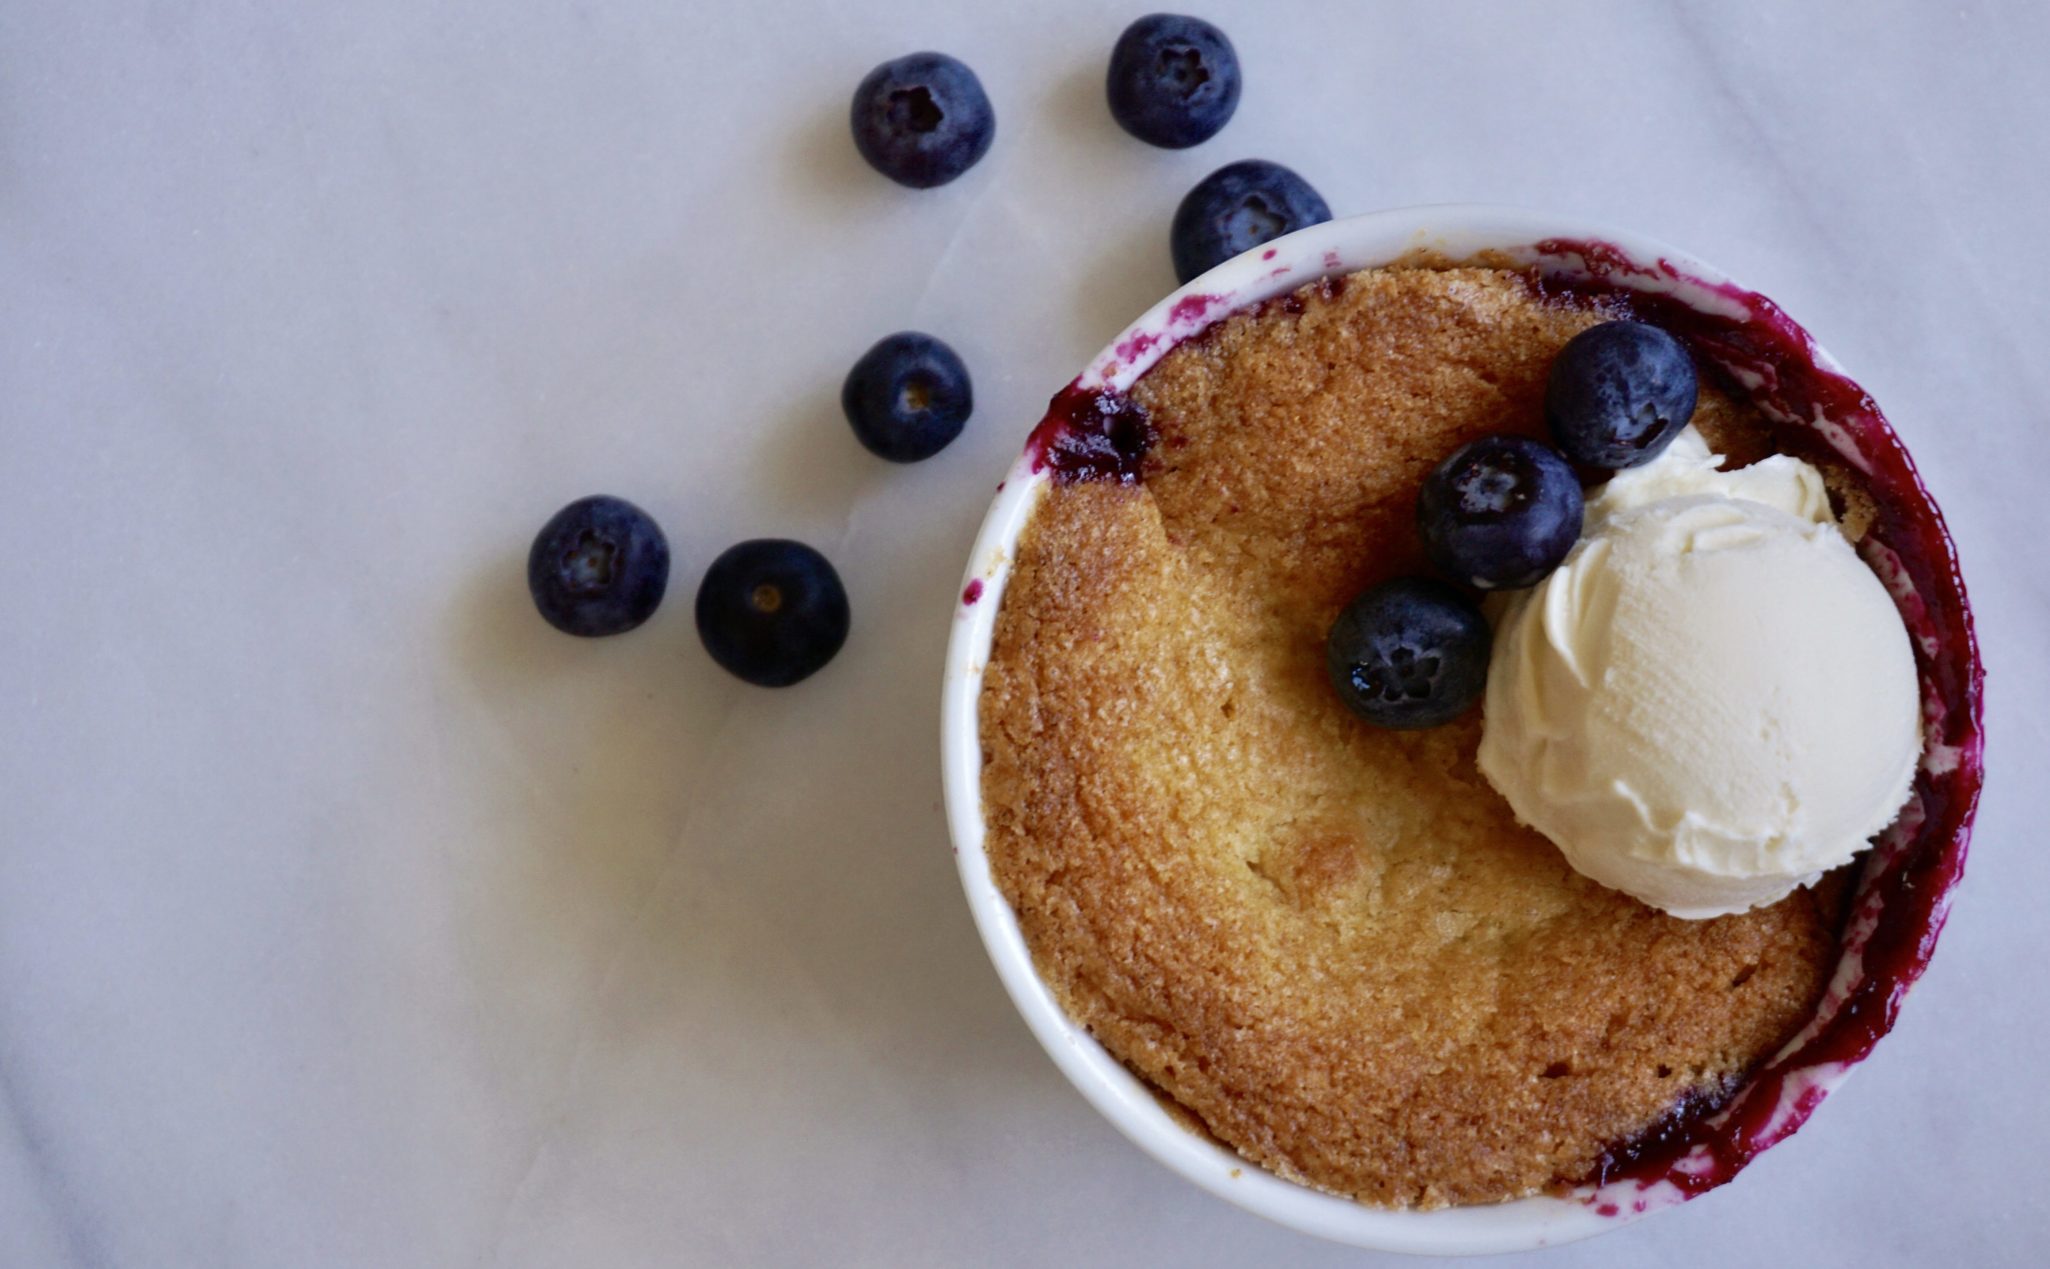
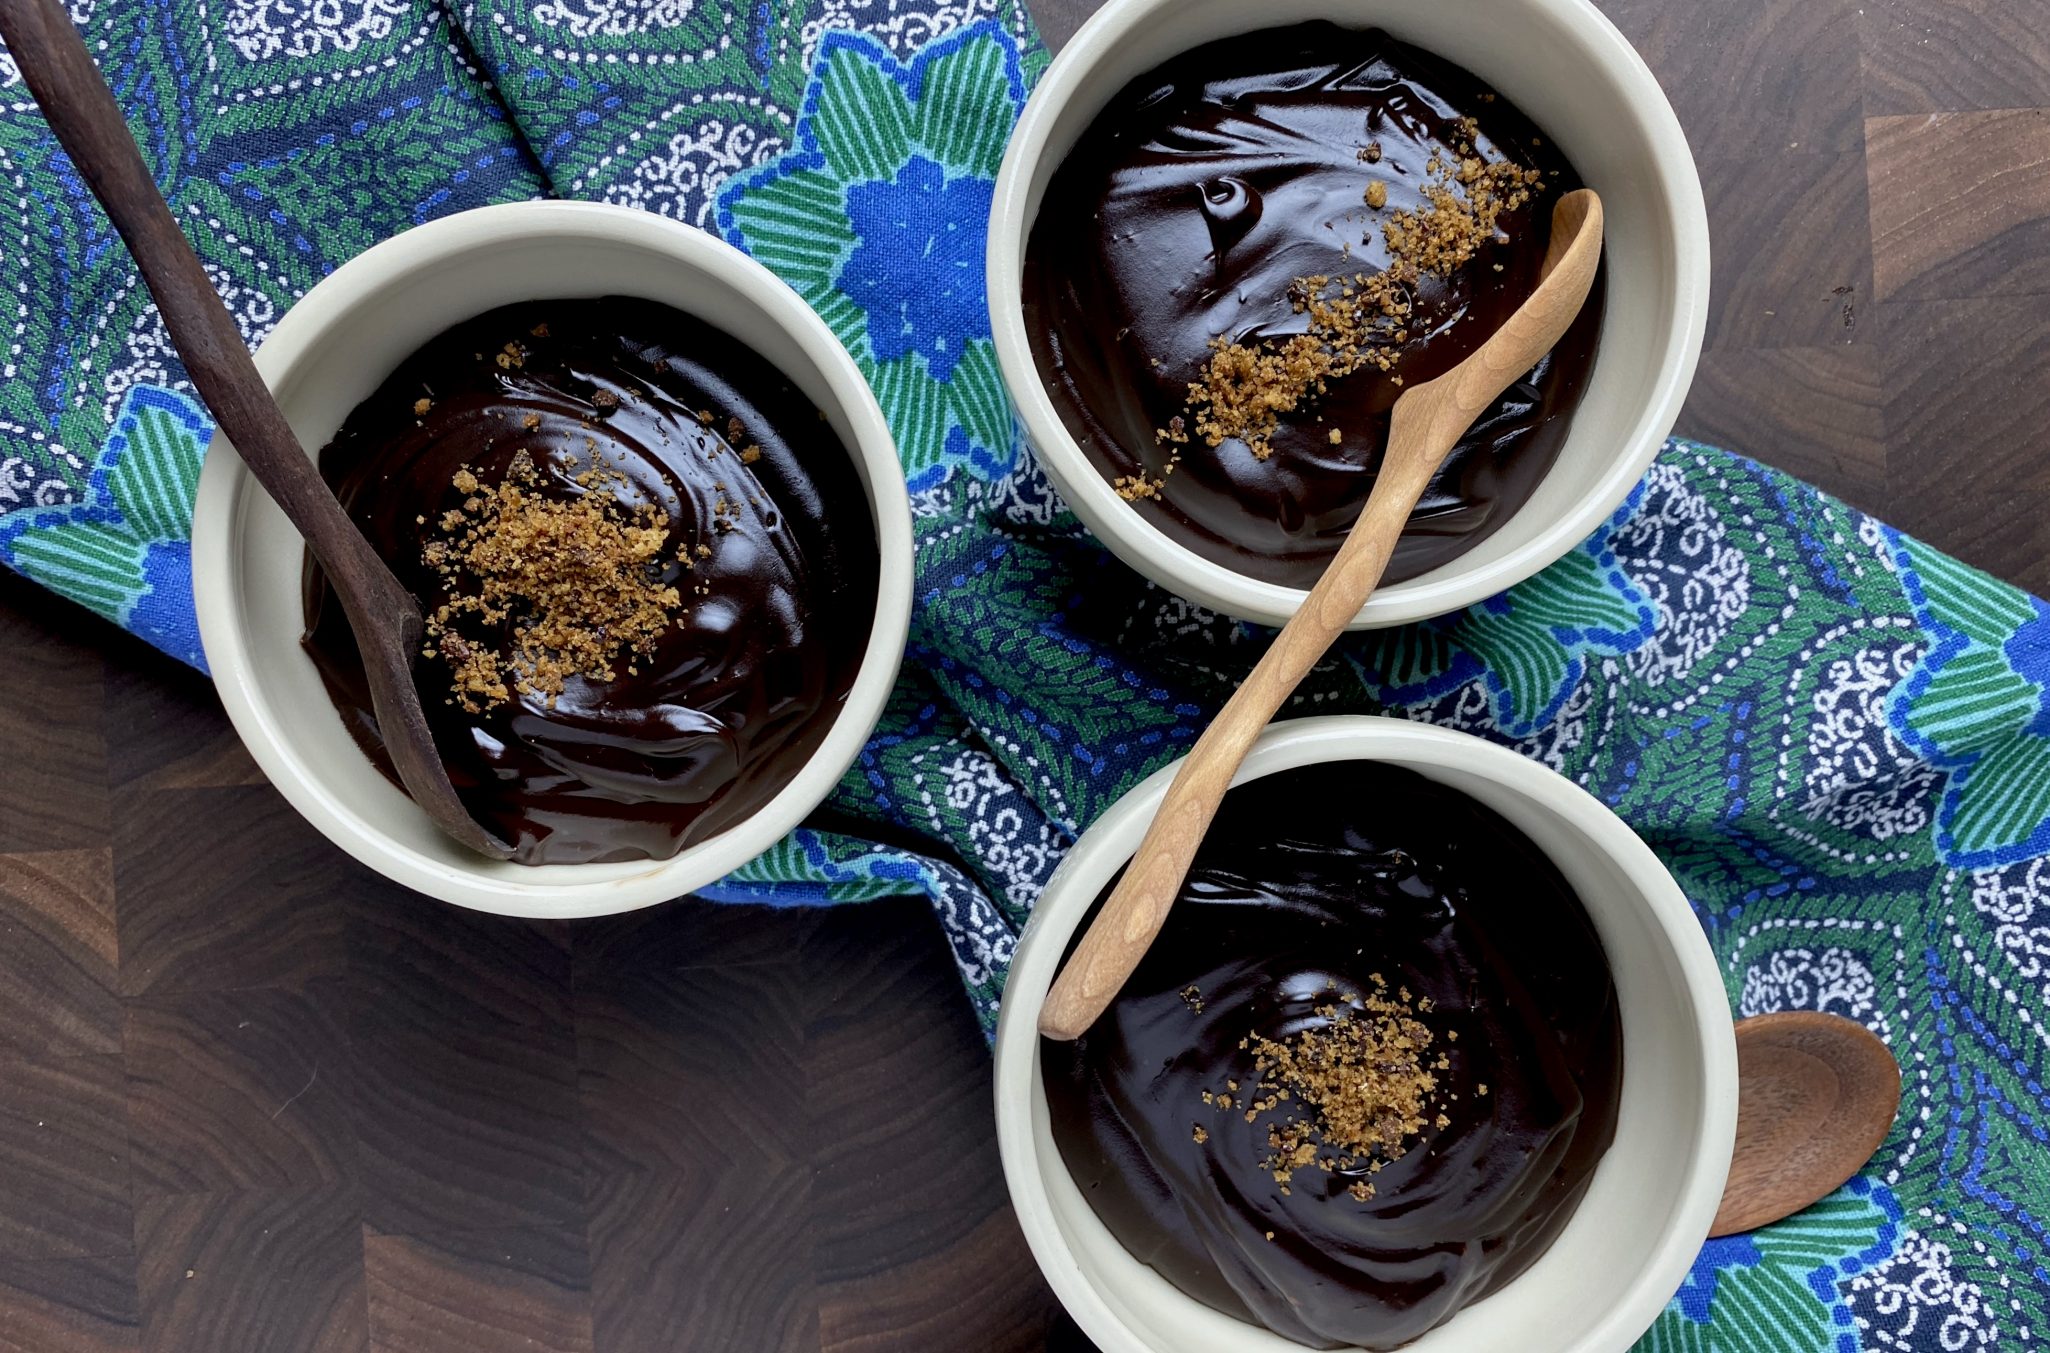
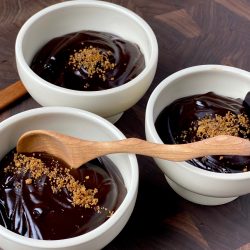
Topped off the pudding with cocoa nib crumble from Manresa and I was in business.  Yummy.  I imagine an infinite variety of toppings would be lovely like softly Whipped Coconut Cream, whimsical sprinkles, flaked coconut, cookie crumbs, or fresh berries.

My little bowl of chocolate pudding did the trick, calmed my nerves, and gave me the courage to…GO TO BED!

Print Pin
5 from 3 votes

Oat Milk Chocolate Pudding

A delicious chocolate pudding from NYT Cooking that is dairy free and vegan
Course Dessert
Cuisine American
Keyword Chocolate Pudding, dairy-free, Dark chocolate, oat milk, Simple Bread Pudding, vegan
Prep Time 10 minutes
Cook Time 10 minutes

Ingredients

  • cup (65 grams) granulated sugar
  • cup (30 grams) unsweetened cocoa powder
  • 2 tablespoons cornstarch
  • teaspoon fine sea salt
  • 2 cups (480 milliliters) oat milk or soy or almond milk
  • 3 to 4 ounces (85 to 115 grams) bittersweet bar chocolate finely chopped, I used TJ's Dark Chocolate, which is accidentally vegan 😉
  • 1 teaspoon vanilla extract

Instructions

  • In a medium saucepan whisk together the sugar, cocoa, cornstarch, and salt. Slowly stir in the milk and stirring constantly until smooth and combined.
  • Cook over medium-low heat. Stir the mixture continuously, scraping the bottom, sides, and corners of the pan, until the pudding thickens, begins to bubble, and coats the back of the spoon or spatula, 5 to 10 minutes. Careful to not let the pudding scorch on the bottom and corner of the pot, lower heat if it cooks too fast or starts to scorch.
  • Add the chocolate and stir vigorously until the pudding is very thick and smooth, about 30 seconds longer.
  • Remove from the heat and stir in the vanilla. Spoon the pudding into a serving bowl or individual cups or ramekins. Serve warm, at room temperature or chilled. It will thicken as it cools. Garnish with whipped cream, sprinkles or chocolate chips or cookie crumbles. Use your imagination!

Notes

Before refrigerating, press plastic wrap onto the surface of the pudding to prevent a “skin” from forming on top.
The pudding will keep in the refrigerator for up to 3 days.
Variation on a Thumbprint: A Cheesy Favorite

Variation on a Thumbprint: A Cheesy Favorite

I wonder who came up with thumbprint cookies?  Was it intentional or a happy accident?  A baker grabbing a cookie sheet only to find she (he) had inadvertently stuck her thumbs in the cookies and thought, well heck might as well fill it with some jam.  And the rest is history as they say.  I actually googled thumbprints but alas no specific info on how they came about, just European in origin perhaps Swedish or Polish.  All I know for sure is the variations are infinite and each and every one is DELICIOUS.  It can be dolled up with nuts or not, filled with any flavor jam or jelly, or fancied up with lemon curd or chocolate ganache filling. Sky’s the limit. The cookie is buttery, with a sandy texture like a shortbread and easy to make.  When my kids were little they were in charge of the very important task of making the “the thumb holes”.

While I was flipping through Vivian Howard’s book Deep Run Roots (love, love, love) I came across a cookie that had BAKE ME written all over it, Hot Apple Jelly Thumbprints.  The twist, no sugar in the dough? A savory thumbprint made with smoked gouda or sharp cheddar and filled with a spicy apple jelly. I stuck two post-it notes on the page to make sure I try this recipe.  Here is a link to the recipe when she made them for a Tabasco Sauce function, yep a hot sauce jam-get it?

Okay, full disclosure.  I made the cookie but not the jelly. The jelly seemed infinitely more time consuming so I CHEATED.  A jar of Peachy Siracha Jam jumped out at me at the market.  It was fate.

As simple as thumbprints are to make a question arose while I was making the cookies.  Hmmm, 1-1/2 cup grated cheese.  Is that finely grated? Coarsely grated? Enquiring minds want to know.  What to do?  Fire off an e-mail to Ms. Howard hoping she will answer?  I did a search which did not turn up anything.  I then looked at Dorie Greenspan’s Cookie book knowing she had a savory section.  Bingo, Smoked Cheese Cocktail Cookies.  (She is my cookie hero).  Her process called for coarsely grated/shredded cheese which is then pulsed with cold butter in a food processor. The cookie becomes even easier to make.  Butter pulsed with the cheese and then add the flour and pulse into the dough starts to clump..done.  How easy is that?  The texture is similar to shortbread with a tiny bit of crunch which I am guessing comes from the cheese caramelizing as it bakes.  I posted the question regarding grating the cheese on Food52 Baking Club and another member told me she finely grated the cheese before mixing the dough in a Kitchen Aid.  The tip came from a Serious Eats article she had read, her cookies came out beautifully, much like a shortbread.  I leave it to you to decide which method you use.

With a 2 teaspoon ice cream scoop I portioned the dough into balls and used my handy-dandy thumb of course for the centers (sadly my kids have flown the coop so I had to use my own thumb).  The original recipe calls for piping the dough out with a pastry bag.  I opted for the scoop method.  The touch of sweetness and spice comes from the jam while the cookie is infused with a savory smokey flavor from the gouda.  A beautiful balance of flavors.  I plan to make these for my next happy hour to go along with that bottle of Cava parked in my fridge.  Can’t wait.

Hot Apple Jelly Thumbprints

Ingredients

  • 2 cups all-purpose flour
  • 1/4 tsp. salt
  • 2 tsp. baking powder
  • 1 cup unsalted butter at room temperature
  • 2 1/2 cups smoked gouda shredded, at room temperature

Tabasco Jelly (recipe below)

    Instructions

    • Preheat oven to 350.
    • Sift the dry ingredients. Using a stand or hand mixer, cream the butter and cheese well. Slowly add the dry ingredients and continue to paddle until nice and fluffy; about 3 minutes.
    • Using a piping bag, pipe about 2 tsp. of the cookie dough onto a nonstick baking surface. Using your thumb, make a small indentation in the center of each round. (You may want to have a little flour on hand to prevent your thumb from sticking.) Pipe or spoon about 1 tsp. Tabasco jelly into each indentation.
    • Bake for 12 minutes, or until lightly browned on the bottom.
    • Yields approximately 5 dozen small cookies.

    Hot Apple Jelly

    • 10 lbs. apples of your choice (If you can find slightly unripe apples, use 5 lbs. ripe and 5 lbs. unripe, as unripe apples have more pectin)
    • 8 cups granulated sugar
    • 1/4 cup lemon juice
    • 1/4 – 1/3 cup Tabasco brand Original Red Sauce, depending on your preference for heat
    • Roughly chop the apples. Include everything—the stems, core, seeds, and skin are all important for pectin. Place the apples in a large pot and cover them with water. Bring the apples up to a boil and cook 10–20 minutes, until they are soft but not falling to pieces. Drain the water off quickly.
    • Place the apples in a colander lined with cheesecloth, and place the colander inside a larger bowl to catch the liquid that drains off. This liquid will be the “meat” of your jelly, so allow it to drain overnight for best results. You should be left with roughly 9–10 cups thickish apple nectar. (If you have more, it’s not a problem; you will just have to increase cooking time.)
    • Place a small plate in the freezer for testing your jelly. Transfer the apple liquid and the sugar to a heavy-bottomed pot and bring it up to a boil. Let this simmer for about 15 minutes. Check where you are by spooning a little of the jelly onto your super cold plate. If it firms up and wrinkles when you nudge it, you’re good to go. If not, cook it longer, testing every ten minutes or so.
    • Once you’ve reached the desired set, stir in the lemon juice and the Tabasco Sauce. The jelly should be a beautiful amber color and should be completely clear. Taste and adjust with more of either. Transfer to a container to chill.
    • In addition to using the Tabasco jelly in these cookies, it would be great served with goat cheese and crackers, or as a glaze over pork chops or ham, or as a sauce for chicken wings. It’s very versatile.


    Blueberry Cobbler with a Cornmeal-Sugar Cookie Crust

    Blueberry Cobbler with a Cornmeal-Sugar Cookie Crust

    Have you been watching A Chef’s Life on PBS? You should. It follows Chef Vivian Howard who after hobnobbing in NYC for a couple of years moved back home to North Carolina and opened a farm to table restaurant. We are not talking Asheville or Charlotte, urban areas where the culinary scenes are blossoming but in her hometown of Kinston (where? get out your AAA map). From Kinston, she is creating beautiful down-home Southern food using local ingredients.
    I may never find myself in Kinston but fortunately, she has written a cookbook, Deep Run Roots, that is filled with tantalizing recipes, gorgeous photos and wonderful stories about her hometown, family and friends. It’s a hefty book organized by ingredients and as I flipped through it I found myself marking quite a few of the recipes.

    One of the many recipes I bookmarked with a post-it note was the Blueberry Cobbler with Cornmeal Sugar Cookie Crust.  Actually ,I might have put 2 sticky notes on it as I am a sucker for homey desserts like cobblers.  Start early if you want to make this as both the crust and the blueberries need “sitting” time. While the dough for the topping chills, the blueberries macerate in sugar and lemon juice.  Let me just tell y’all now, this cobbler is AMAZING.  The crust is tender and buttery with an ever so slight crunch from the cornmeal, it literally melts in your mouth.  Bubbling underneath is a sweet blueberry compote brightened by lemon zest and juice.  Of course, I took it up another notch by adding a scoop of vanilla ice cream.  Sometimes you just gotta go for it.

    The nitty gritty.  I haven’t quite figured out the different types of cornmeal, stone ground vs. regular milled I am definitely open to advice or info on the different kinds.  I used Bob’s Red Mill Stone Ground Corn Flour which is pretty fine with just a slight crunch.  I tried fine stone ground cornmeal in scones before and was not crazy about the grittiness.  I guess I would choose whichever cornmeal you use and like for cornbread for this cobbler.

    The crust is not a dough you would roll.  It is similar to a drop cookie dough.  I scooped out 1/3-1/2 cup portions and used saran wrap (it’s sticky) to shape the dough into 1/2 inch thick discs for my ramekins.  You could do the same for a 9×12 pan or any comparable sized baking dish and lay the discs side by side covering as much fruit as possible.

    If using ramekins reduce the baking time to about 30 minutes.  Make sure to use a tray or sheet as they will bubble over (a picture is worth a thousand words).  I made half the recipe filling which filled four one cup ramekins.  I stashed the extra dough in the fridge for another day.

    I plan on trying different berries and seasonal fruits with this recipe.  I’m already dreaming about  mixed berries (strawberries, blackberries and blueberries) and summer stone fruit (peaches, nectarines, plums) versions.

    Blueberry Cobbler with Cornmeal Sugar Cookie Crust from Deep Run Roots

    Course comfort food, Dessert
    Cuisine American
    Keyword blueberry, butter, cobbler, cornmeal, vivian howard

    Ingredients

    For the Filling:

    • 2 pound fresh blueberries or fruit of choice berries, stone fruit
    • 3/4 to 1 cup sugar
    • 4 tablespoons lemon juice
    • Zest of 2 lemons removed with microplane
    • 1 teaspoon salt

    Cornmeal Sugar Cookie Crust:

    • 1 1/2 cups or 3 sticks unsalted butter softened
    • 1 cup granulated sugar
    • 1 tablespoon light brown sugar
    • 1 large egg
    • 2 teaspoons vanilla extract
    • 1 cup A.P. flour
    • 1 cup cornmeal
    • 1/2 teaspoon baking powder
    • 1/2 teaspoon salt

    Instructions

    Make the Filling:

    • Put all the ingredients in a bowl and press down with the back of a spoon to burst some of the berries. Stir it all together and cover.
    • Let the berries and sugar hang out for about two hours or overnight, stirring when it’s convenient.
    • After about two hours, lots of juice would have leeched out of your fruit. Strain the juice and and add it to a small saucepan. Reduce the juice by half, or until it’s nice and syrupy. Add the syrupy stuff back to your fruit and stir to combine. It should coat and cling to the fruit like that scary cherry pie filling from the can.

    Make the Crust:

    • Combine the flour, baking powder and salt in a small bowl. Cream together the butter and sugars in a mixer fitted with the paddle attachment until light and fluffy. Add the egg and vanilla and paddle to incorporate. Slowly add the flour until just combined.
    • Remove the dough from the bowl, cover it well with plastic wrap, and let it rest. The cookie dough can be made several days in advance. You could even make a larger batch, freeze it.

    Assemble the Cobblers:

    • Butter your 9x12 oven-safe dish and spoon the fruit into it. Or if you have ramekins/souffle dishes you can make individual servings.
    • What’s important is the filling to topping ratio. For every 1 1/2 inch of filling, you want 1/2 inch cookie crust. If your dishes go deeper, just increase both by the ratio.
    • If your topping is chilled, allow it to come to room temperature. Generally for something like this, you would be instructed to flour your work surface and roll out the dough, but for this recipe, that doesn’t really work. So just take your hands, grab a nice ball of the soft, kind of sticky dough and flatten it out between your palms until it’s approximately 1/2 inch thick. Lay that flattened, irregular disk on top of the fruit and move on to your next handful. The goal is to pretty much cover the fruit filling, without overlap but with very little exposed fruit in between. (I used plastic wrap to shape the dough)
    • Ideally you want to place the baking dish on top of a larger cookie sheet because, chances are, it’s going to bubble over, and I think that’s a good thing (unless I’m washing the dishes).
    • Bake it at 350 for about an hour. The top should be really nice and brown, not pale, but dark golden and slightly crispy looking.
    • Individual dishes will bake in less time, approximately 30 minutes.

    Tips/Techniques

    • We’ve used the obvious like blueberries, blackberries, cherries, strawberries, plums, apricots and peaches for sure. But we’ve also used figs, apples, oranges, and a combination of tangerines and cranberries for a festive looking holiday cobbler. Feel free to combine fruits and add spices to suit the occasion. Clove, allspice and cinnamon work well with fruits like fig and apple.