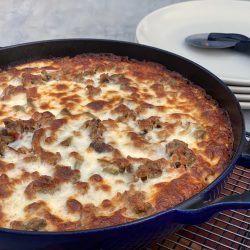
Creamy Cashew Udon with Crispy Mushrooms
I’m not a vegetarian but we are making a concerted effort to eat less meat and more veggies. Good for us and good for the planet. It’s much easier now with so many cookbook authors, bloggers, and chefs being much more veggie-forward.
The first new year recipe I tried was Cauliflower Steaks with a Smoky Tomato Rub from Cook the Vineyard. Delicious, off to a good start! I also received Hetty McKinnon’s To Asia with Love during the holidays. A nod to her Chinese roots, she has penned a beautiful cookbook that relies on vegetables. But before I even cracked open the book I found this recipe from her, Creamy Cashew Udon with Crispy Mushrooms, in Bon Appetit. It’s so good.
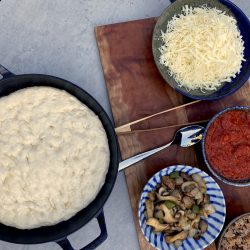
The recipe can be broken down into 3 parts. The creamy cashew sauce, the umami-filled chili crisp, soy, vinegar sauce, and the noodles.
Cashew Sauce
Who knew? Blending cashews with water, garlic makes an amazing, creamy, rich sauce that is the perfect stand-in for heavy cream.
It is super versatile, add herbs and spices for a sauce over roasted vegetables like carrots and broccoli. Or add some tahini for a sesame flavored sauce. Yummy. I know, cashews can be pretty darn expensive. I buy mine at Costco or local Indian markets which helps save some buckaroos,
The base sauce is cashews, water, garlic, salt, and a bit of oil. It’s genius. The cashews are hydrated first, in hot water, before tossing them in a blender or food processor with other ingredients and whirred into a sauce that provides flavor and a wonderfully creamy, decadent sauce. Shazam.
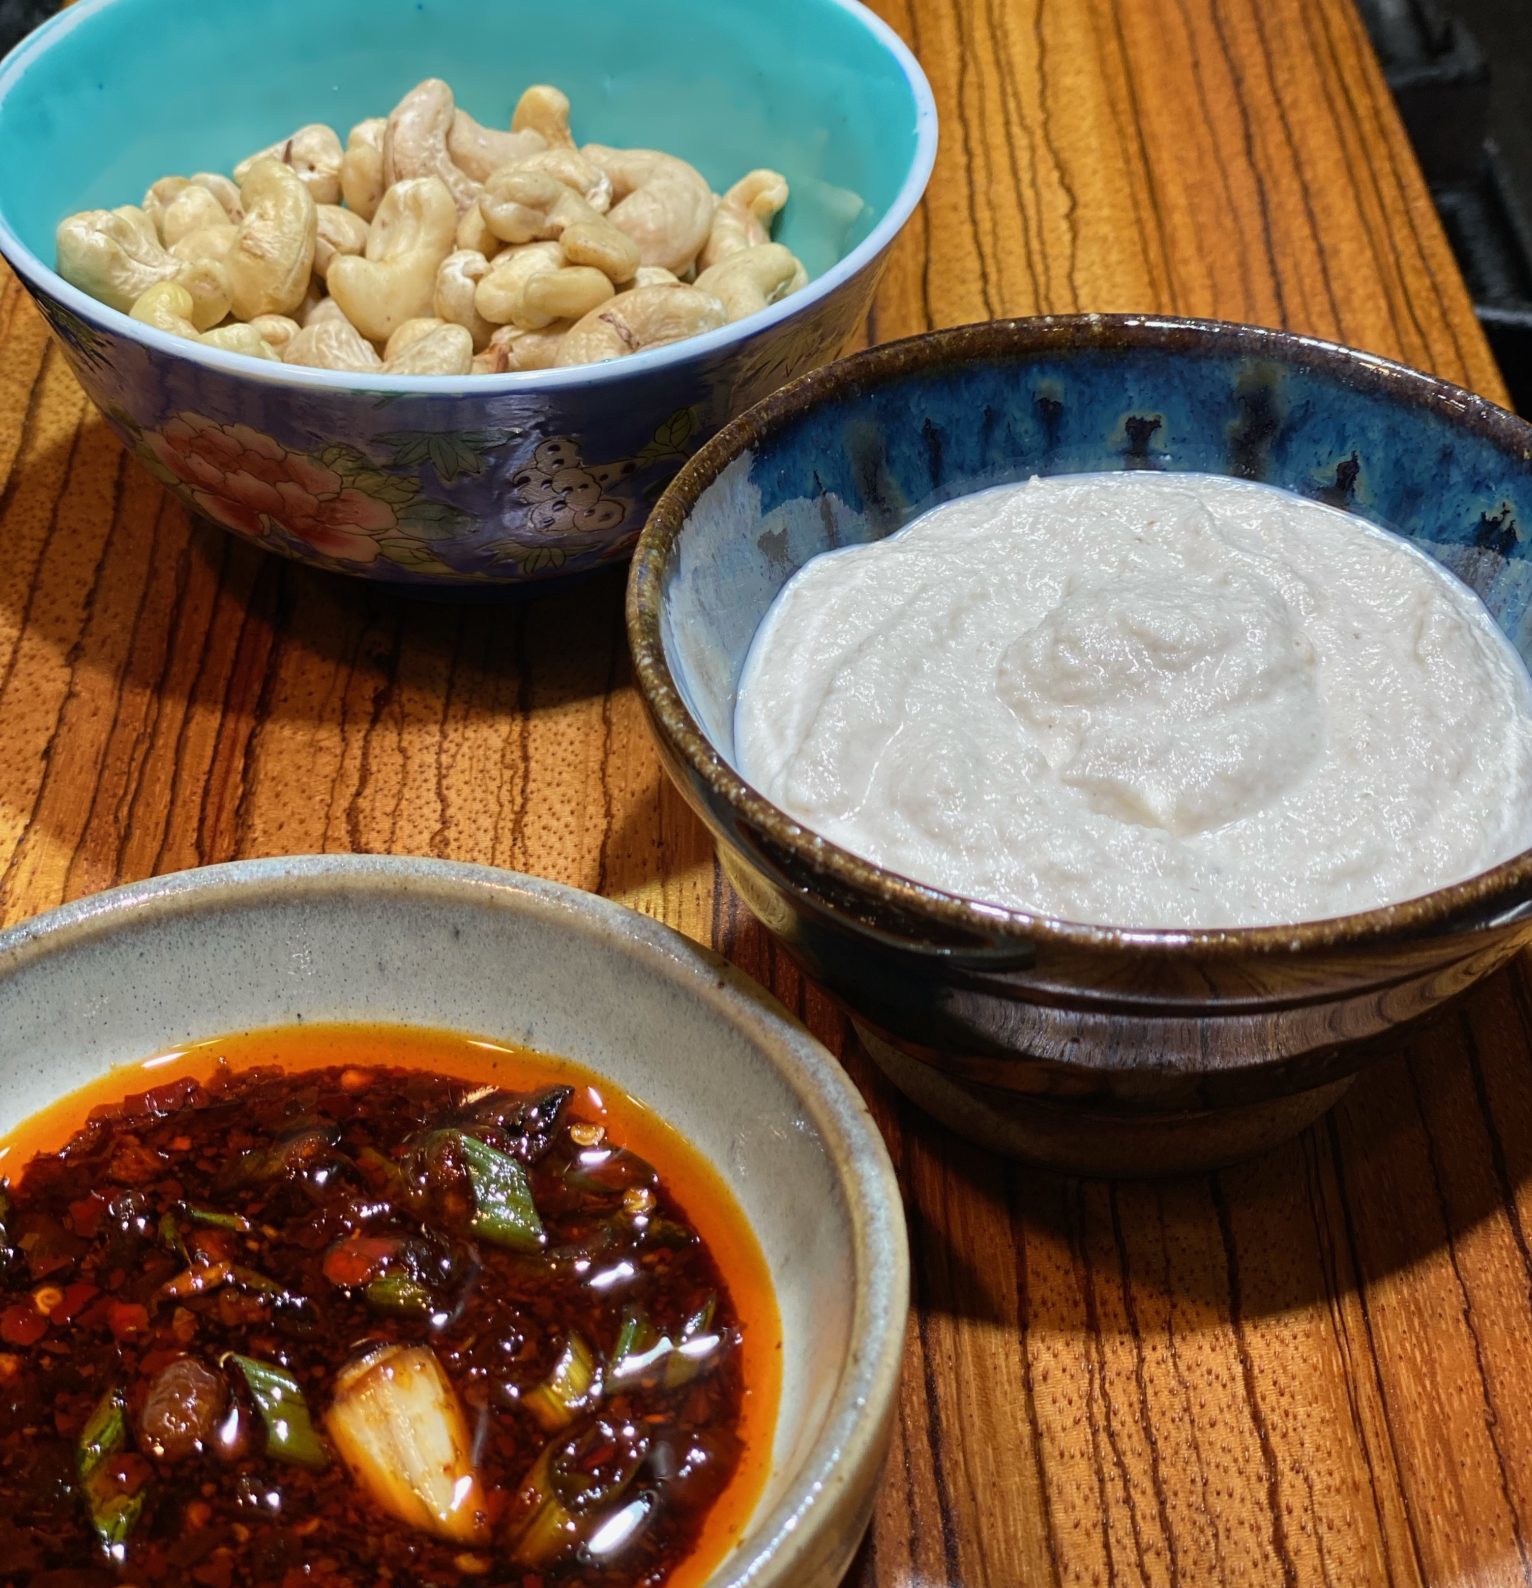
Chili Oil
The chili sauce comes together quickly and provides that burst of flavor that brings it all together. Use your favorite Chili Crisp Oil. I use either the OG of Chili Crisp Oils, Lao Gan Ma, or Momofuku Chili Crisp. Hetty McKinnon has a homemade chili crisp oil in her book. It’s on my bucket list of things to try.
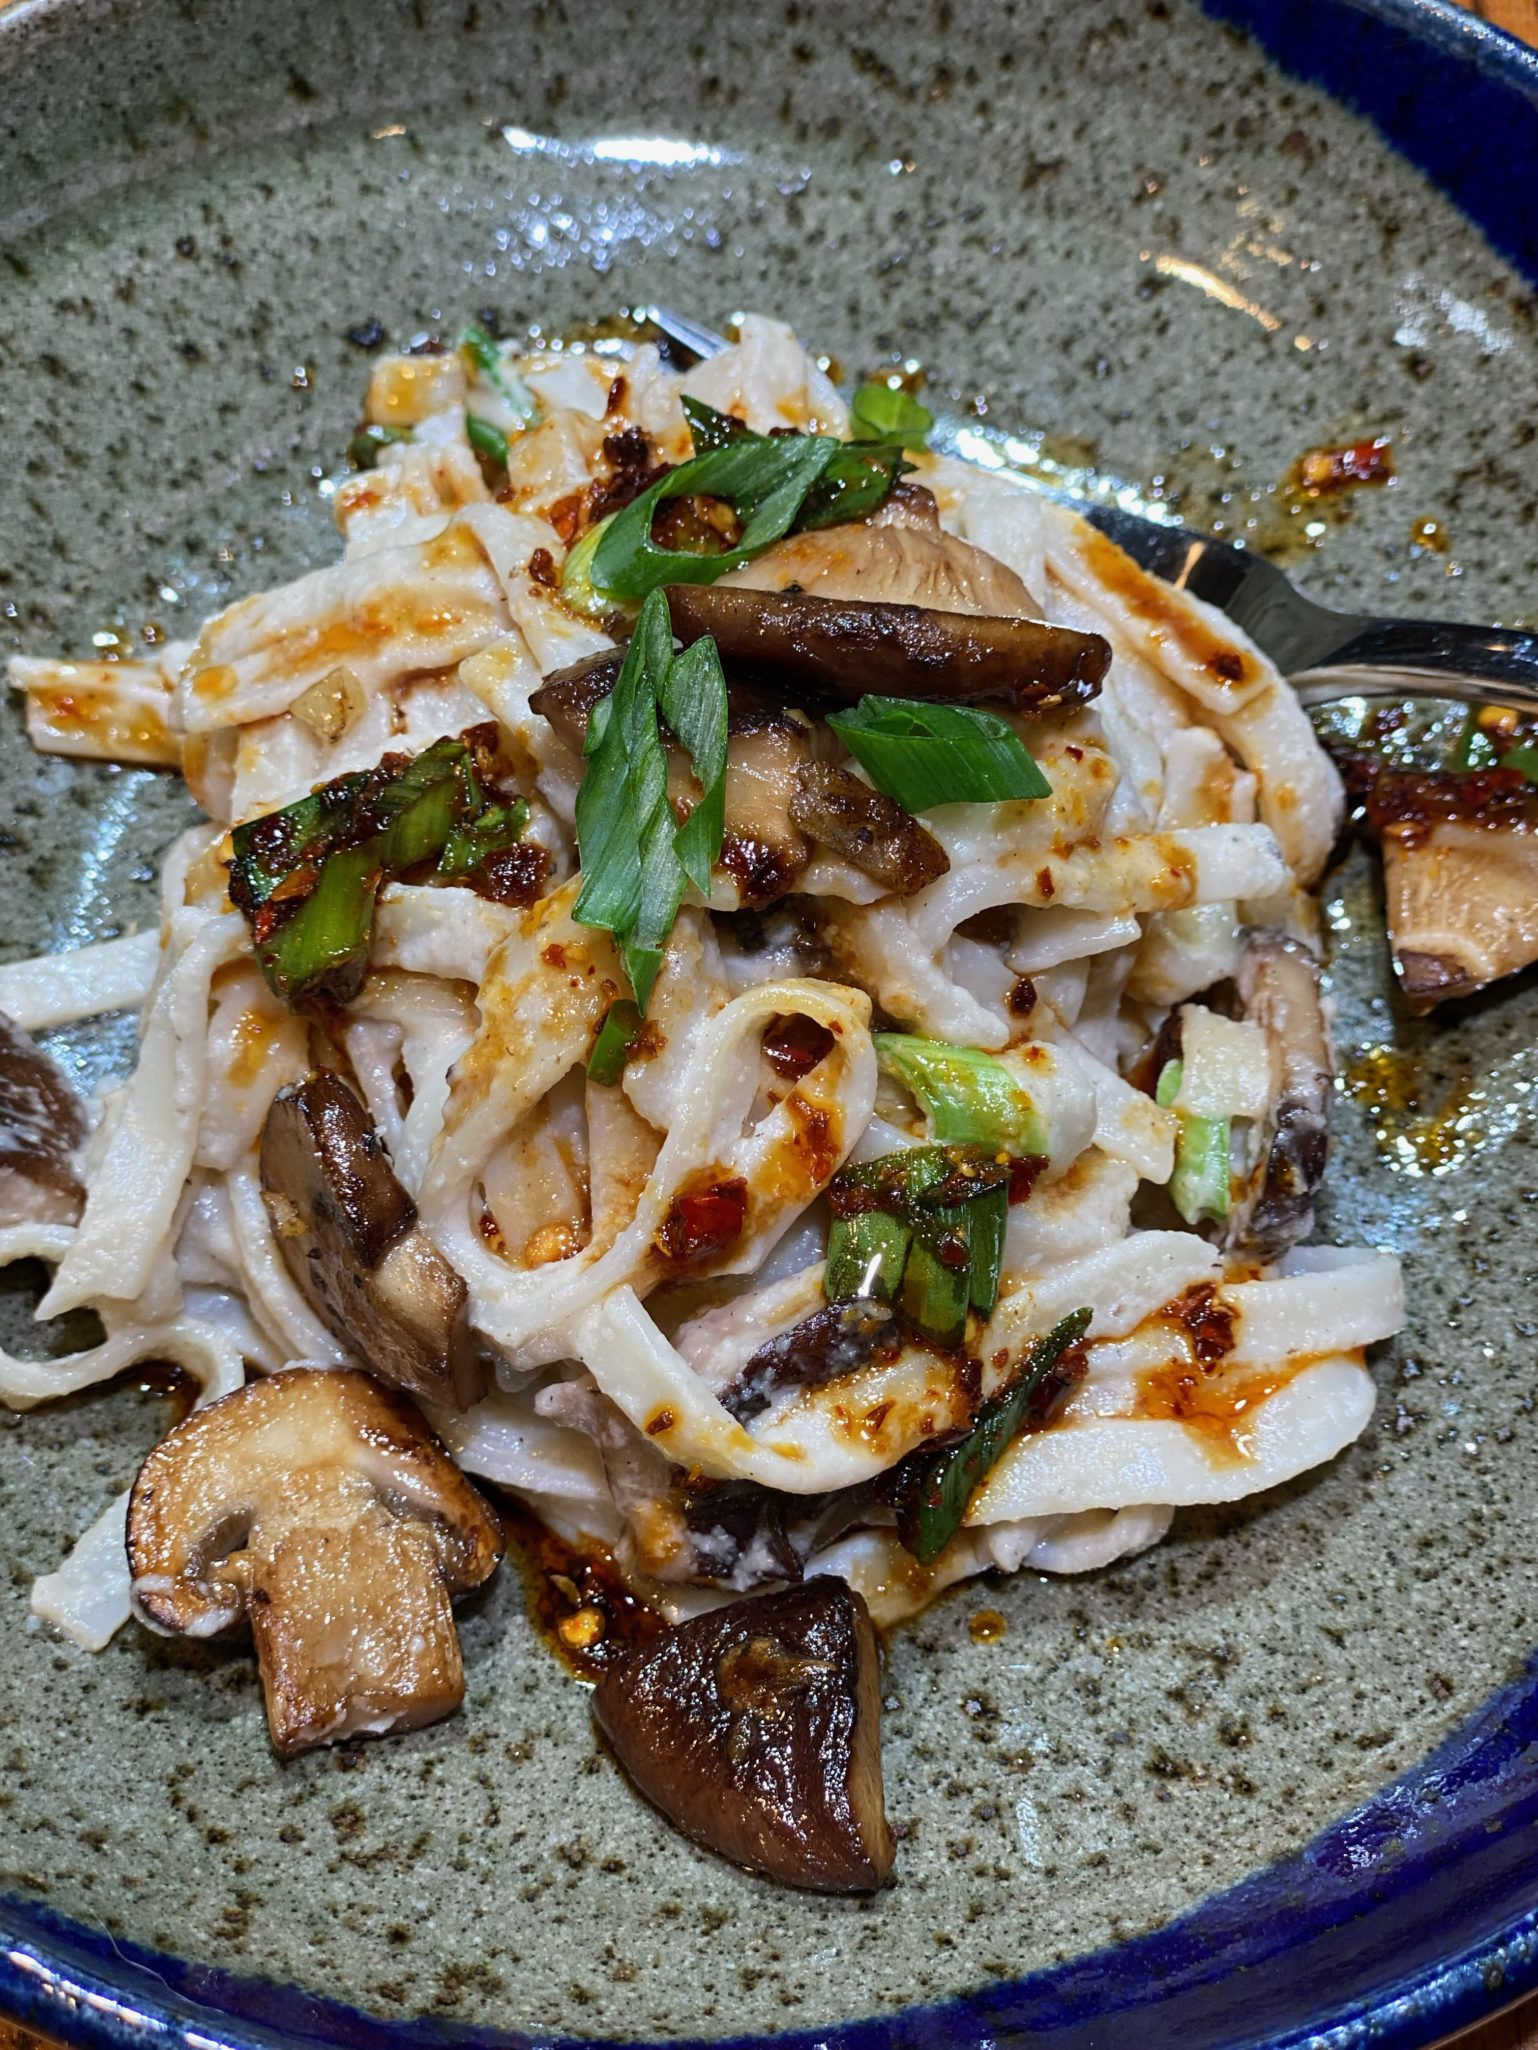
The Noods
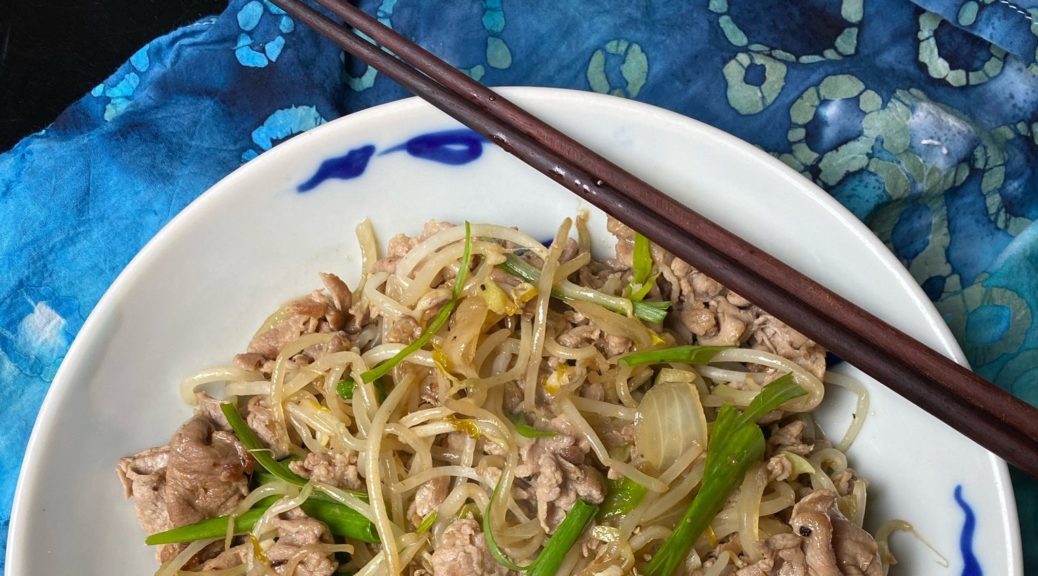
Udon noodles are Japanese wheat noodles that are thick and springy. Often overshadowed by its flashy cousin ramen. It is served in soup, hot or cold, and stir-fried. My fav is in soup with shreds of beef, Niku Udon, with Aburaage, fried tofu, or simply with an egg. Here is my Udon primer. It works really well in this dish, the creamy sauce coats the thick, sticky udon nicely. The noodles have a nice bite that compliments the mushrooms. BUT, you could use different noodles, keep in mind you’ll want a thicker noodle, one that can stand up to the sauce (so not thin vermicelli noodles). For a gluten-free option, a wide rice noodle would work well.
Not gonna lie, always going to love meat, but folks like Hetty McKinnon are making it much easier to make our meals much more veggie-centric. This pasta dish is going in the regular rotation!
Creamy Cashew Udon with Crispy Mushrooms
Ingredients
CASHEW CREAM
- 1 cup raw cashews
- 1 garlic clove coarsely chopped
- 1 Tbsp. extra-virgin olive oil
- ½ tsp. Diamond Crystal or ¼ tsp. Morton kosher salt
Chili Oil
- 2 Tbsp. Chinkiang or Chinese Black Vinegar
- 2 Tbsp. chili crisp or chili oil
- 2 Tbsp. soy sauce
- 1 Tbsp. toasted sesame oil
- 1 scallion thinly sliced
The Shrooms
- 2-3 Tbsp extra-virgin olive oil
- 1 lb. oyster shiitake, crimini, or button mushrooms, cut into bite-size pieces
- 1 clove garlic finely chopped
- ½ tsp. Diamond Crystal or ¼ tsp. Morton kosher salt plus more serving
- Freshly ground black pepper
Noodles and Garnish
- 28 oz. fresh or frozen udon noodles Substitute wide rice noodles for gluten-free option.
- 2 scallions thinly sliced
Instructions
Cashew Cream
- Bring a large saucepan of water to a boil, then remove from heat. Add cashews and let sit until tender, 30–60 minutes.
- Drain cashews and transfer to a blender (preferably high-speed) or food processor. Add garlic, oil, salt, and ½ cup water and purée until smooth.
Umami Sauce
- Stir vinegar, chili crisp, soy sauce, sesame oil, and scallion in a small bowl to combine; set soy-vinegar sauce aside.
- Heat 2 Tbsp. olive oil in a large skillet over medium-high. Cook mushrooms, tossing every minute or so but leaving mostly undisturbed, until mostly golden and crisp, 5–8 minutes, oyster and shiitakes will cook quicker, while crimini and button mushrooms will take a bit longer. Add garlic and kosher salt, cook, stirring often, add additional tablespoon of olive oil if the mushrooms look dry.
Noodles
- Meanwhile, bring a large pot of salted water to a boil. Cook noodles according to package directions. You can use udon or any wide, thick noodle. For gluten-free option use rice noodles. Drain, reserving 1 cup cooking liquid.
- Remove half of the mushrooms from the pan. Add noodles and cashew cream to pan with remianing mushrooms cook, stirring and adding reserved cooking liquid a little at a time, until cream is loose and coats noodles. Season with salt and pepper.
- Divide noodles among bowls, garnish with reserved mushrooms generously drizzle each with reserved soy-vinegar sauce. Top with remaining scallions. Serve.
Notes