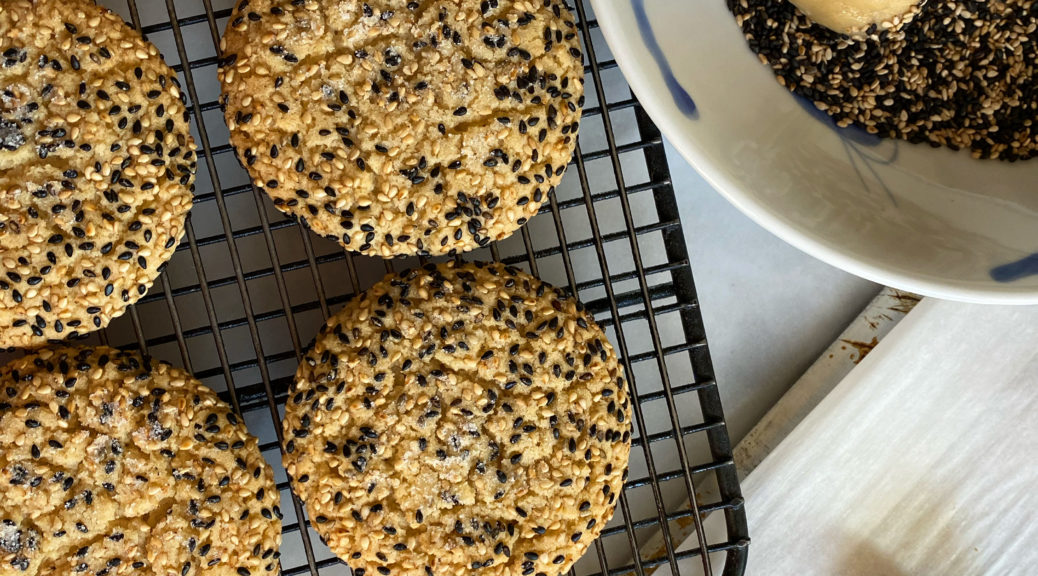
Chew On This! Toasted Sesame Cookies
How’s the New Year’s Resolution thing going? I’ve gotten strategic, I only make new year’s resolutions that are fun. That way I stand a chance of actually following through on them. One of my perpetual resolutions is to make a concerted effort to actually use the many cookbooks I have collected. Don’t laugh, it may not sound like a resolution but it is.
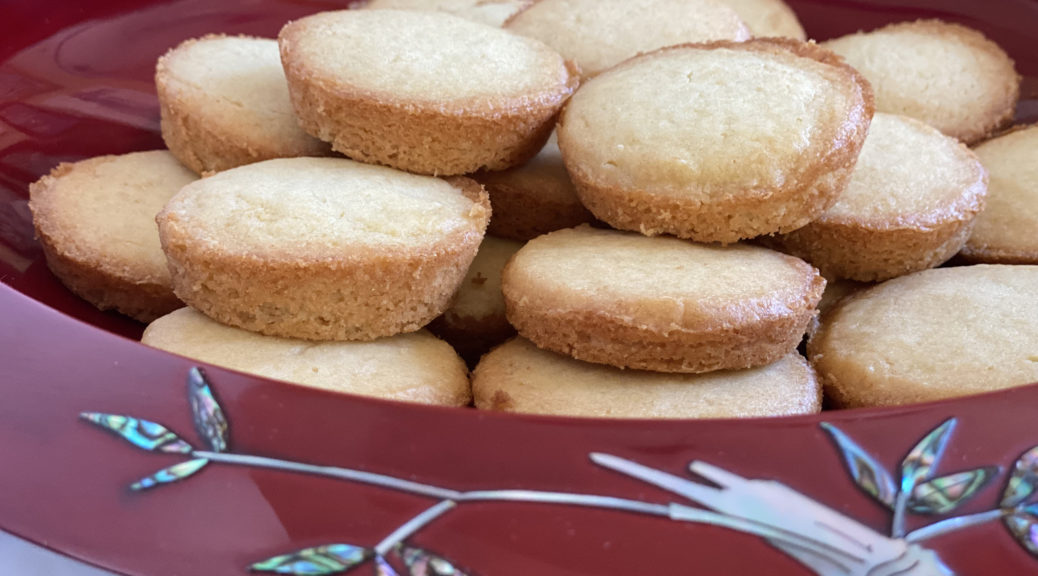
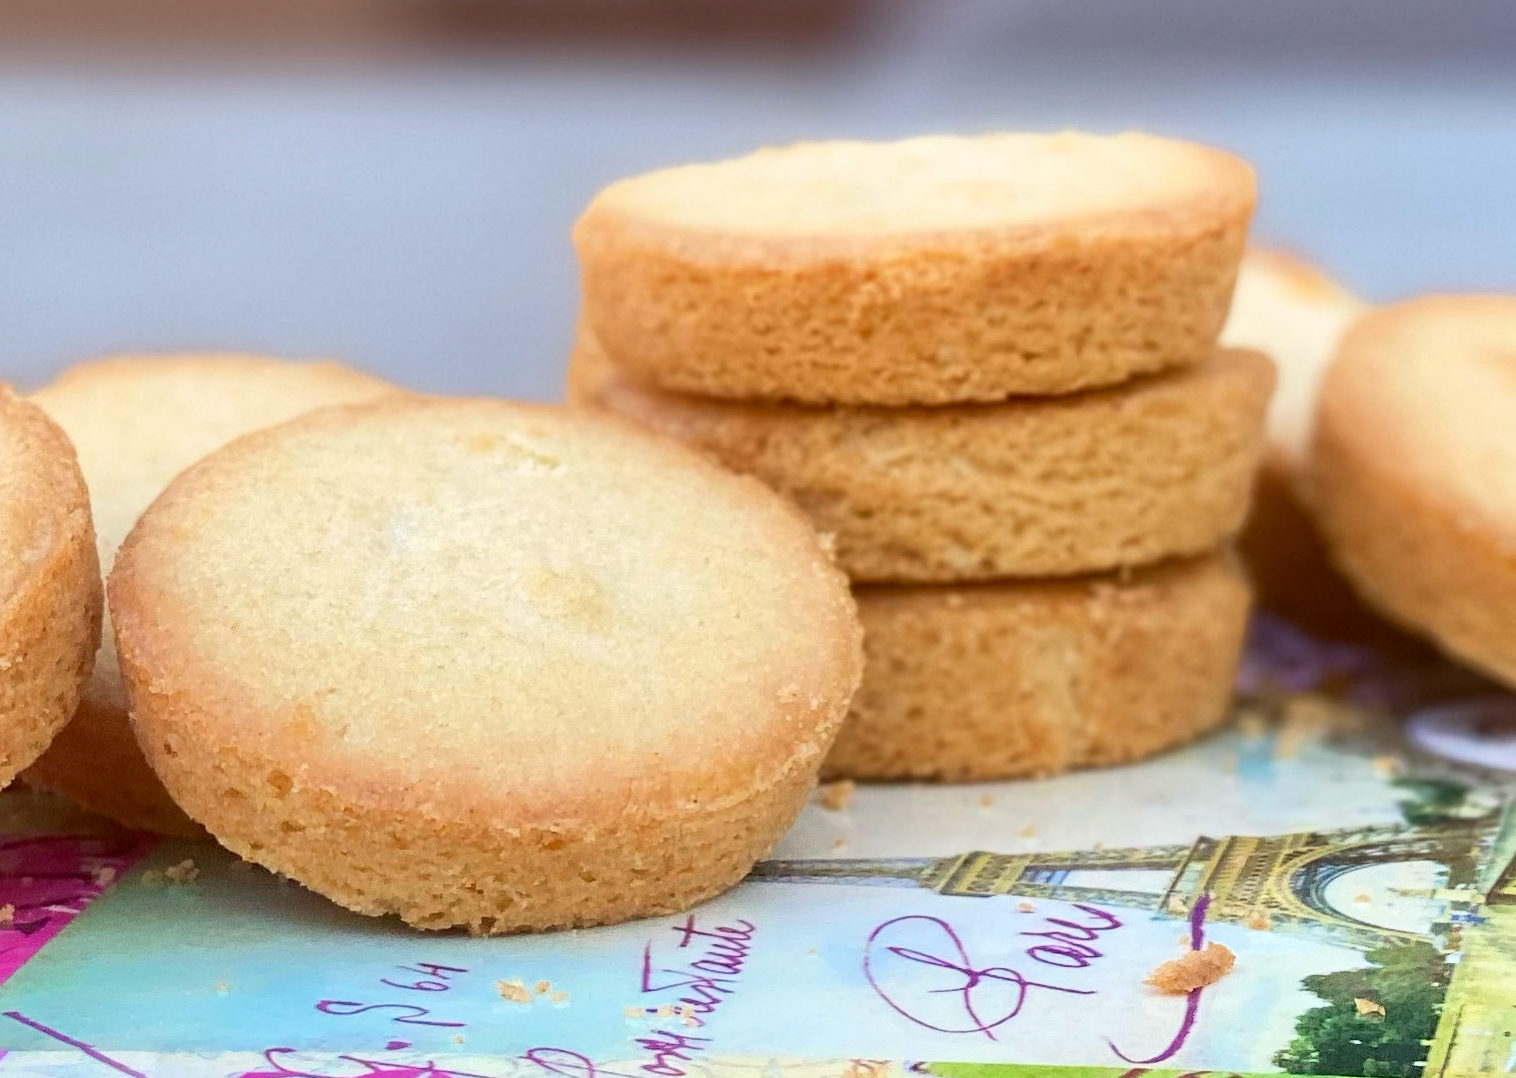
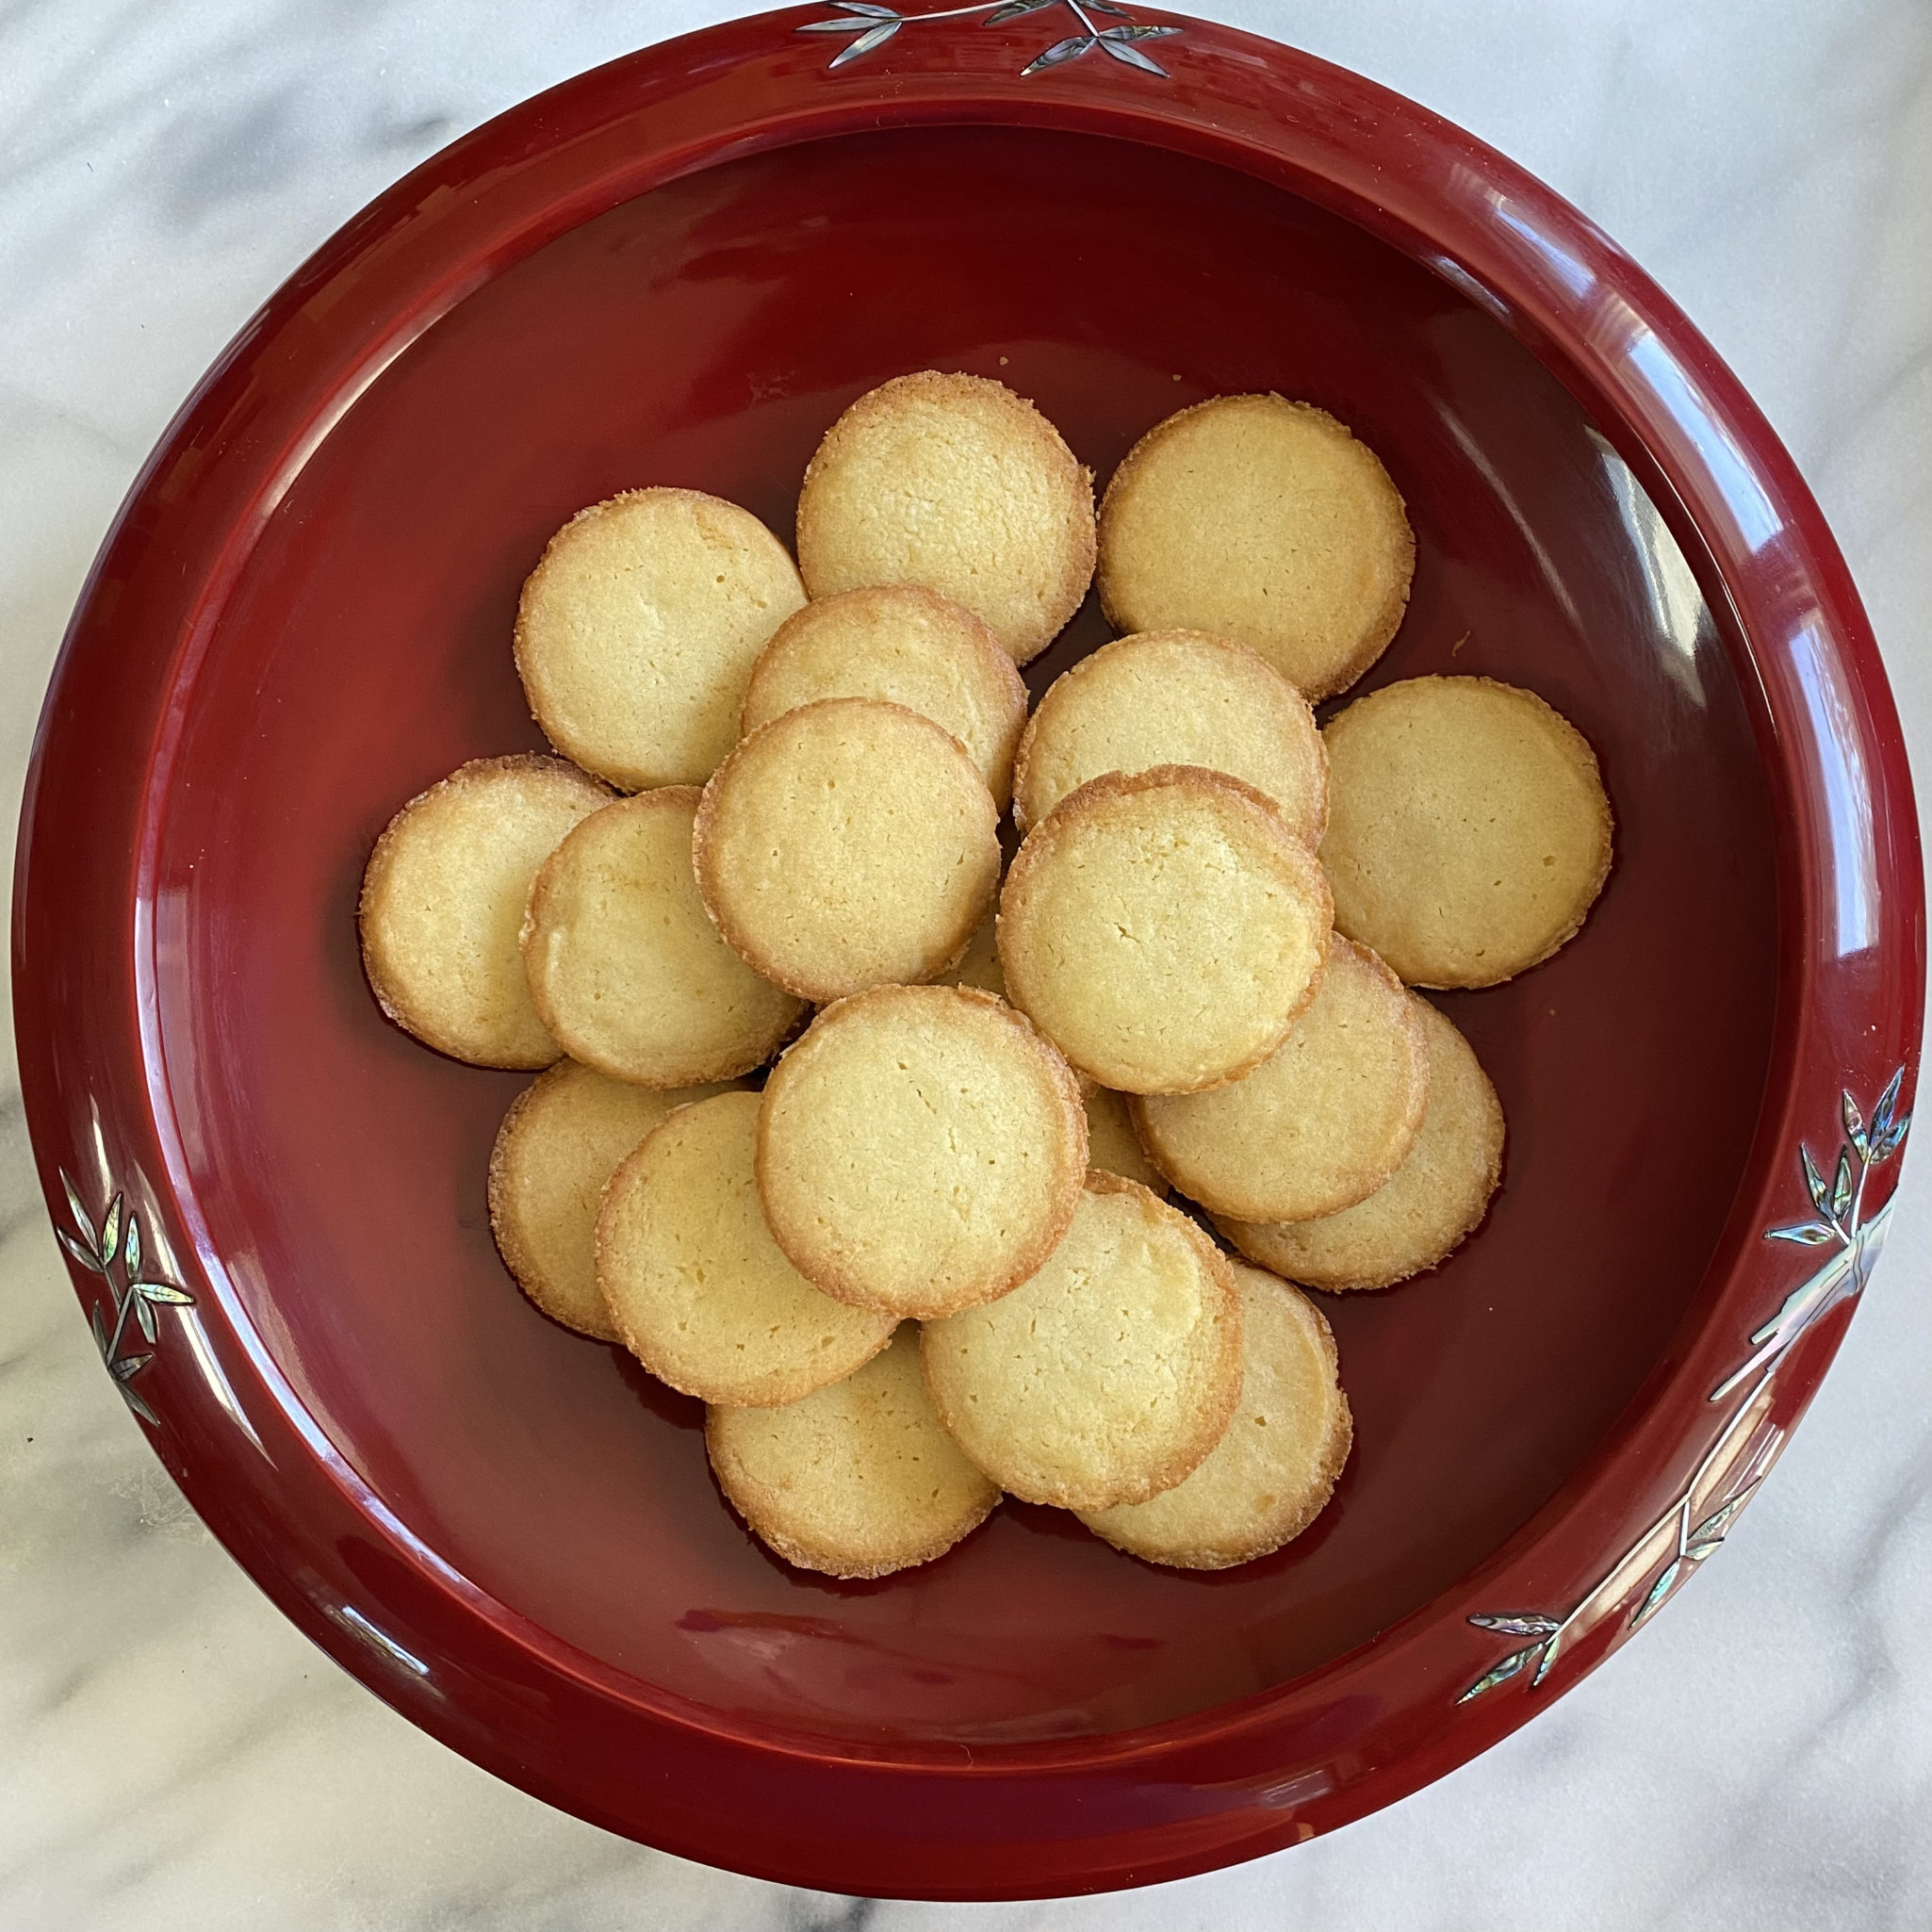
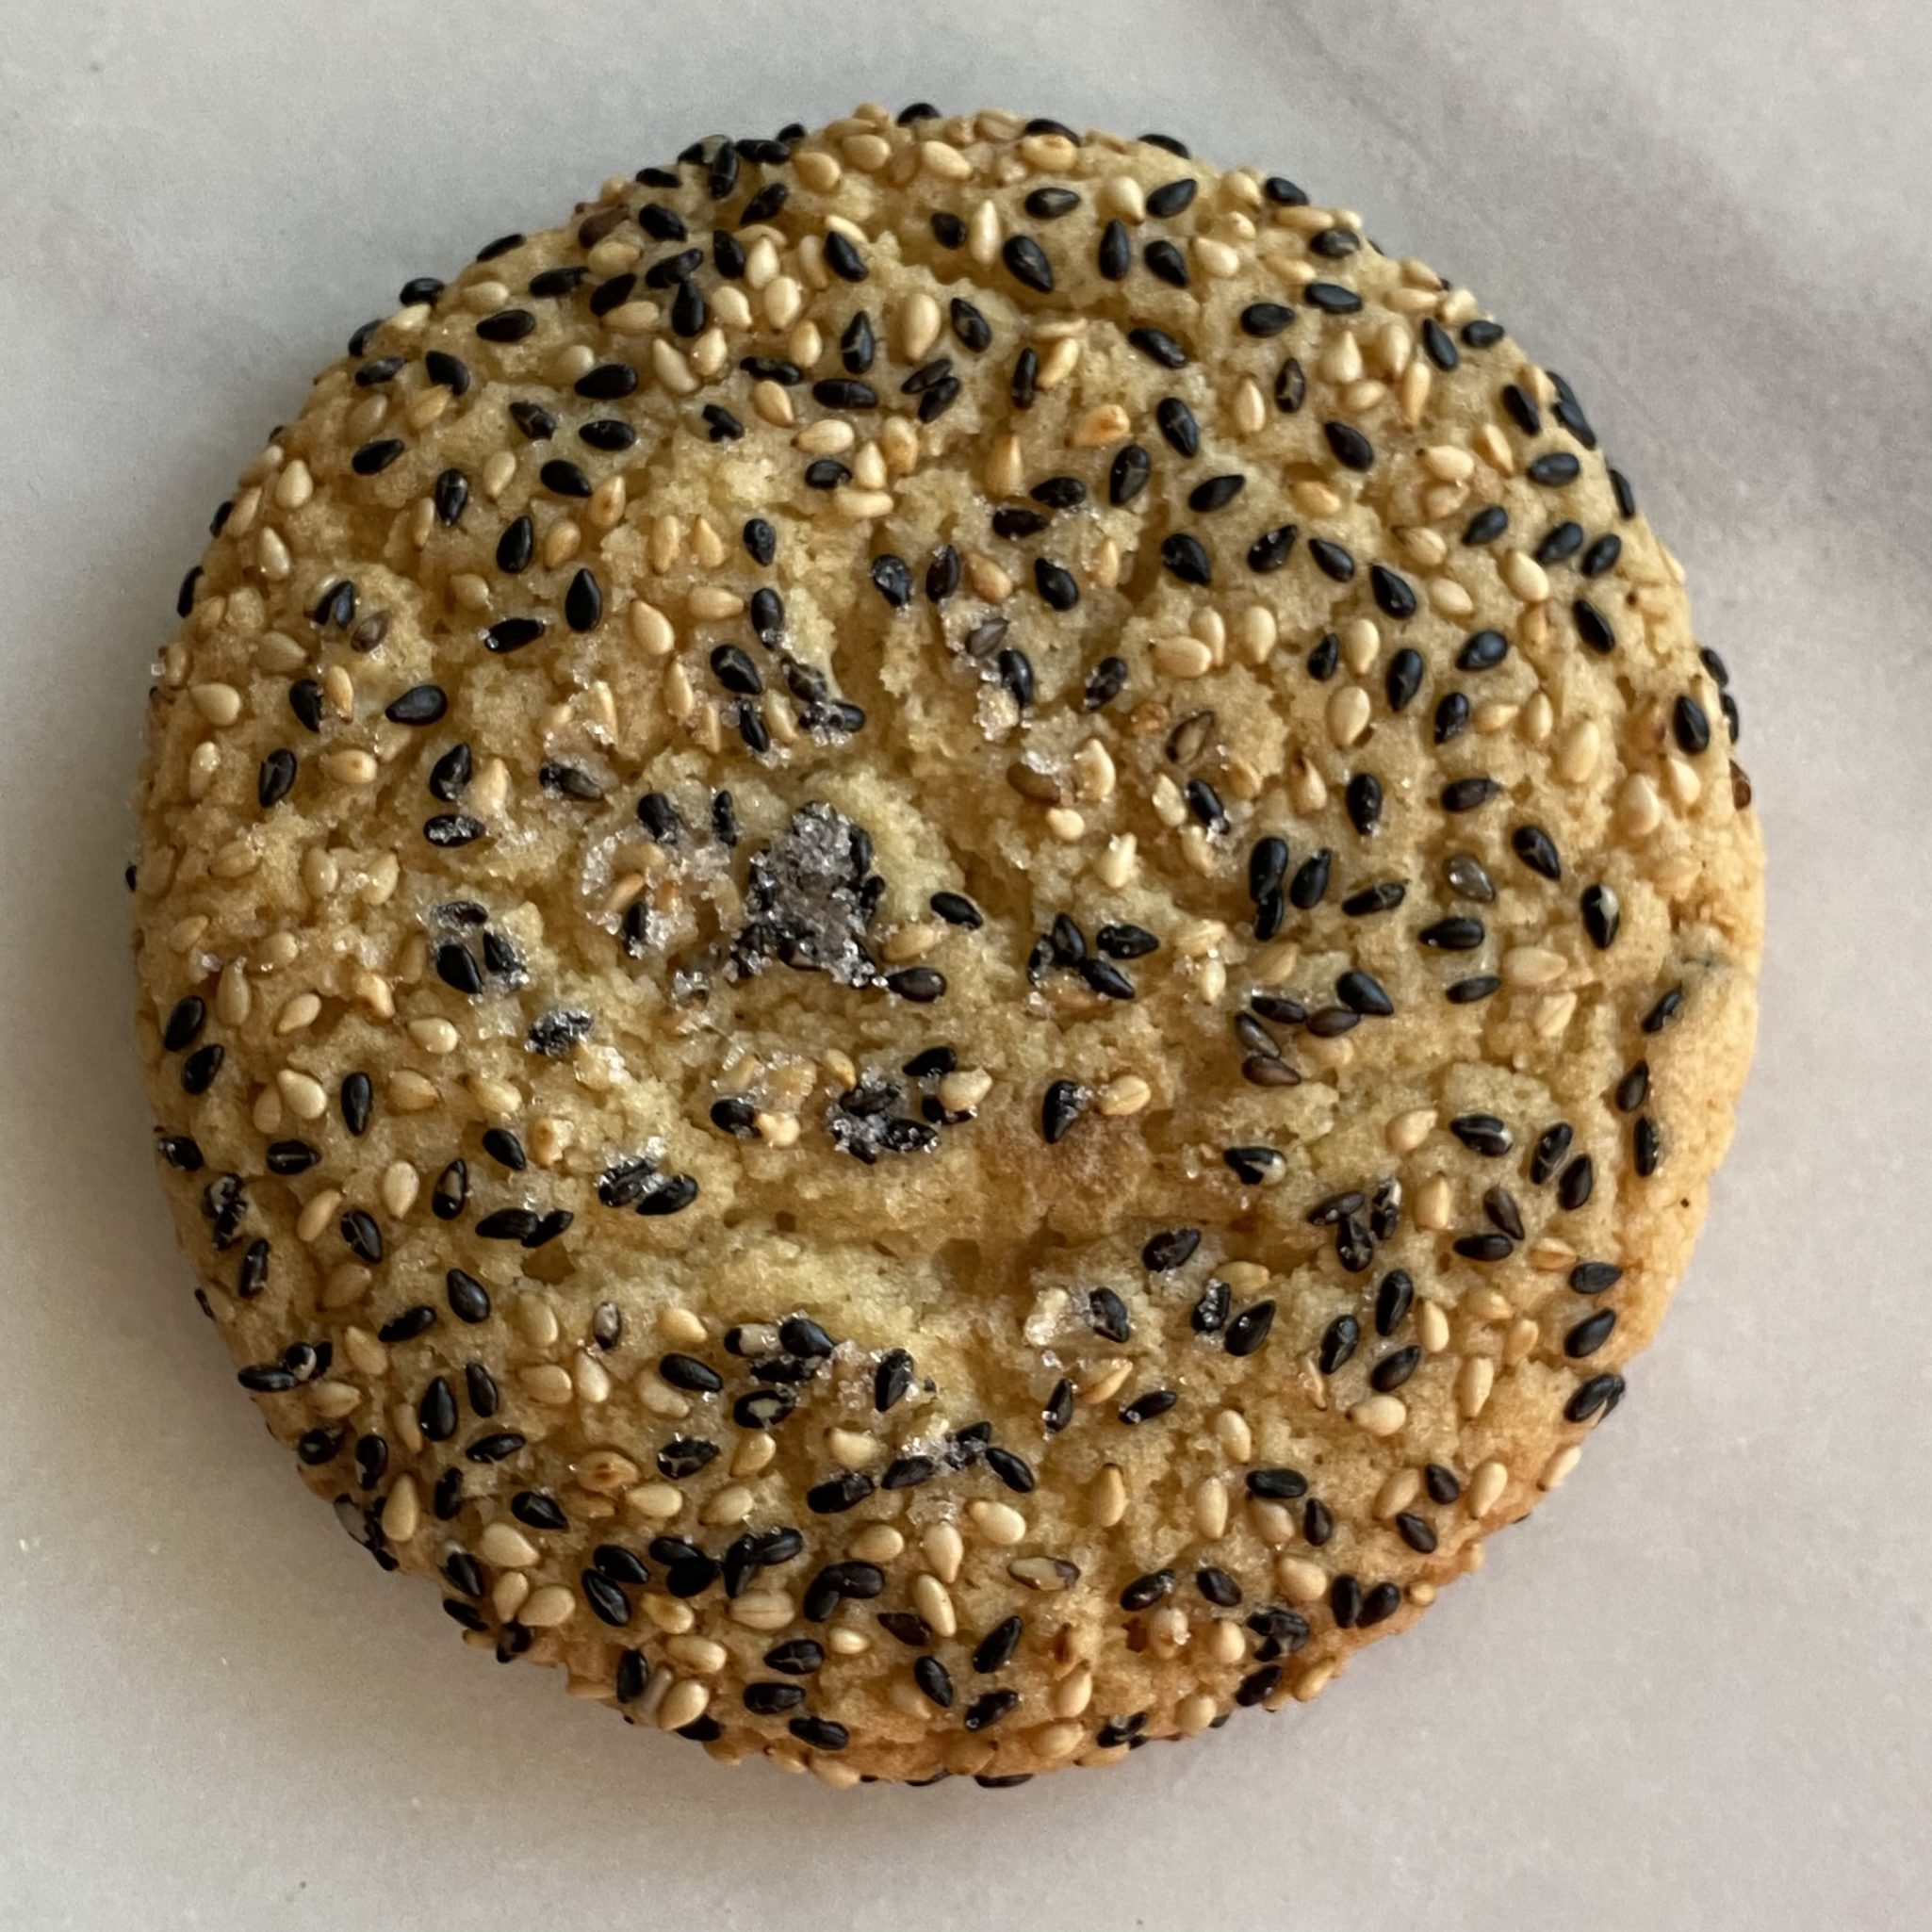
Olympic Medal goes to….these cookies!
Last night, sitting on the couch, watching Chloe Kim and Nathan Chen do their thing, and flipping through a cookbook (I can multi-task) I wondered (out loud, unfortunately) how many cookbooks I have that I haven’t ever used. The hubs laughed and said TOO MANY.
The laugh was pure motivation. I got up, went to the kitchen, pulled out Jesse Szewczyk’s Cookies: The New Classics, and picked his recipe for Chewy Toasted Sesame Cookies. Sooo making these now, before my resolve fades or I get distracted by Nathan Chen’s final routine.
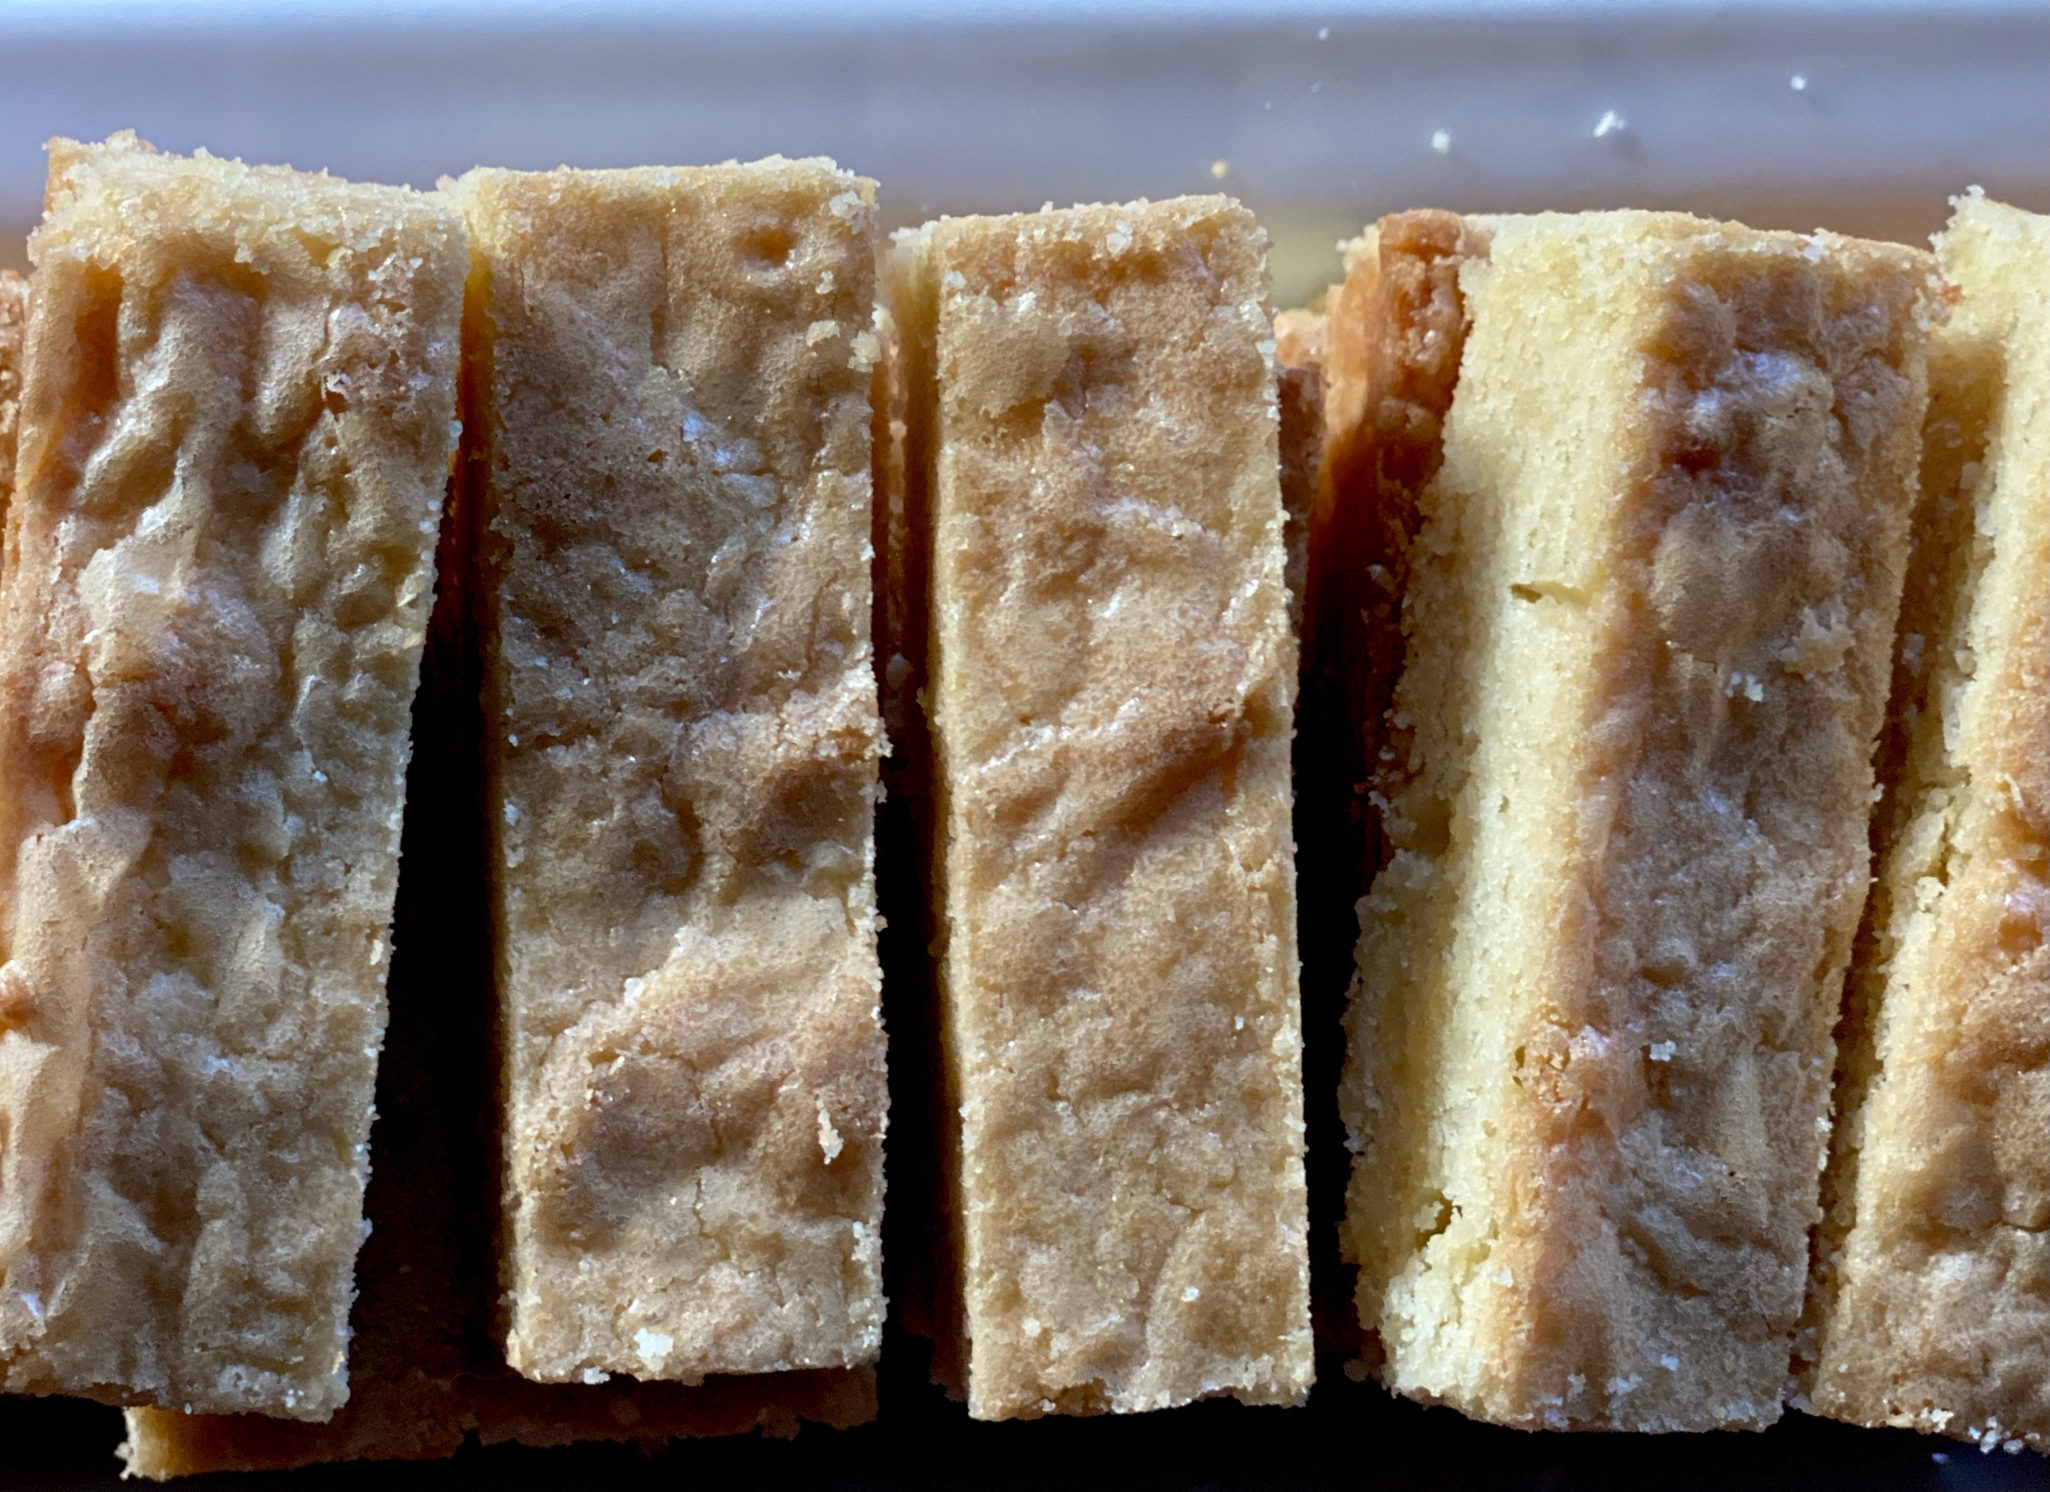
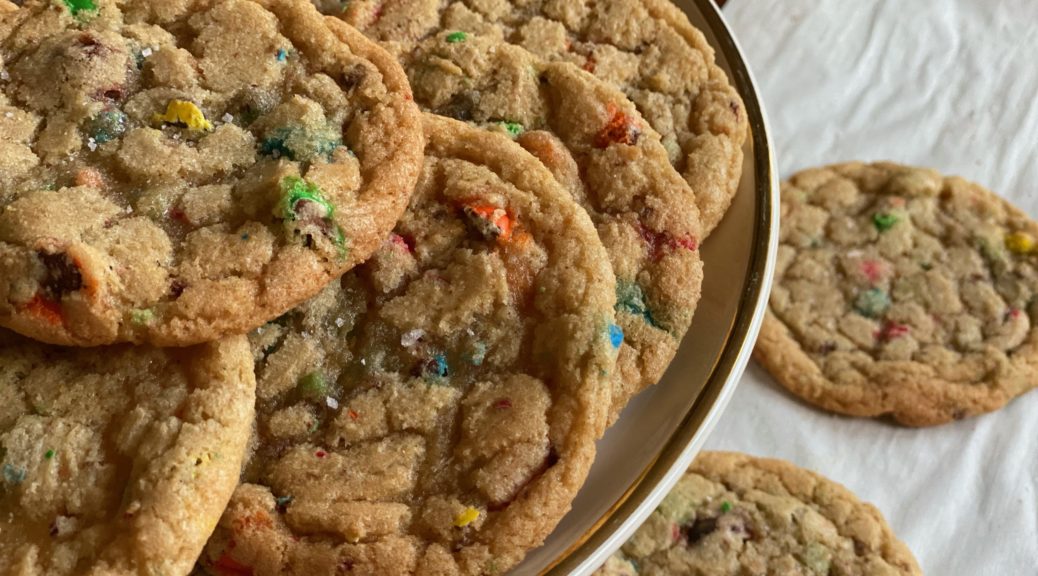
So glad I did. These cookies are delectable! As much as I love SHORTBREAD type cookies, it was time to go back to fam-fav chewy cookies. These did the trick. Chewy centers, a bit of crispness on the edges….yum, yum.
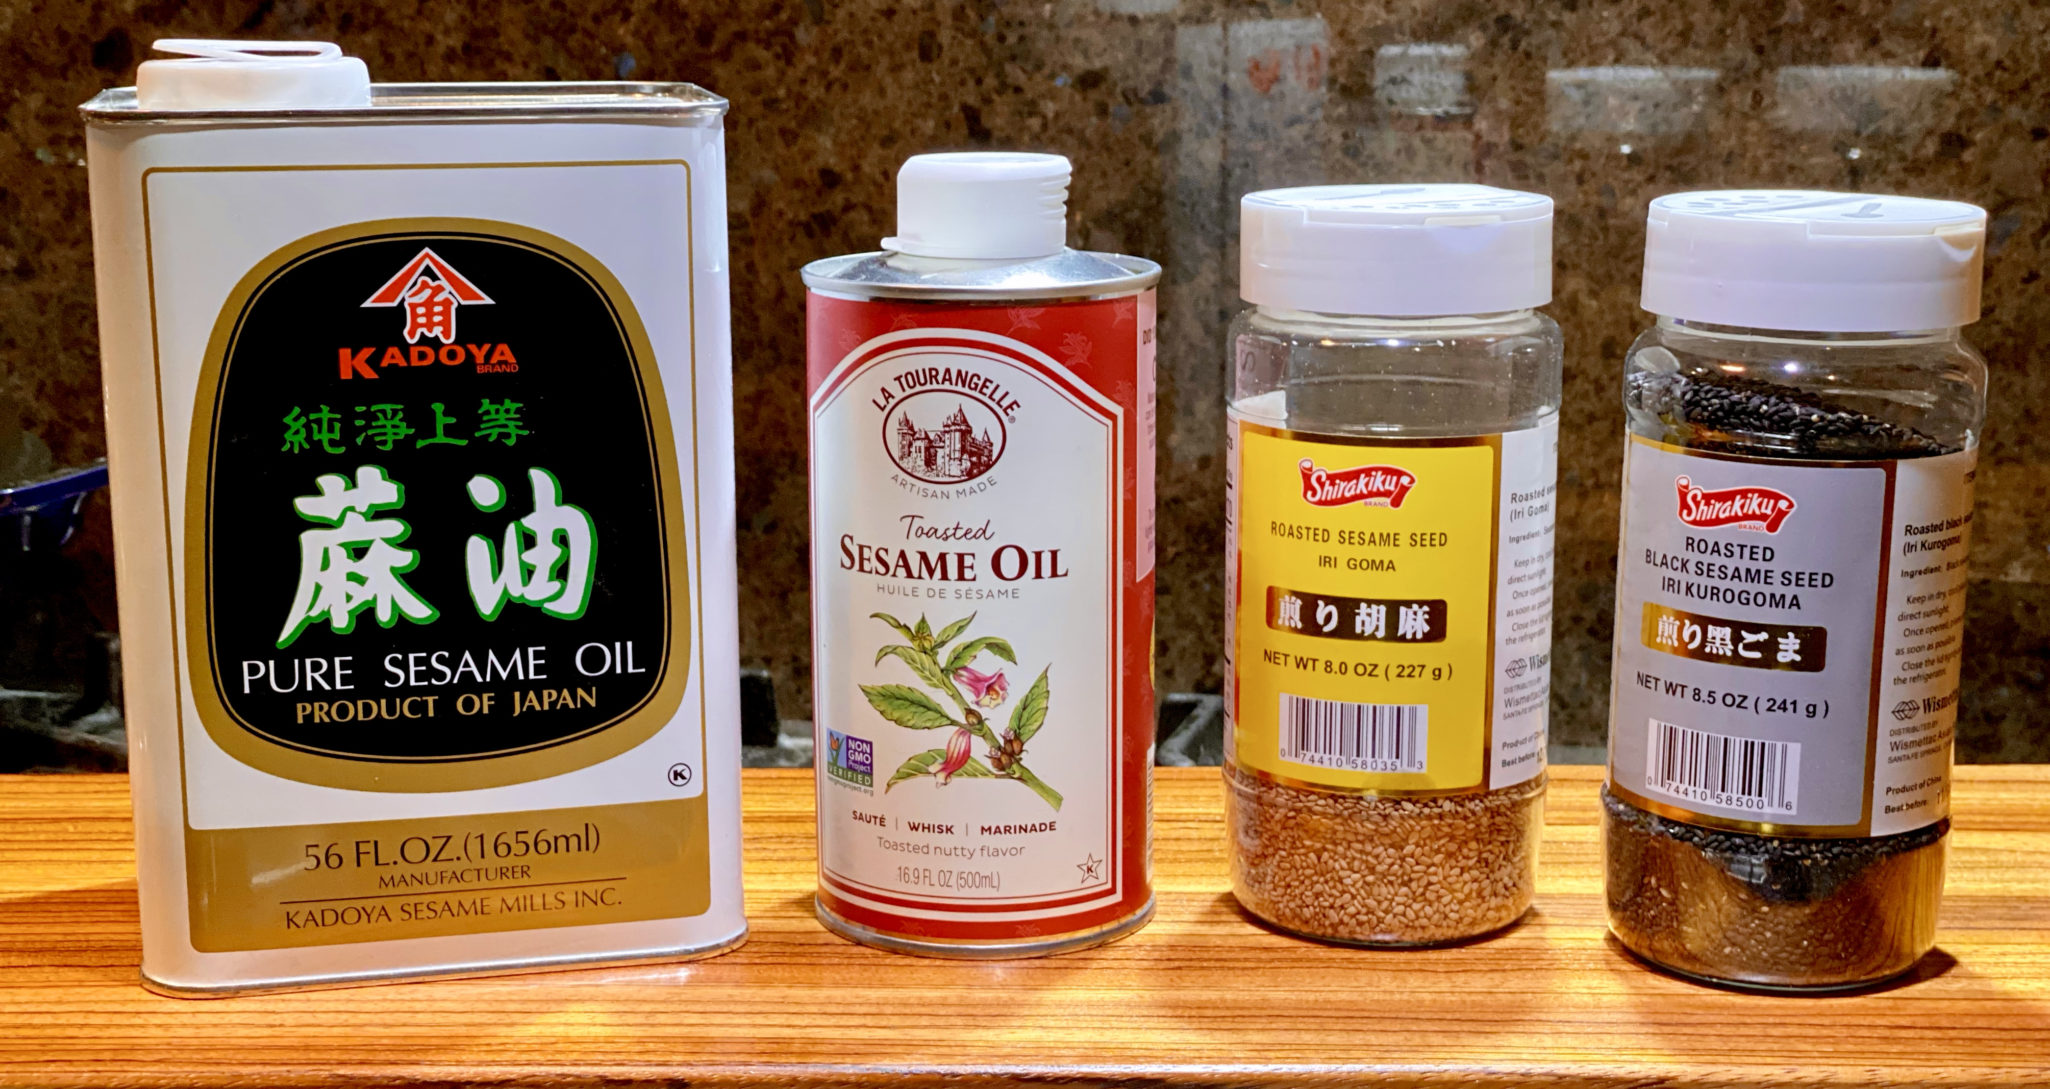
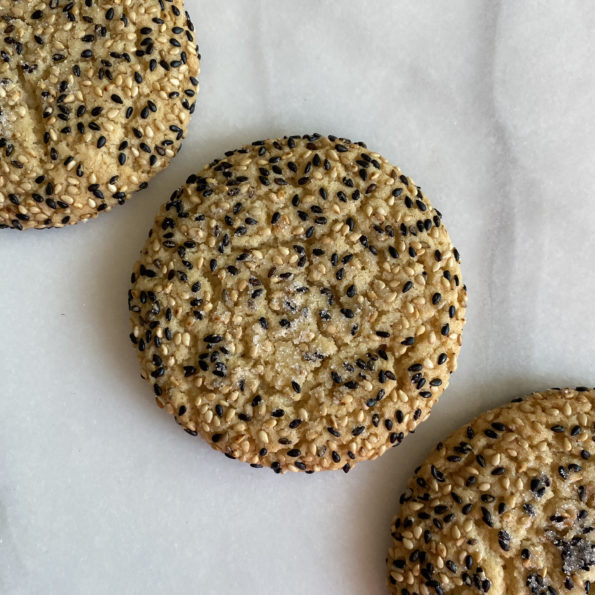
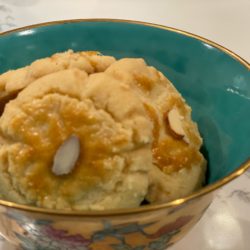
Not to say I wasn’t happy. My current OBSESSION is sesame. Jesse uses toasted sesame oil in these cookies, which ups the flavor game. Sesame oil, sesame seeds…win, win.
These cookies are pretty easy to make…think Snickerdoodle method. Make the dough, chill it, roll it into balls. Roll said balls in black and white toasted sesames, hit it with some sugar, bake and EAT or in my case, inhale. Really, that good.
If this cookie is any indication…I will be baking a lot out of his book!
Seeds of Sesame Tips
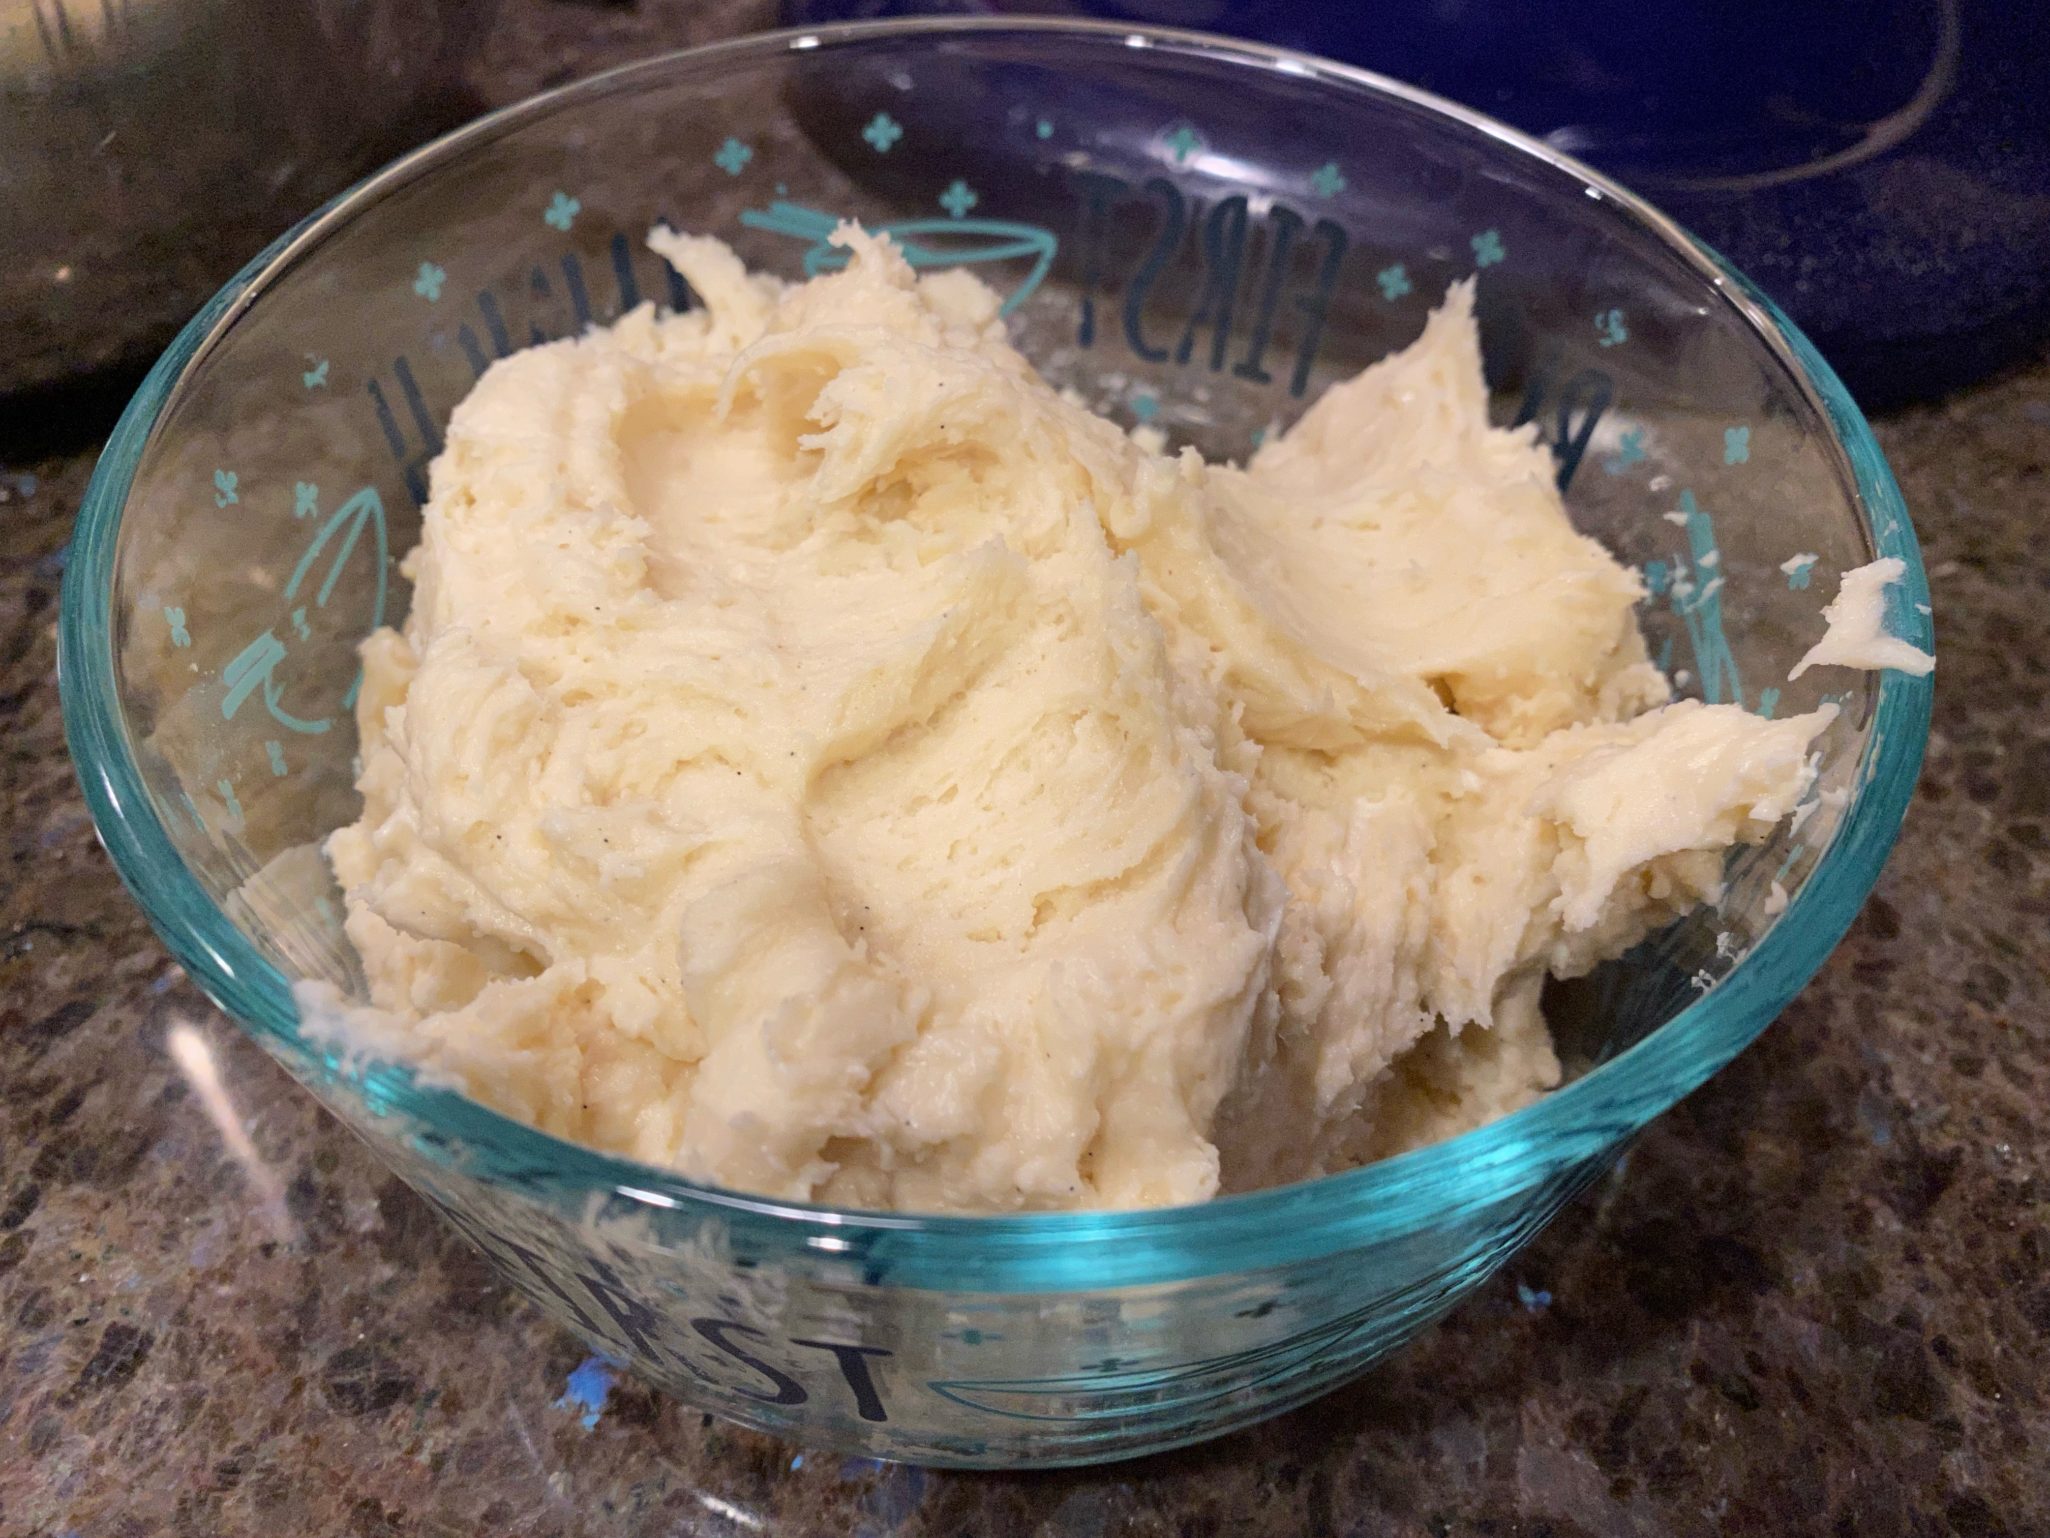
It may seem fussy, I am sure it was a texture chase, the recipe calls for not only butter, but cream cheese, and oil. A balancing act to make a moist, chewy, soft cookie with a bit of crispness on the edges.
Sesame Oil, Sesame Seeds
You want TOASTED Sesame oil which can be found easily in Asian markets. The French brand, La Tourangelle makes a tosted sesame oil that is very good. It’s a little pricier but generally can be found in your larger grocery stores. I buy toasted sesame seeds at the Asian markets because I go through the stuff in no time flat. You can buy untoasted seeds and toast them yourself if roasted seeds are not available.
I was able to form the just-made dough into round balls even though it was pretty soft. But if you chill the dough for 30-60 minutes, makes it easier to work with.
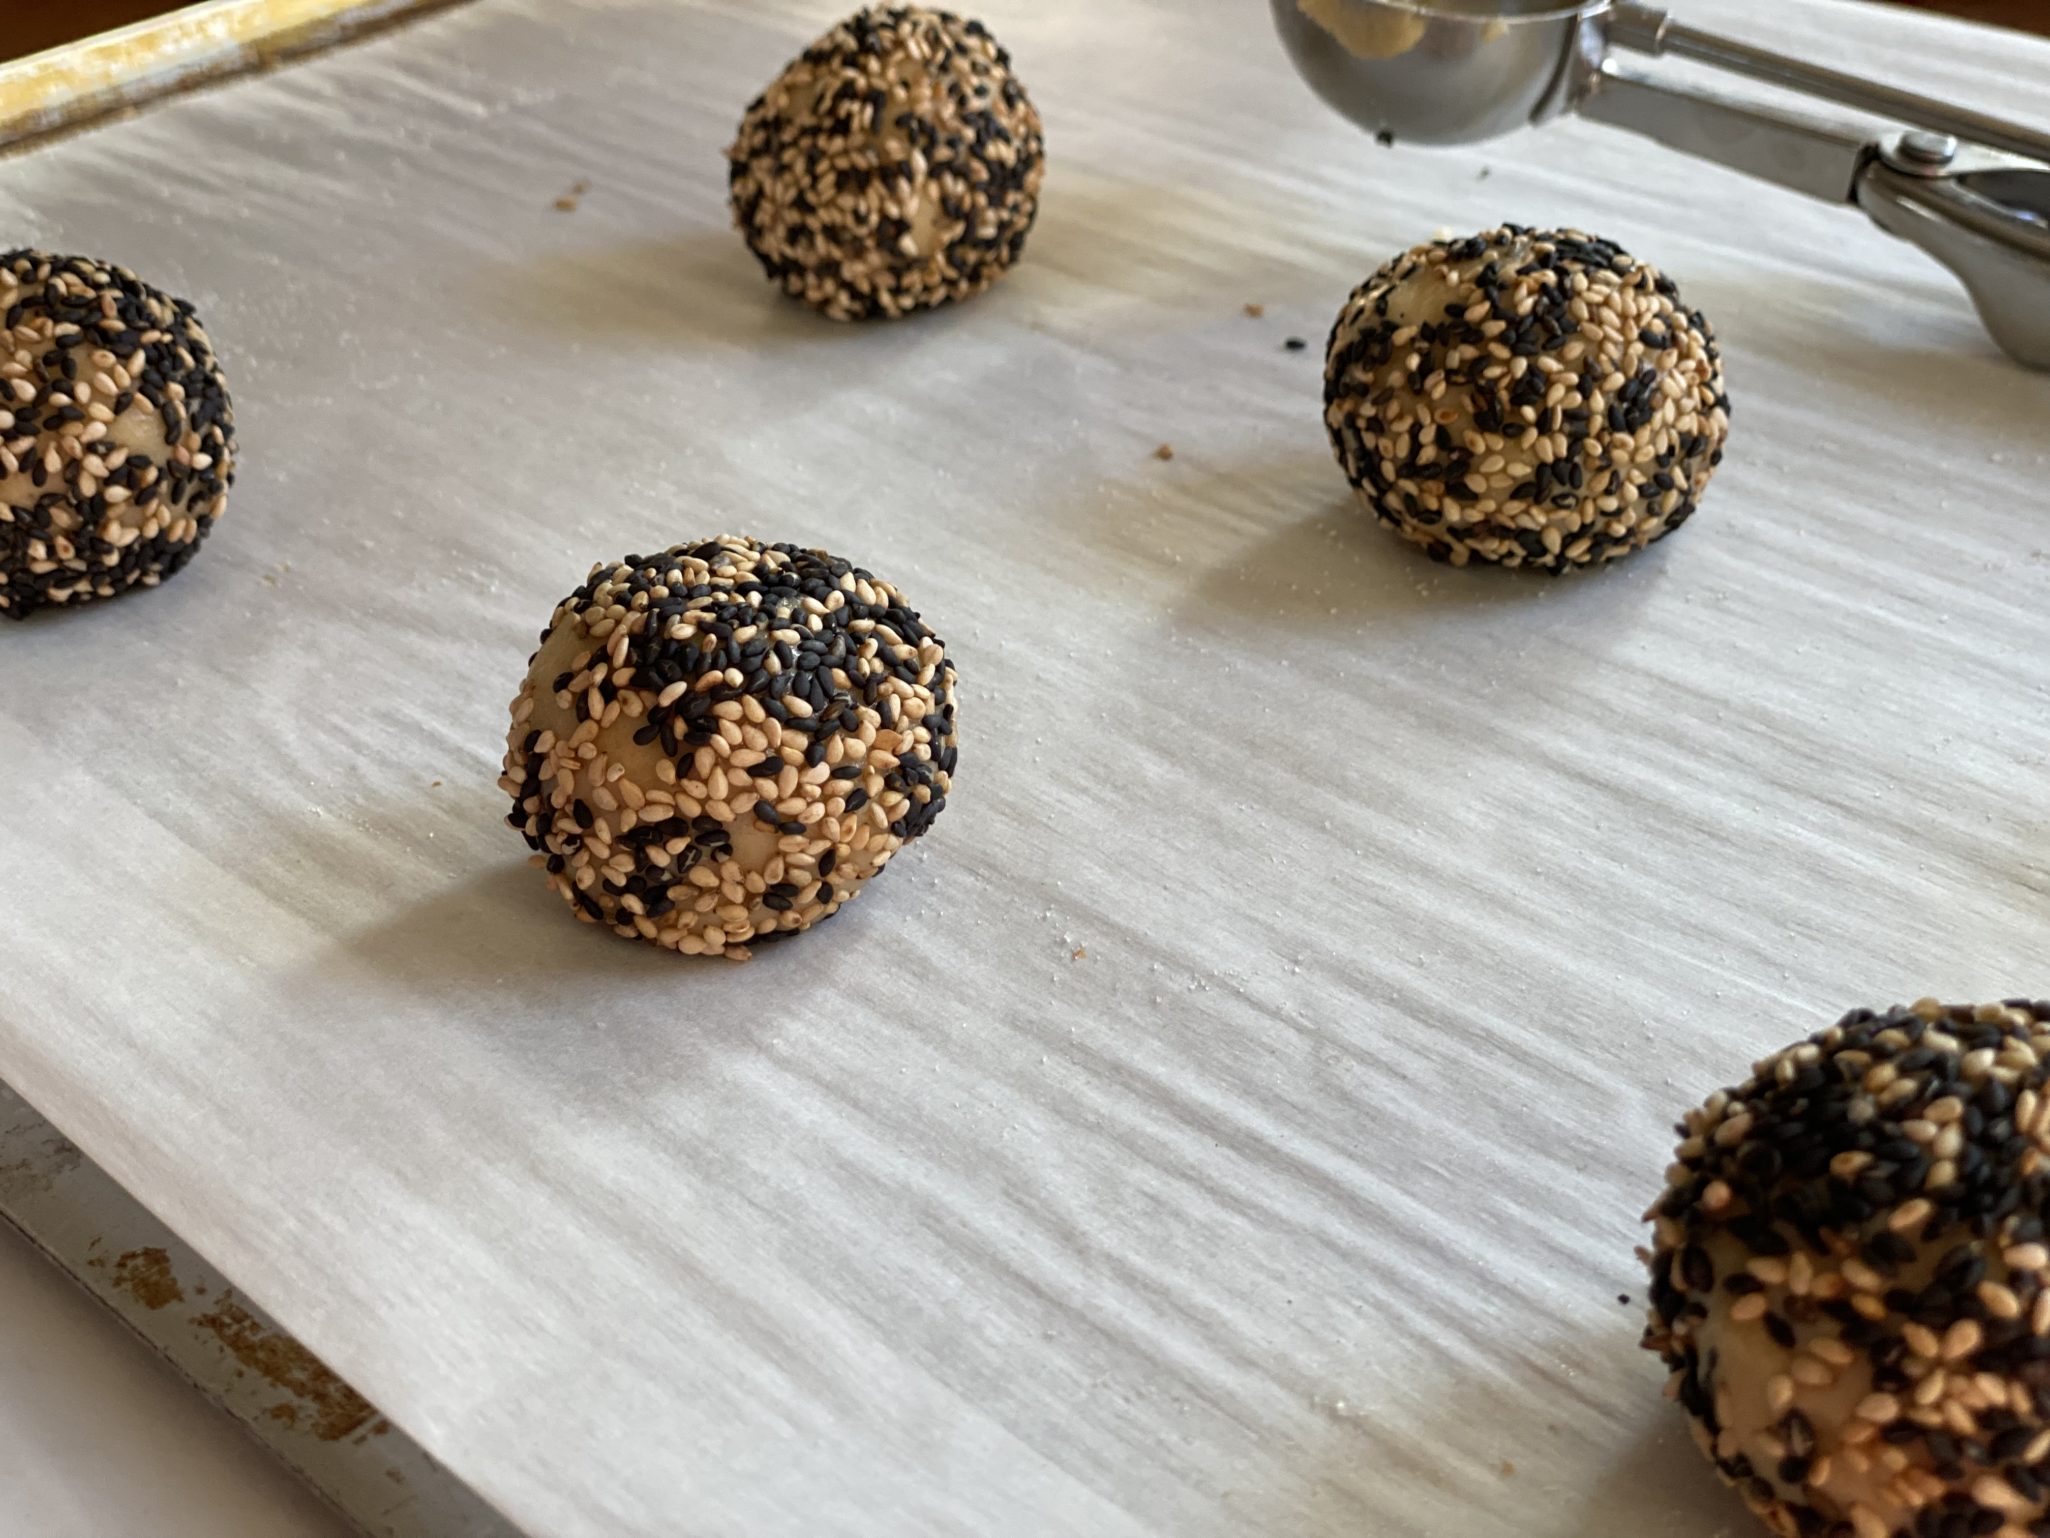
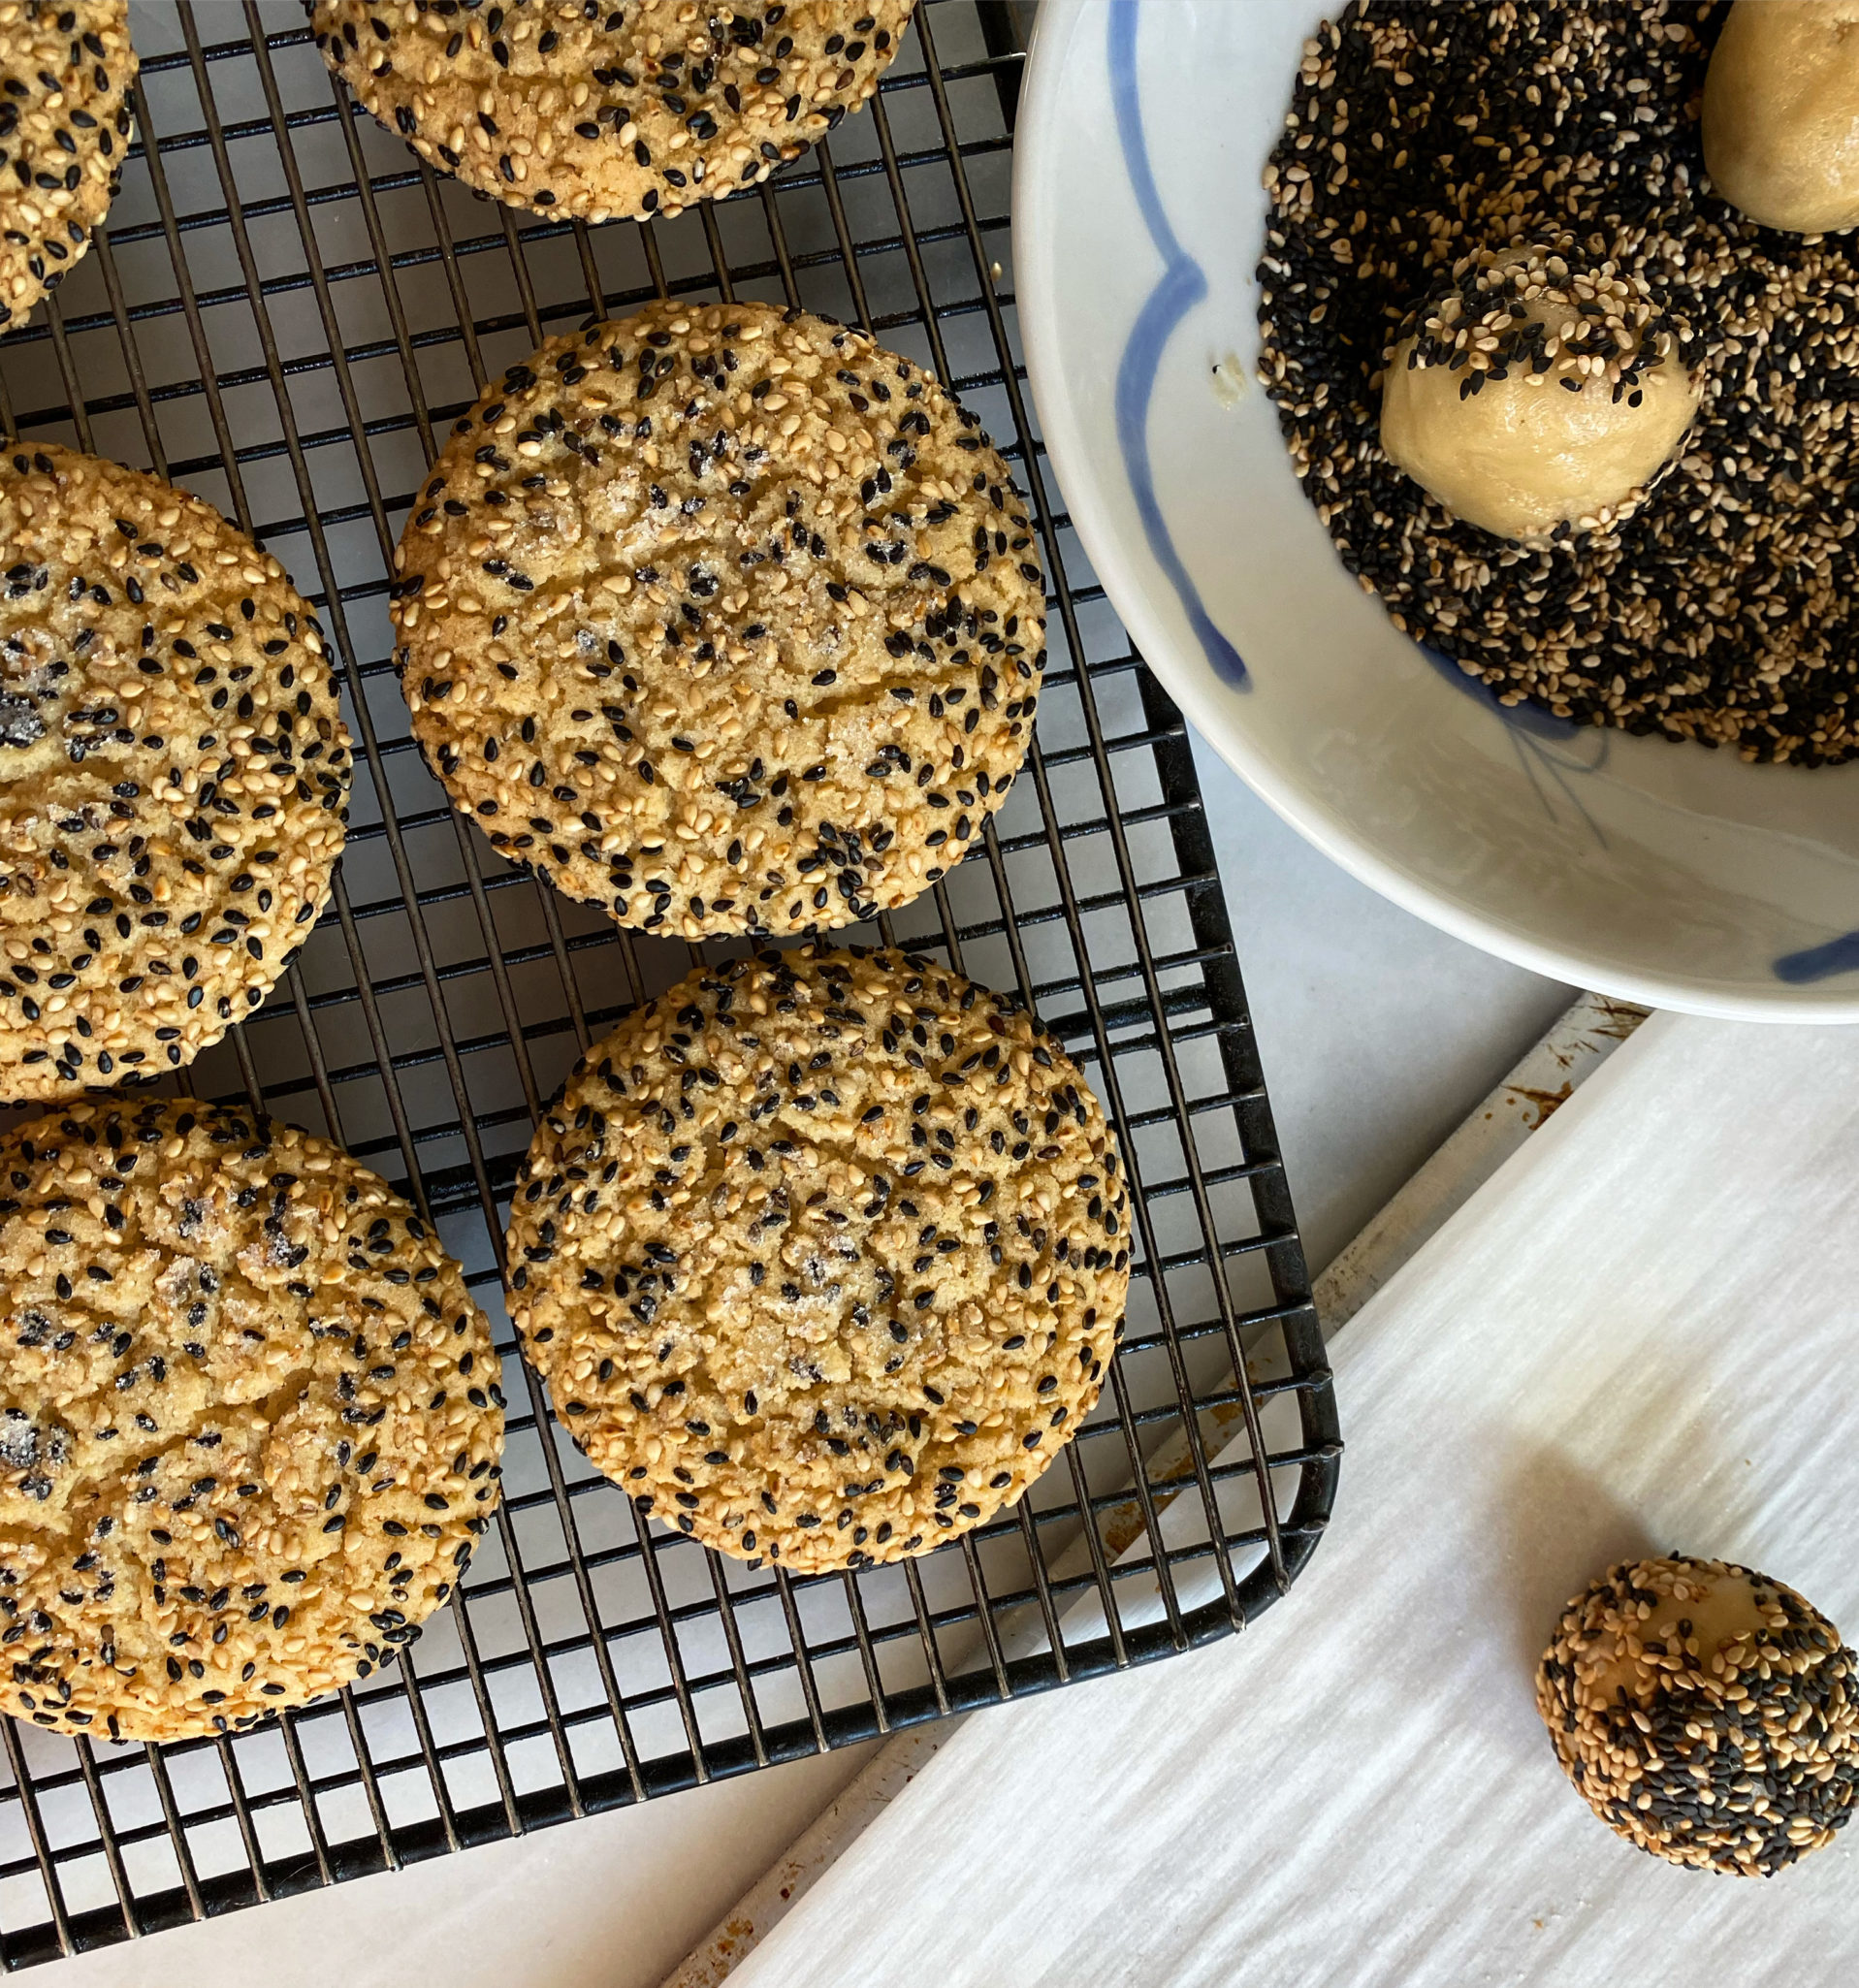
Best thing since sliced bread, ice cream scoops for cookie dough….just saying. I used a 1.6 tablespoon scoop (#40) and sprinkled each cookie with regular granulated sugar. Raw or Demerara Sugar would work well too. Baking time was 11 minutes. The cookies will puff up but fall and create those neat fissures as they cool.
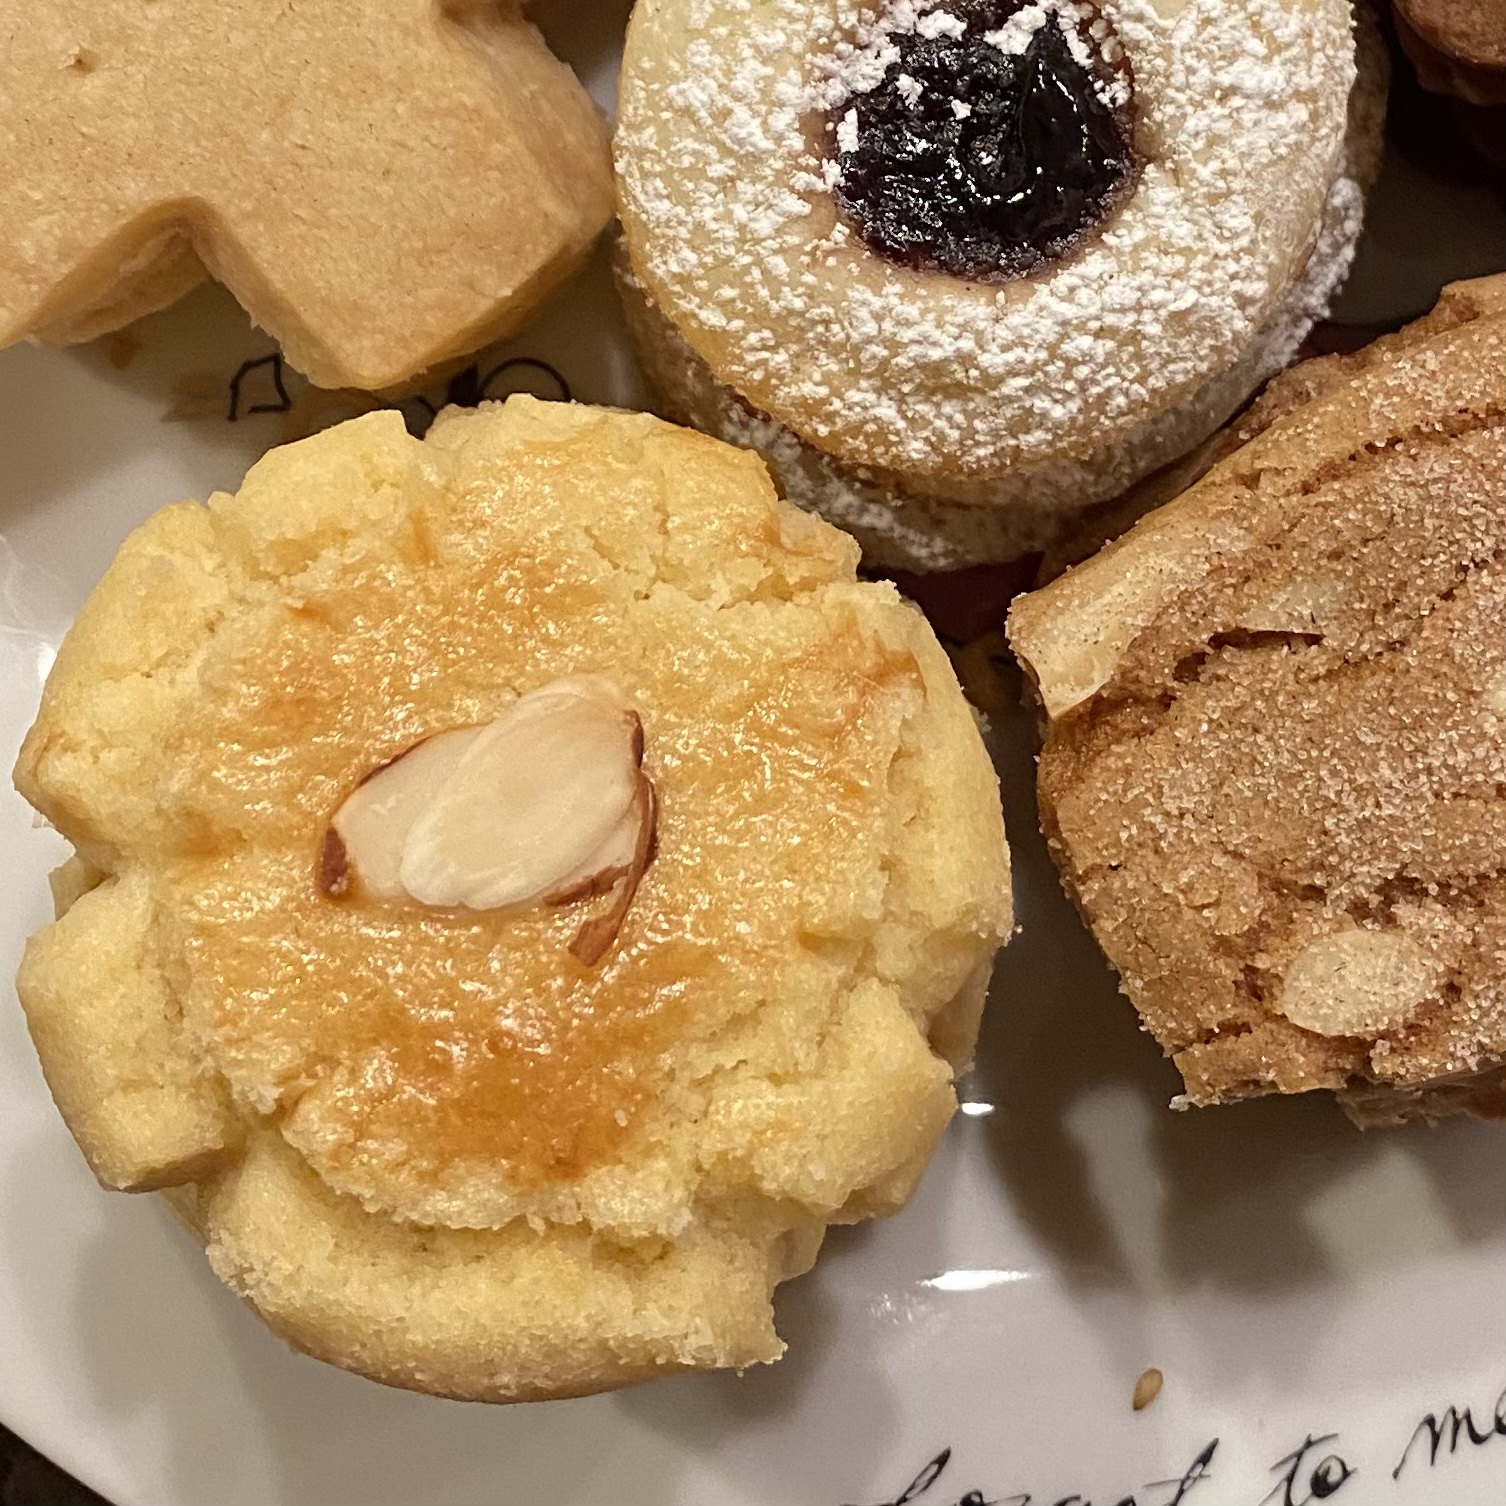
The hubs is not a fan of sesame seeds so I actually baked a couple that I rolled in chocolate sprinkles. I nixed his request for raisins (Ewww). The sprinkles were a hit. Honestly, this dough is so tasty, it would be good rolled in anything…except raisins.
Put these on your bucket list…like now.
Chewy Toasted Sesame Cookies
Equipment
- 1 #40 ice cream scoop If you don't have one, spoon out 2 tablespoons of dough and roll into round balls.
Ingredients
Dry Stuff
- 21/2 cups All purpose flour (320gms)
- 1 teaspoon baking powder
- 1/2 teaspoon baking soda
- 1/4 teaspoon kosher salt reg table salt, use 1/8 teaspoon
Fat Stuff
- 6 tablespoons unsalted butter, softened (85gms) leave the butter on your counter for a couple of hours approximate temp 68 degrees
- 2 ounces cream cheese, room temp (57 gms)
- 1 tablespoon TOASTED sesame oil see post for notes on oil
- 1/4 cup canola oil (60ml)
The Sweet Stuff
- 1 cup granulated sugar (200gms)
- 1/2 cup packed light brown sugar (100gms)
Wet Stuff
- 1 large egg, room temperature
- 2 tablespoons whole milk (30ml)
- 1 tablespoon vanilla extract
The Finishing Touches
- 1/3 cup toasted white sesame seeds
- 1/3 cup toasted black sesame seeds
- 1/4 cup granulated sugar
Instructions
- Preheat oven to 350 degrees. I'm a stickler, I bake one sheet at a time in the middle of the oven. To bake two sheets at a time, set your oven racks in the upper-middle and lower-middle positions of your oven. Line sheets with parchment or Silpat. Preference is for parchment as silicon mats retain more heat.
- In a medium bowl, combine dry stuff, set aside.
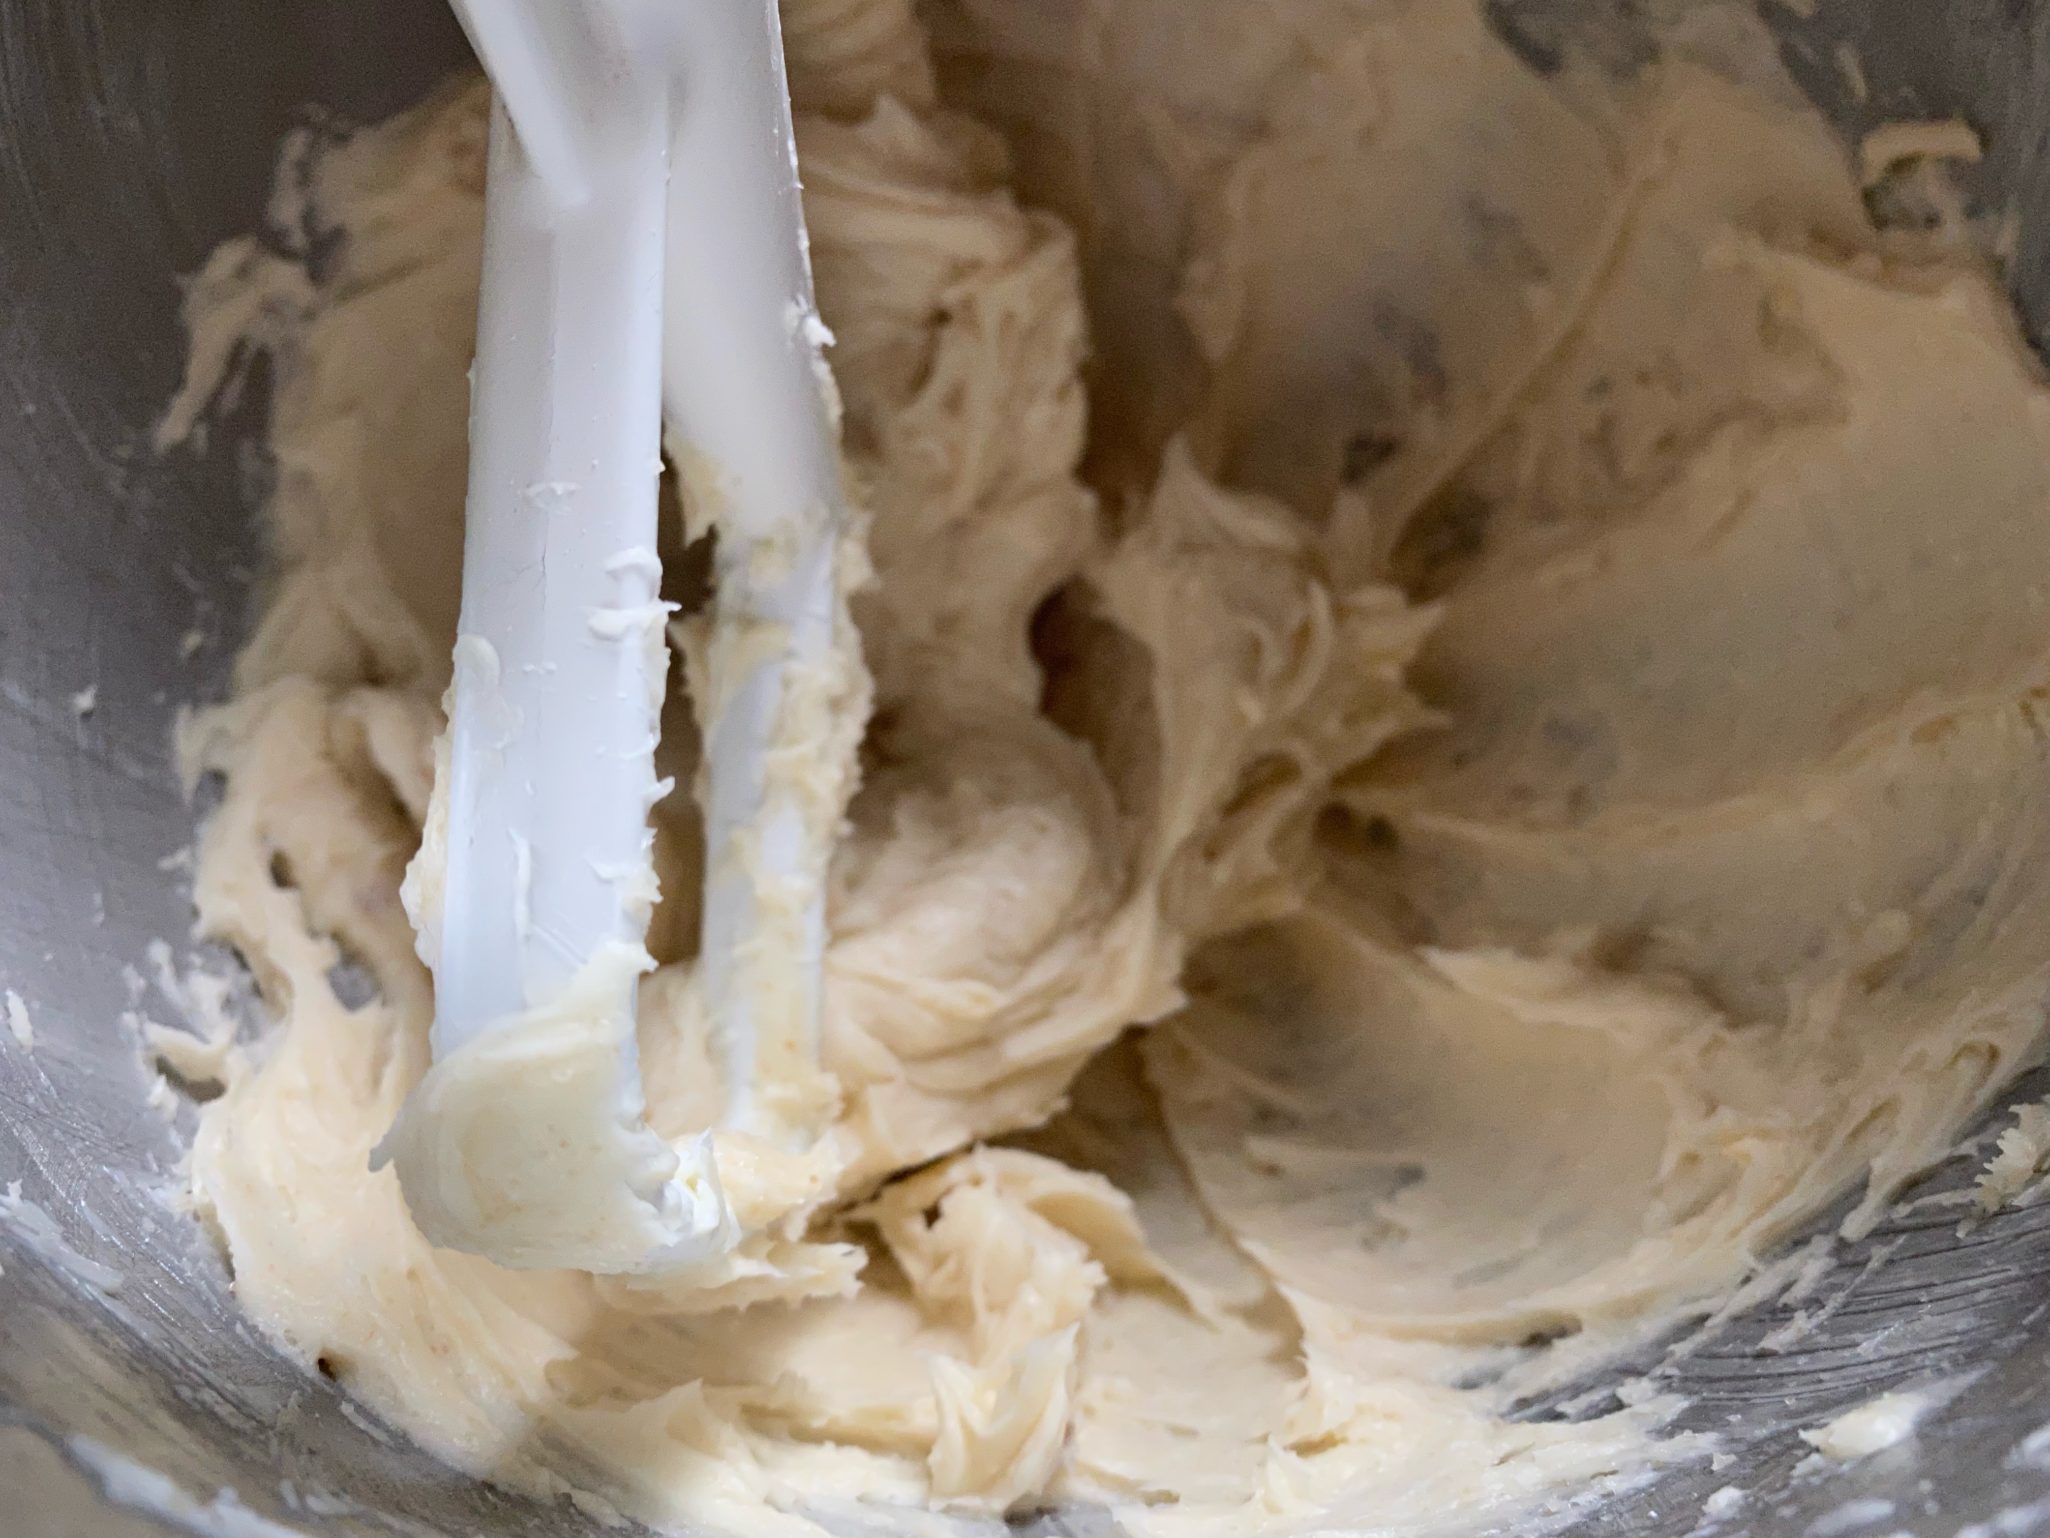
- In the bowl of a stand mixer fitted with the paddle, toss in the fats, (butter, cream cheese, sesame oil, canola oil), and sweet stuff granulated sugar, brown sugar. Beat on medium speed until smooth and fully blended, about 2 minutes.
- Turn mixer off and add the wet stuff. Beat on medium speed until light and ribbon-like, about 2-3 minutes.
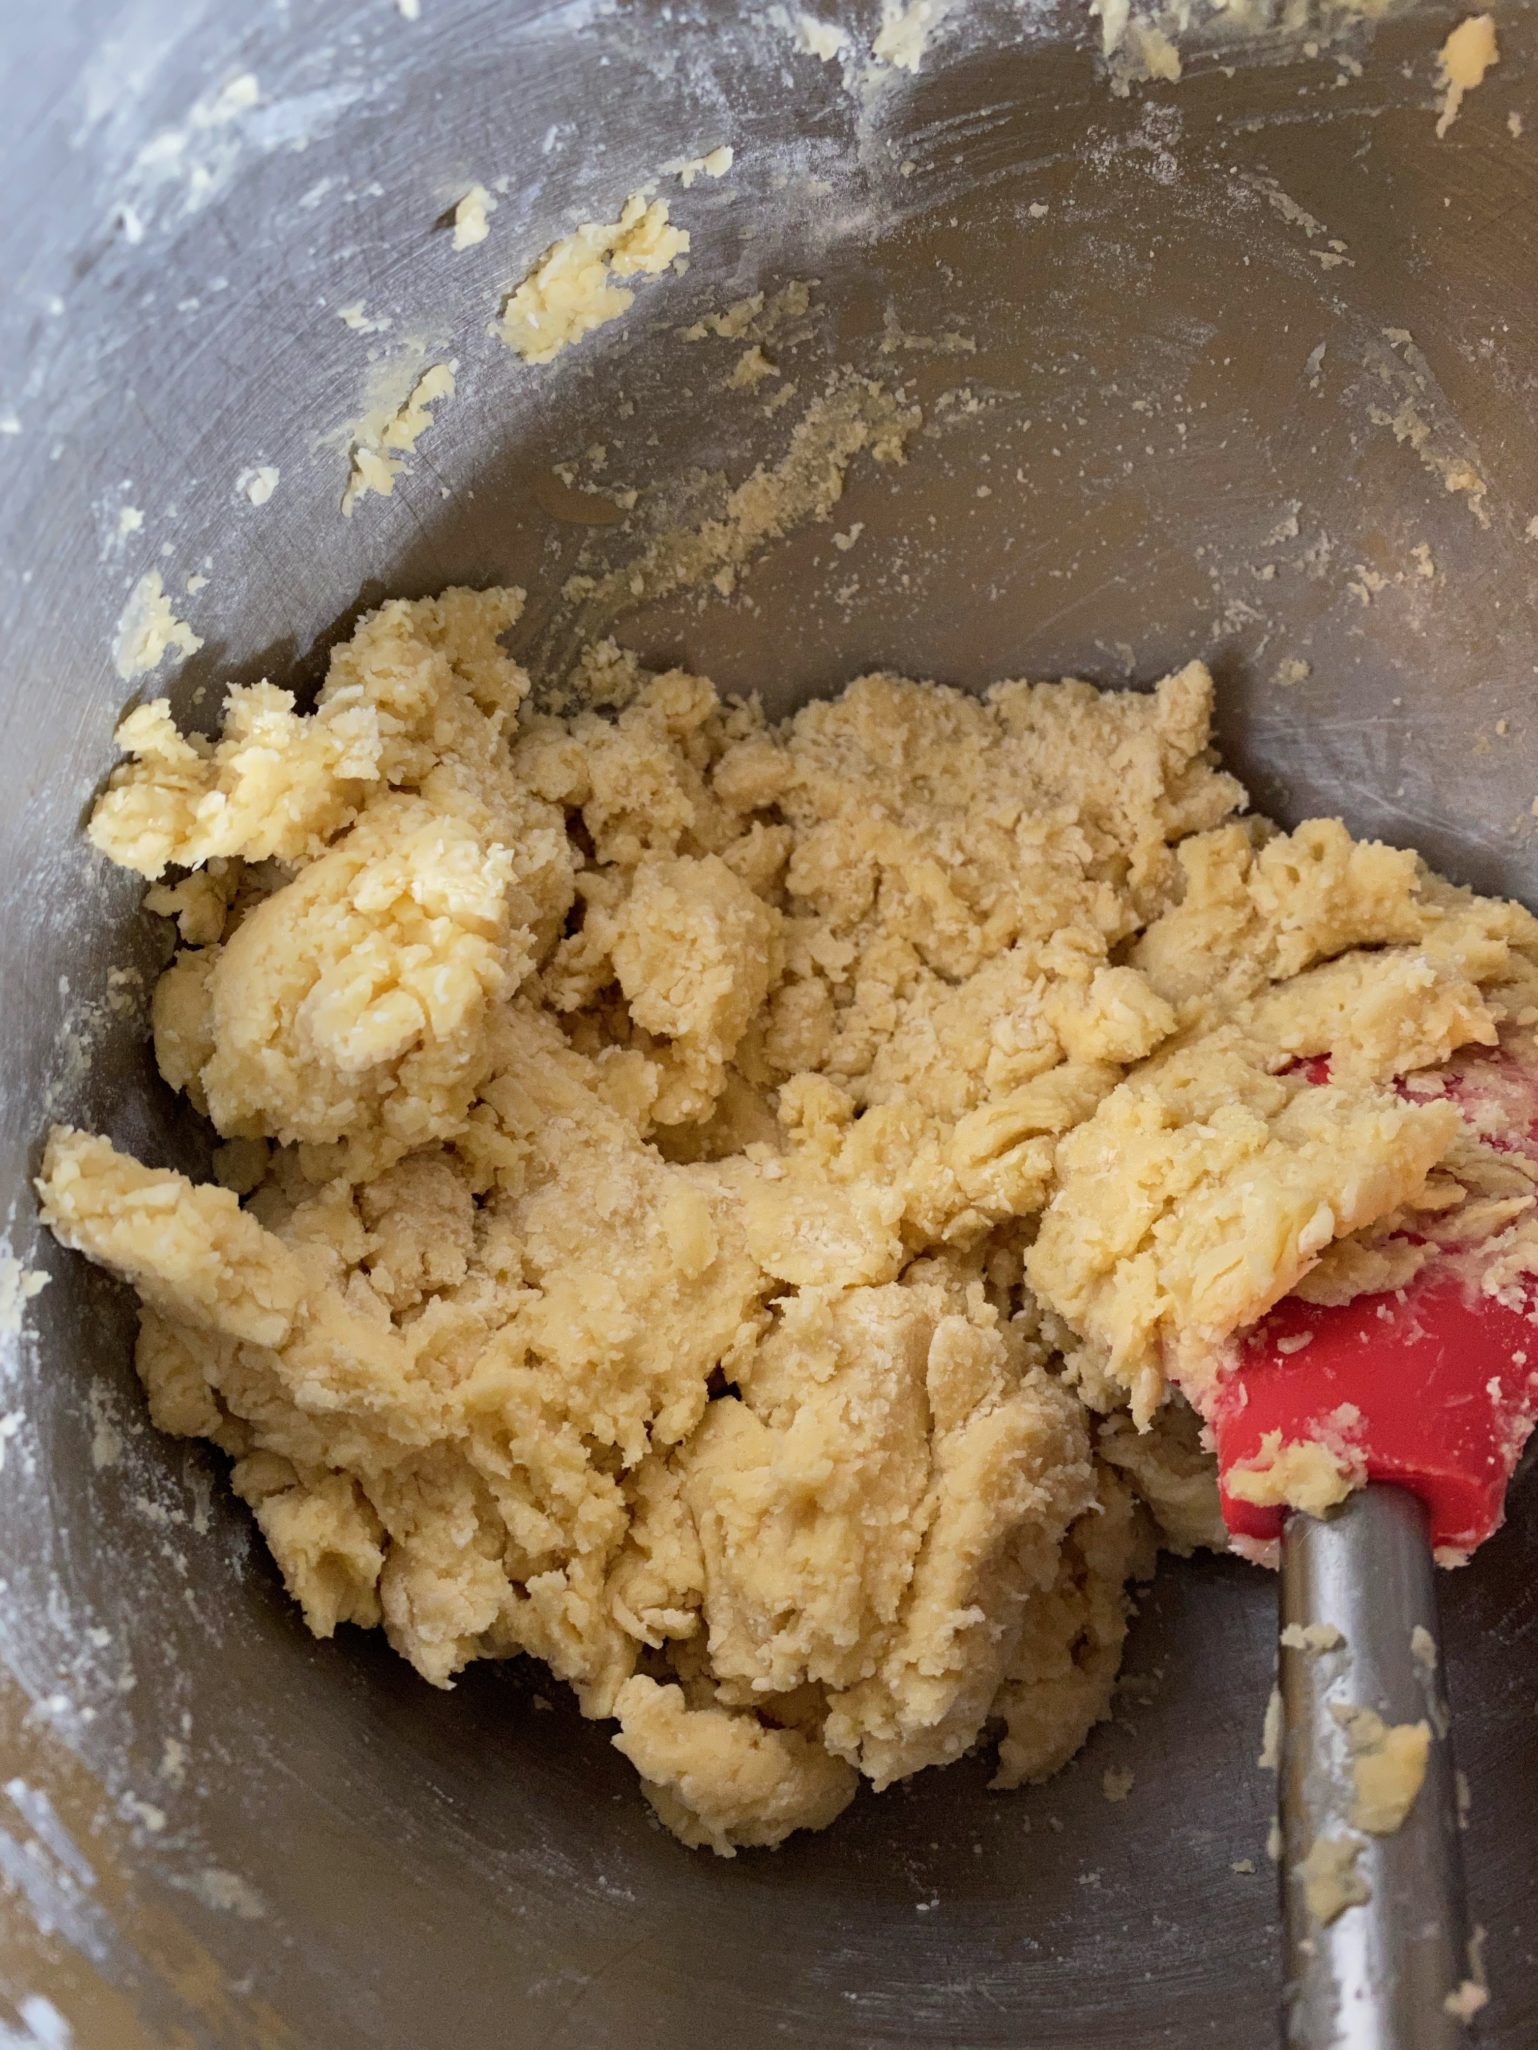
- Turn mixer speed to low and gradually add flour mixture, mix until just blended, don't overmix. Rest dough for 10 minutes, it will firm up a bit. If it seems to soft still, chill in fridge for 30 minutes.
- Using a 1-3/4 inch ice cream scoop (~2 tablespoons), form dough balls, hand- roll each to create smooth round balls.
- Combine sesame seeds in a shallow bowl. Roll each dough ball in the sesame seeds and place them on parchment-lined sheets 2-1/2 inches apart. Sprinkle with the granulated sugar.
- Bake 10-12 minutes, turning sheet midway through baking. Bake until golden brown on the edges. Cool cookies on baking sheet for a couple of minutes before removing them to a rack to cool completely.


 It seemed only fair that I try the “official”