Mrs. Singer’s Eggnog, The Real Deal
How many of you have had REAL eggnog? Not the ultra-pasteurized, homogenized version of eggnog found in every supermarket during the holidays. Who drinks that stuff?
Context
I did a bit of sleuthing on the origins of eggnog. It has been around since medieval England (1300s), that’s a LONG time. Its lineage starts as a posset, a milky, warm ale-like drink. Fast forward to the 1700s, eggnog came along for the ride to the new colonies in America. Farmland was plentiful for cows and chickens which in turn provided lots of milk and eggs. Rum, the inexpensive alcohol of the time, rounded out the nog. Thus, eggnog became the festive drink of choice for the everyday man.
Unlucky for us, the advent of supermarkets and technology led to the eggnog so many of us know. As soon as pumpkin lattes disappear after Thanksgiving, red and green cartons of super sweet, weirdly thick (like slime) non-alcoholic eggnog pop up in its place on supermarket shelves. Whenever I volunteer to make eggnog for a holiday soiree’ I am invariably met with a chorus of yucks and eewwws.
The Eggnog Caper
To which I launch into my oratory, on the much-maligned REAL eggnog. It starts with the story of Mrs. Ethel Singer.
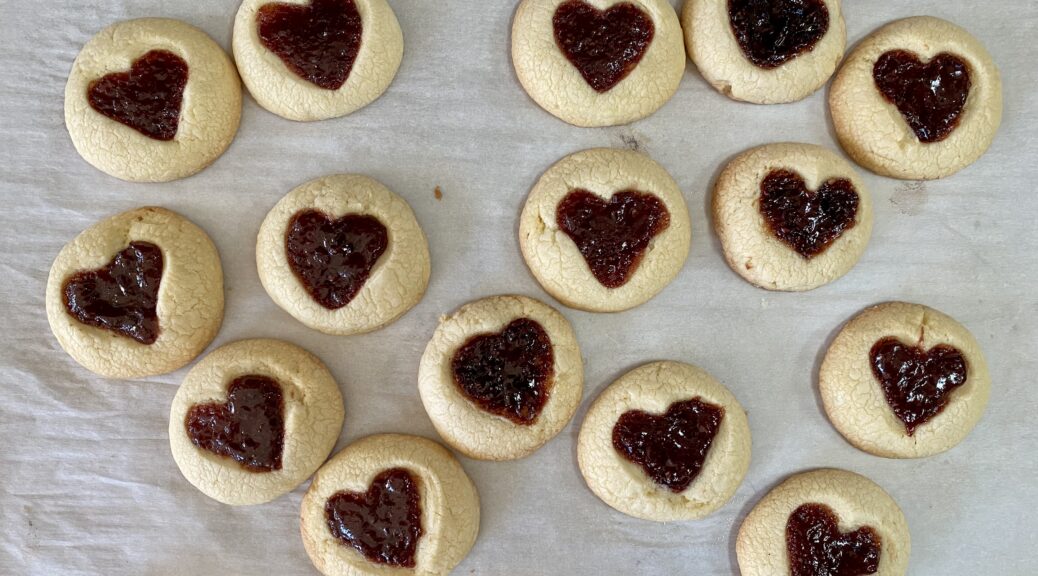
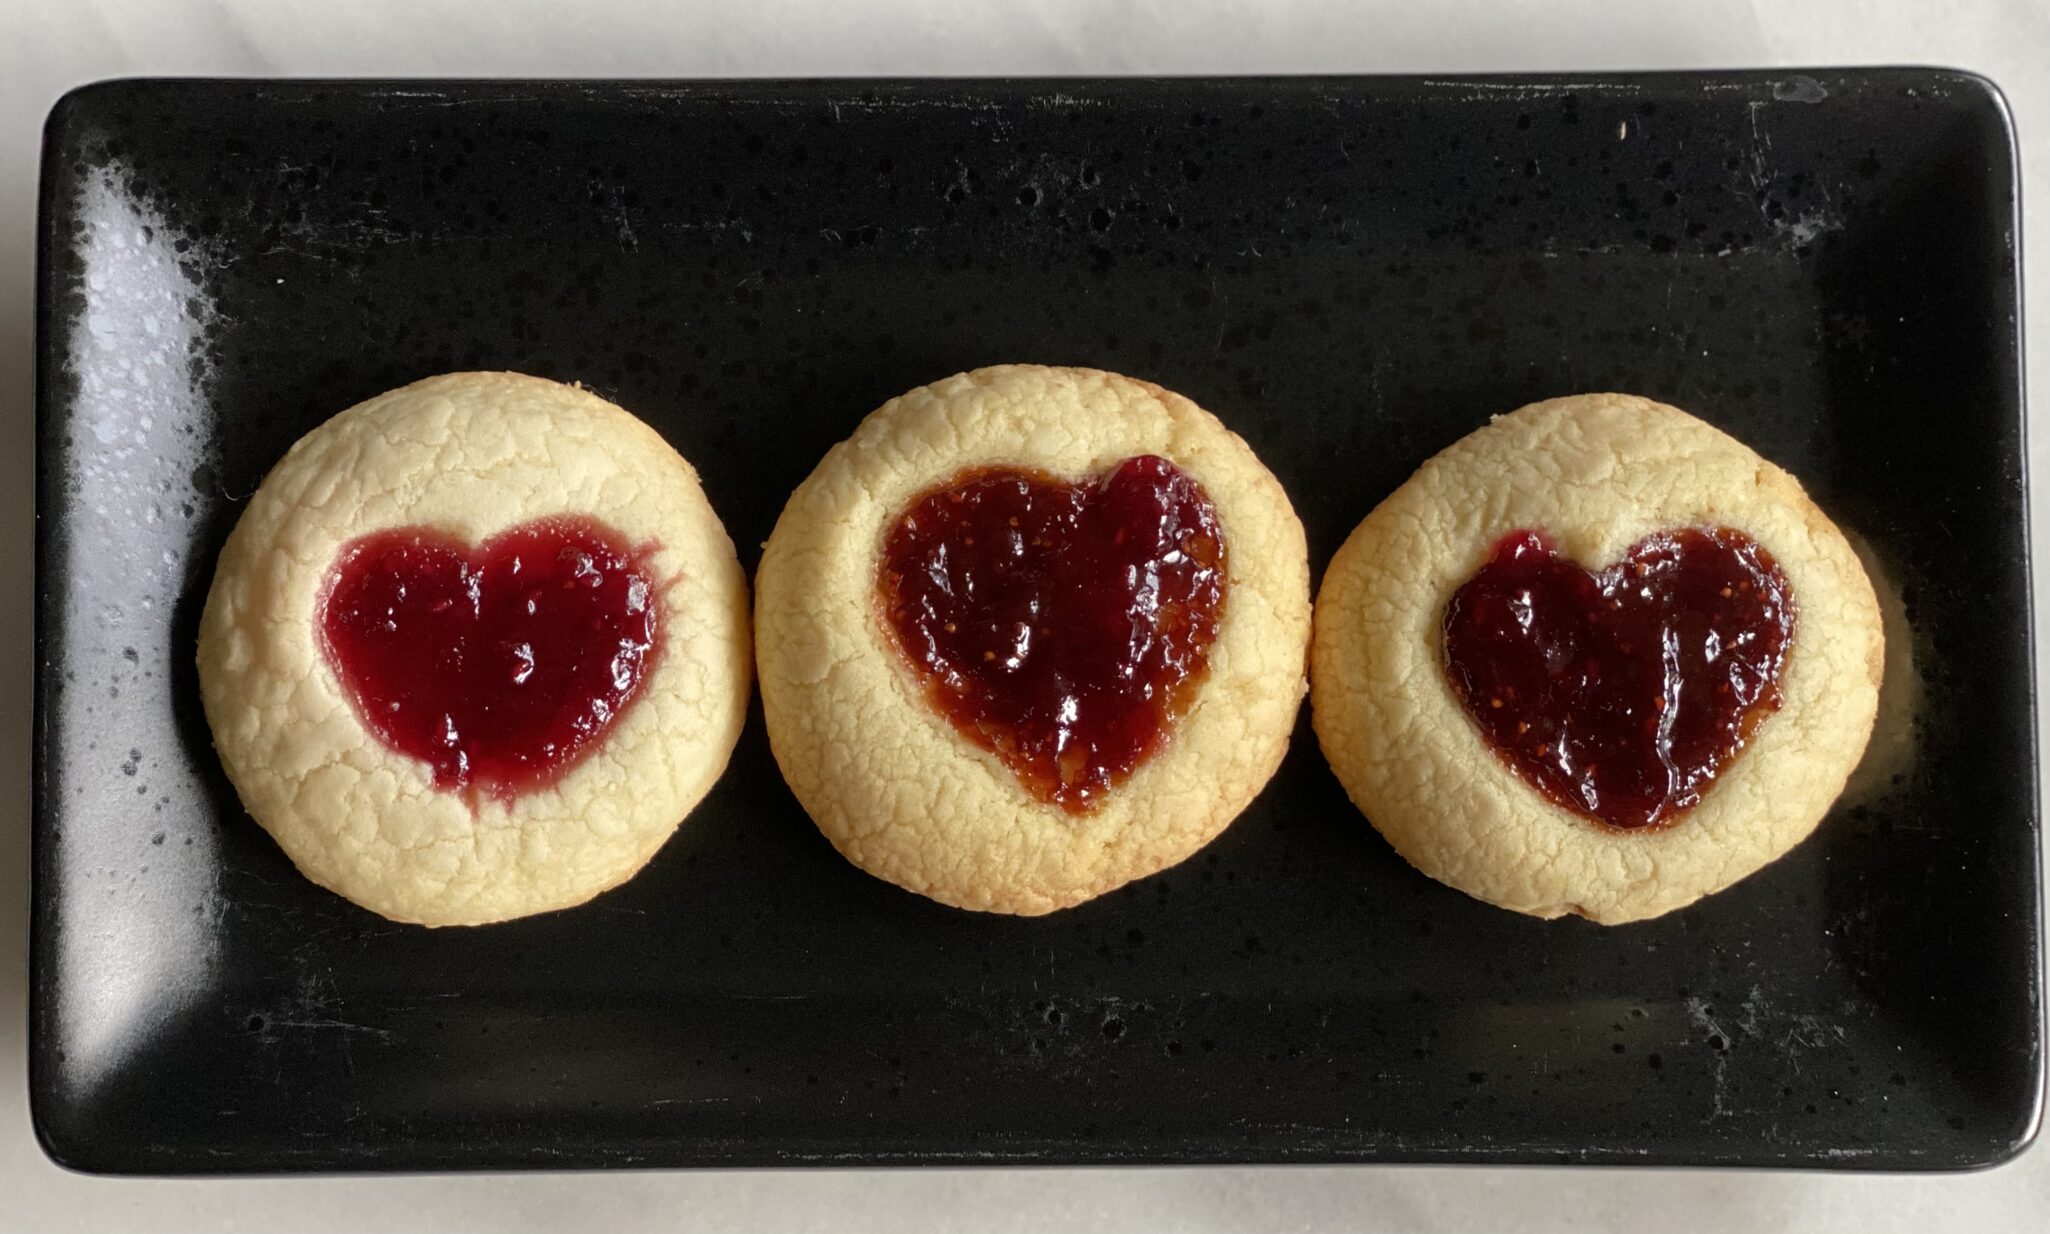
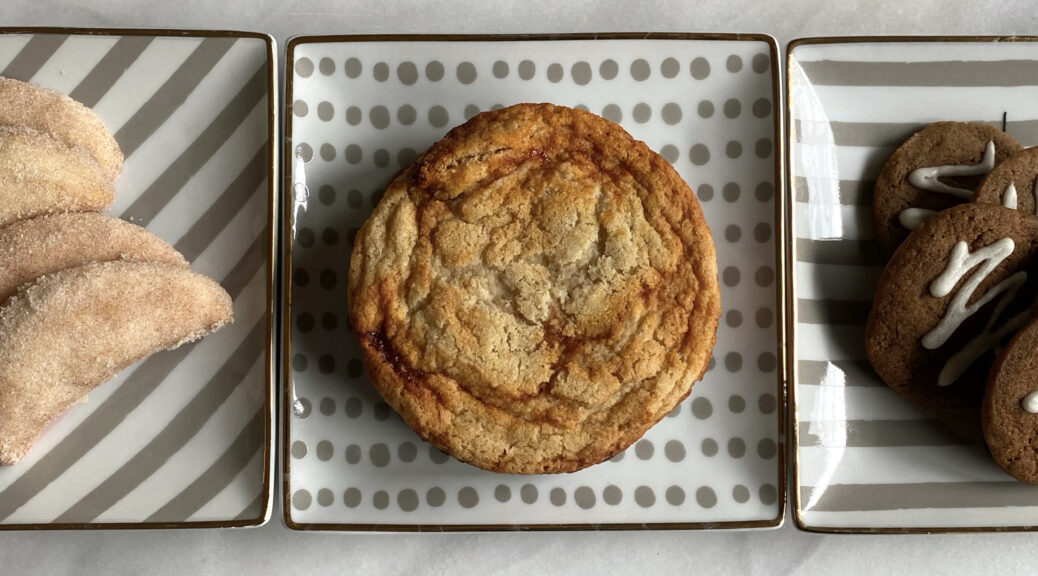
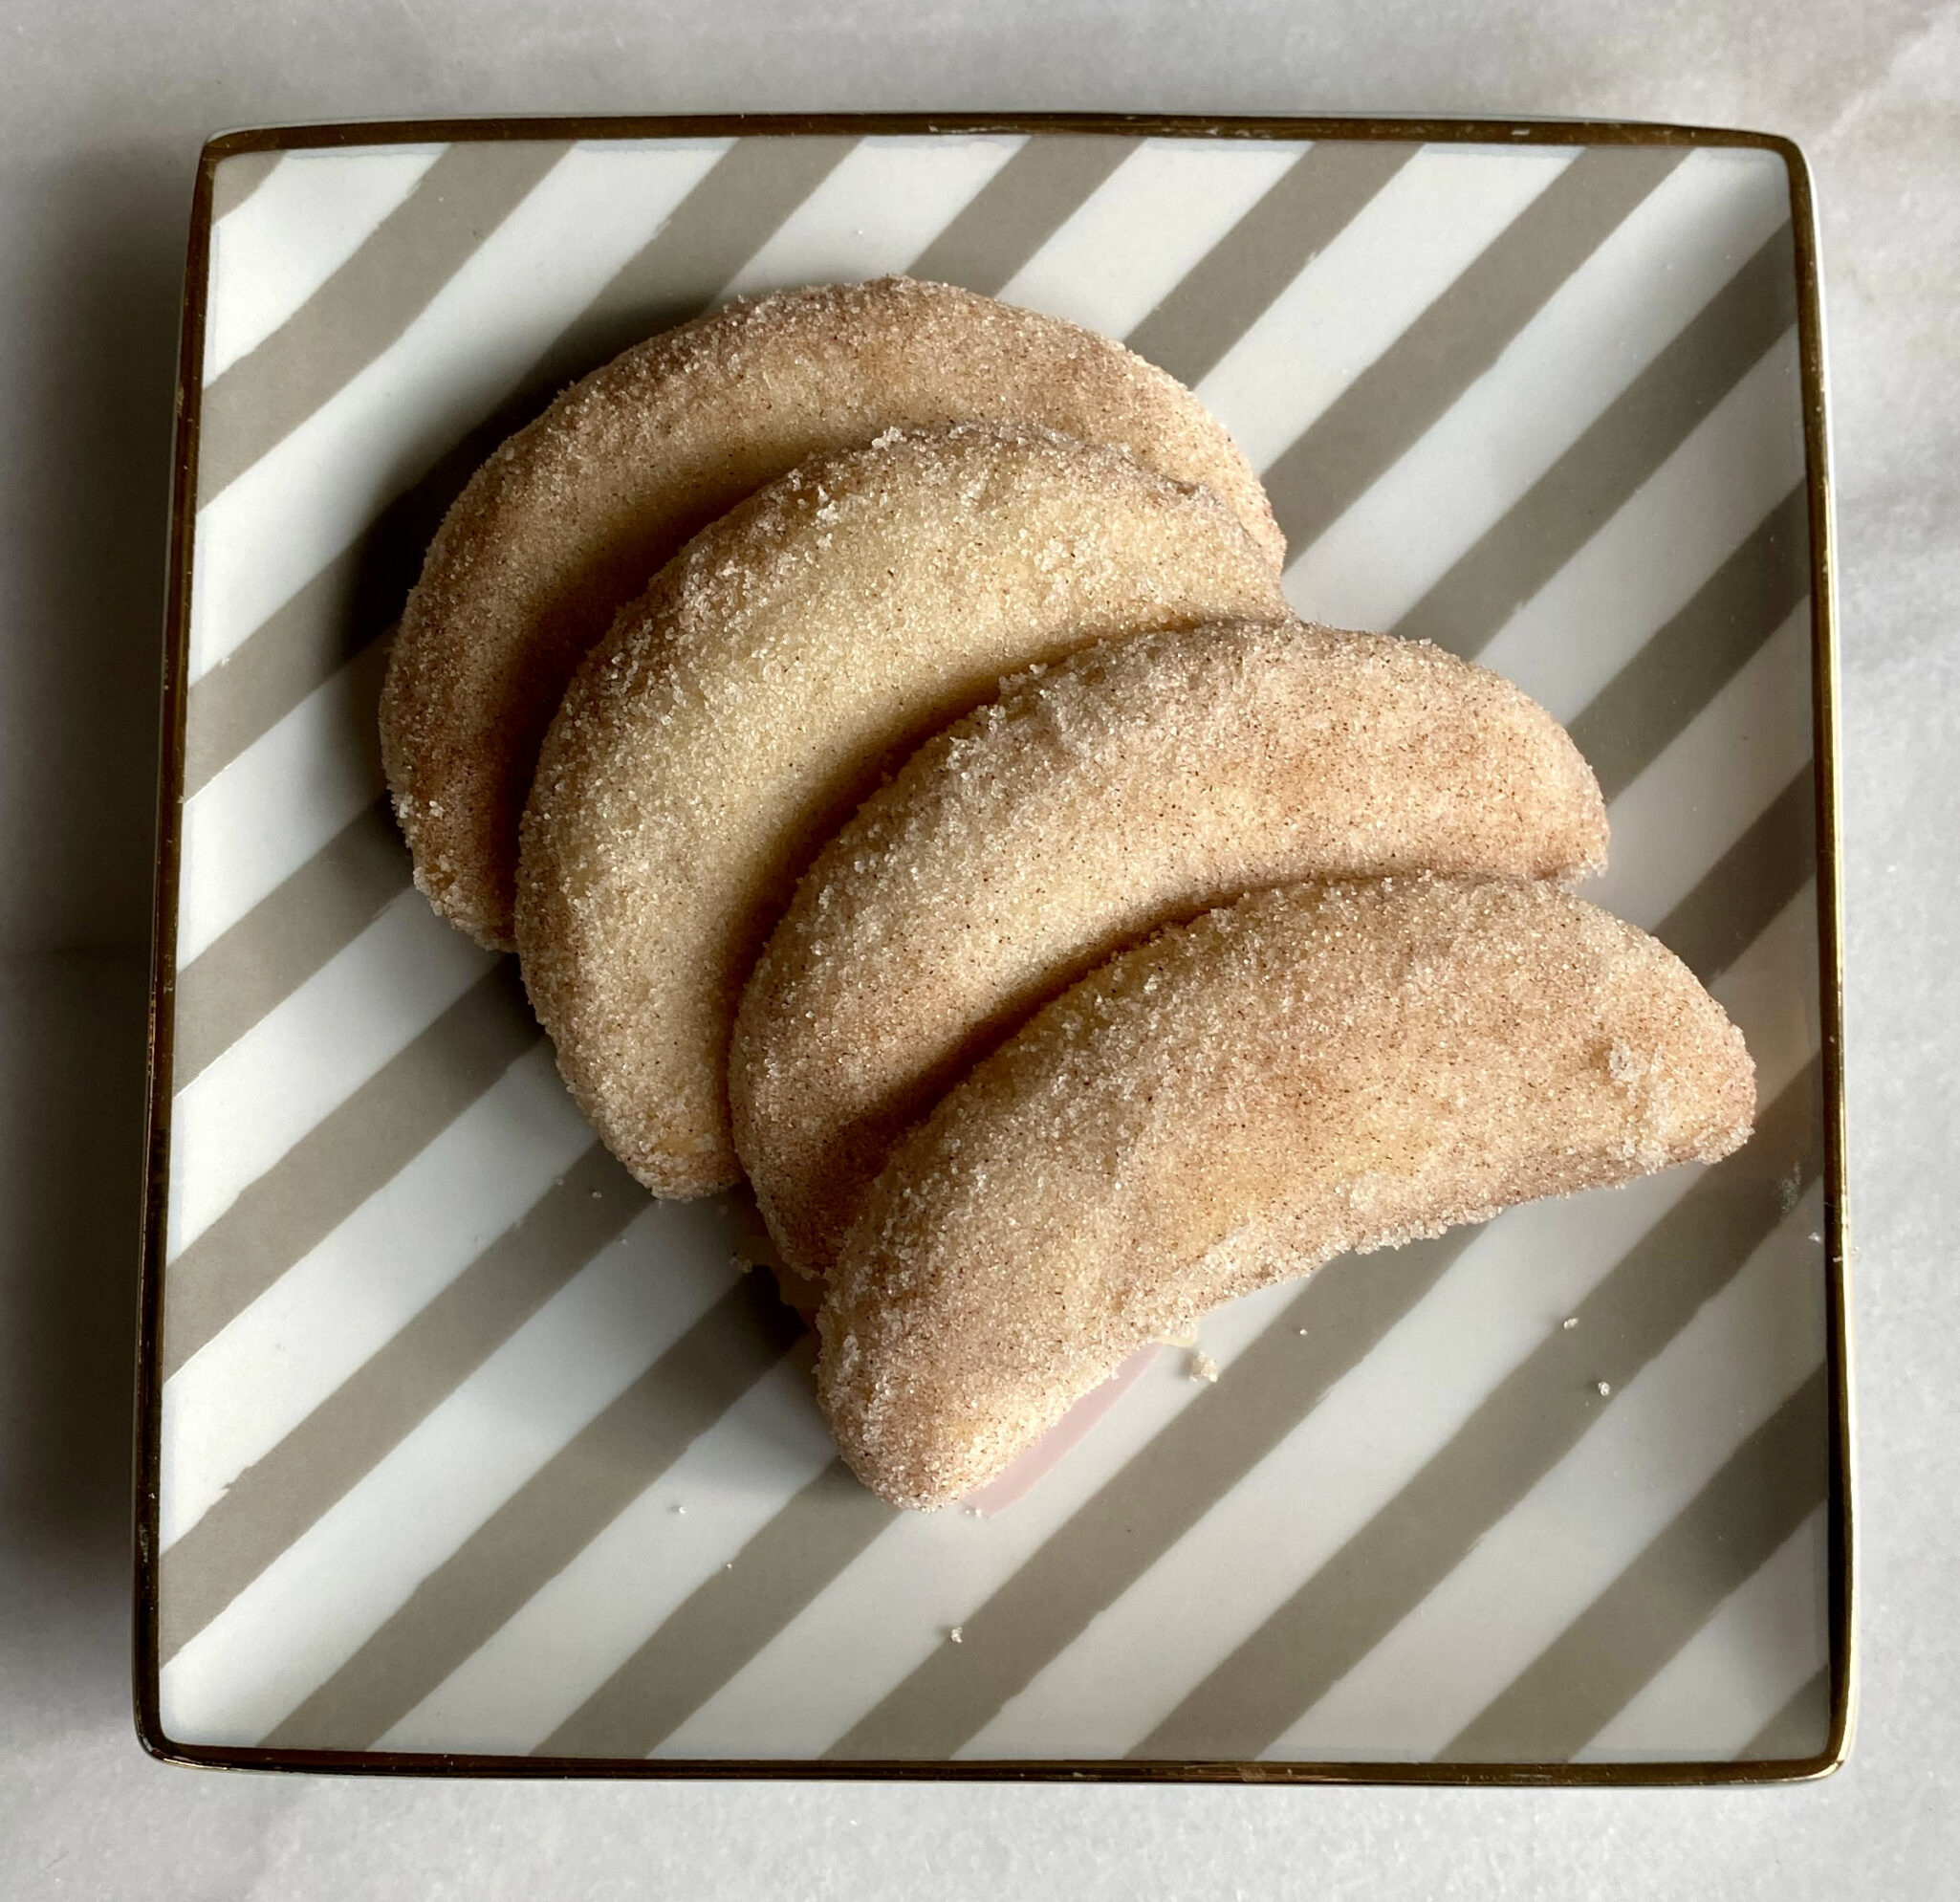
When my brother and I were babies we were taken care of by a family out in the Sunset, the Singer Family. Mrs Ethel Singer was the sweetest, most amazing woman, who ran a nursery for babies. A friendship was born from our stay there and it became a tradition for us to visit them every Christmas. As I admired their gorgeous Christmas tree with an entire miniature town around the base, she brought out her homemade cookies and eggnog.
Not Your Mama’s Eggnog
We would sit sipping our eggnog merrily chatting away. Much to my chagrin, I often found myself getting very sleepy while listening to the conversation. I fought hard to keep my eyes open. How could I be so rude?! Finally, during a visit I happened to ask for her eggnog recipe. She went over the recipe step by step, “A quart of milk, 12 eggs (my arteries spasmed), sugar, heavy whipped cream, milk, and make sure to use a CUP of GOOD brandy, like Christian Brothers, lol. My dear Dr. Watson, the mystery is solved regarding my annual, ill-timed bouts of narcolepsy. Blame it on the alcohol, the alcohol…

Yes, roughly 15% alcohol, masked by sugar, milk, heavy whipping cream, and eggs. A smooth, creamy, sweet, calorie-laden, festive, delicious, diabolical drink.
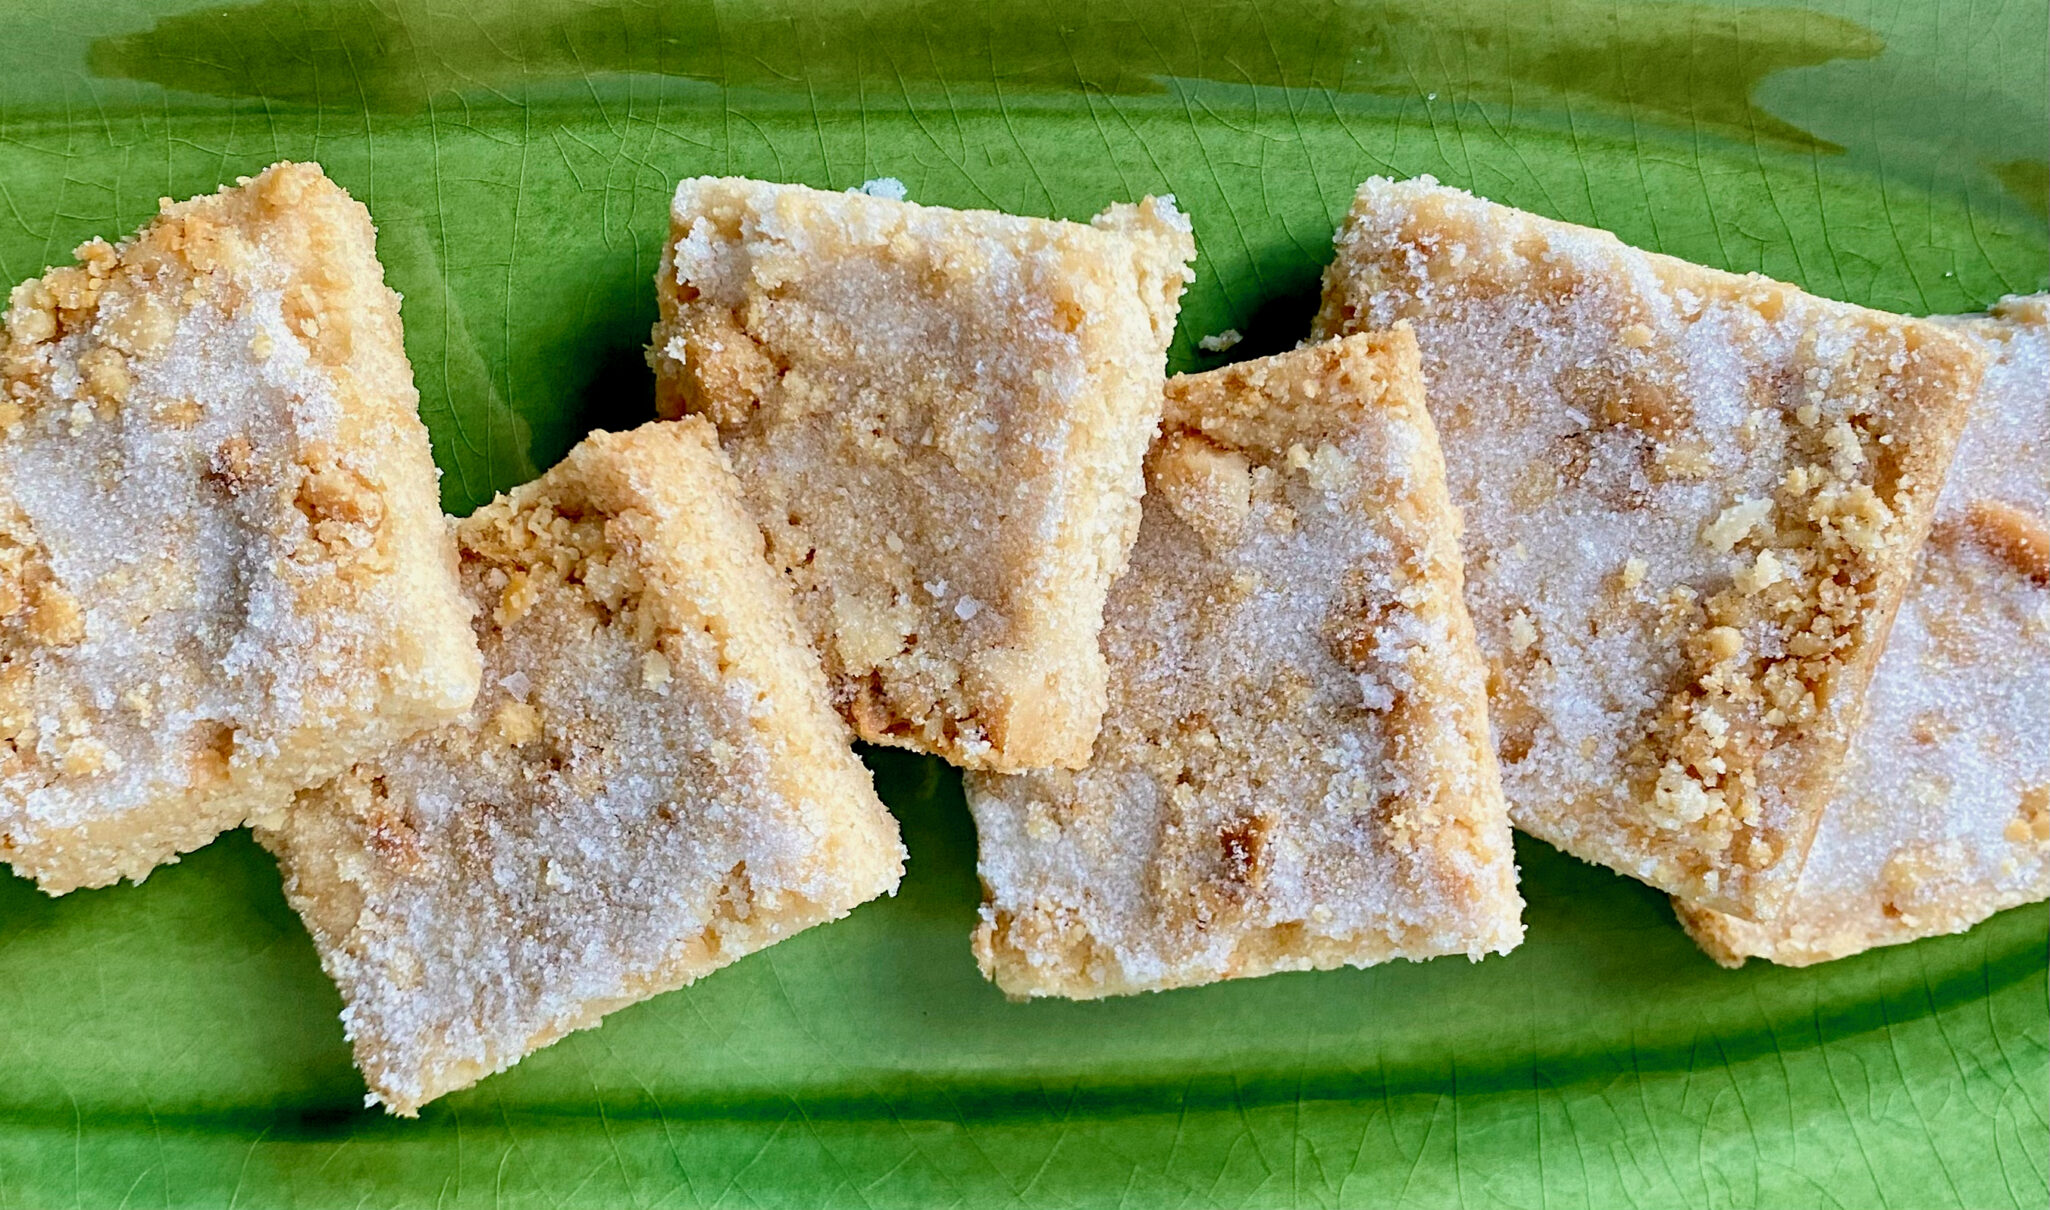
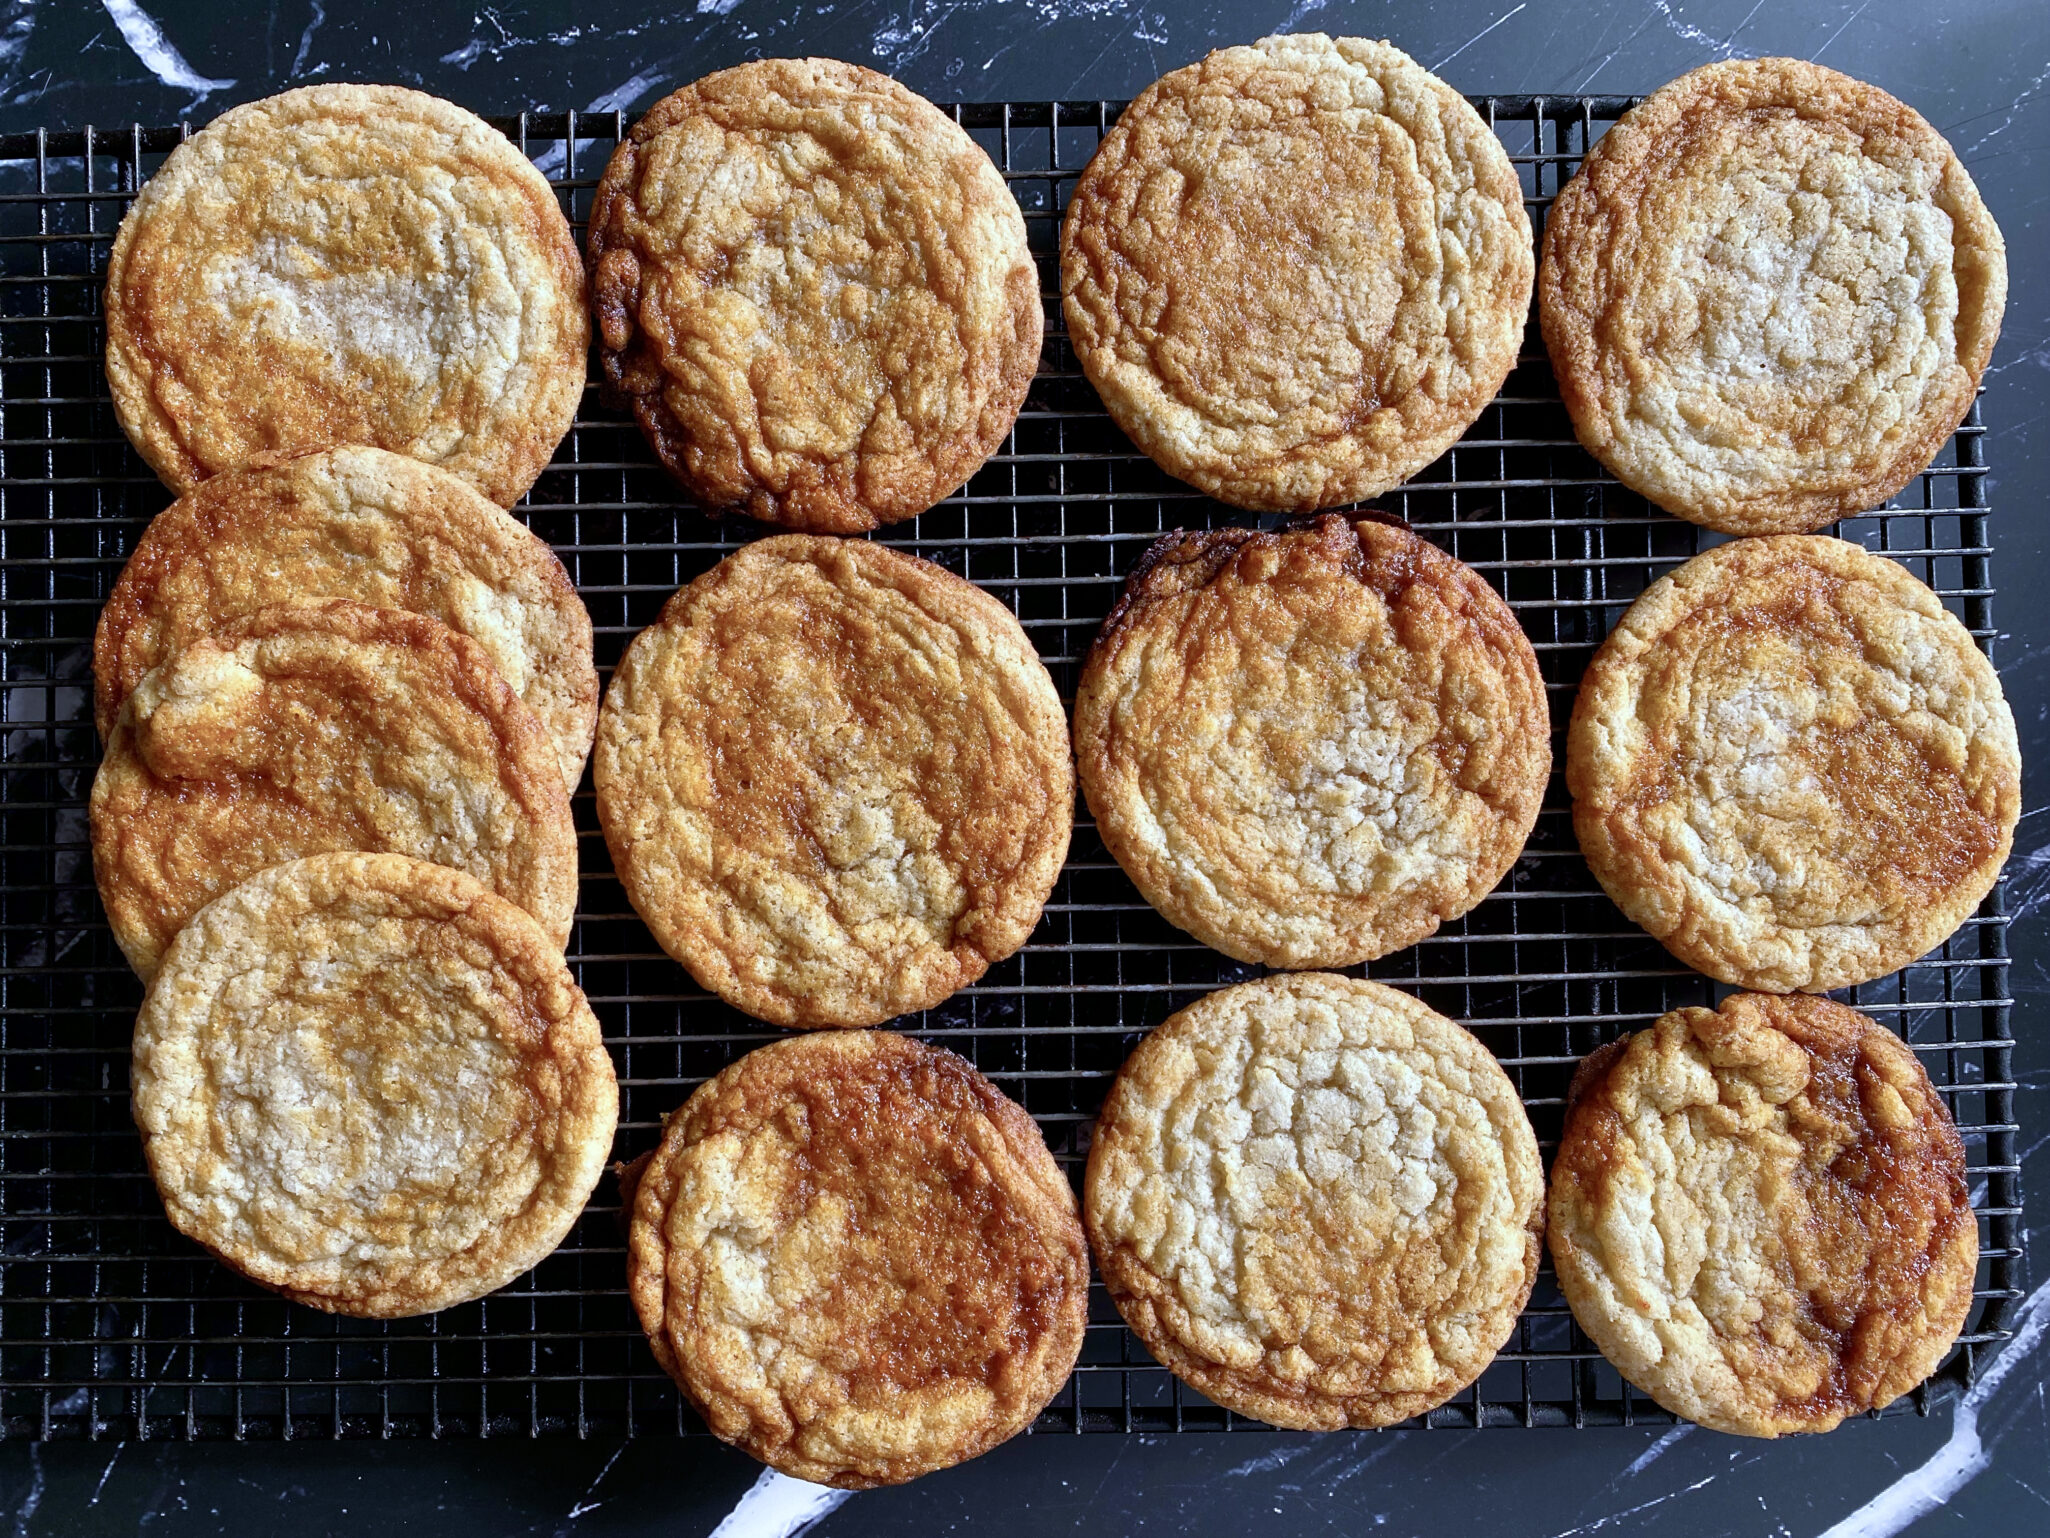
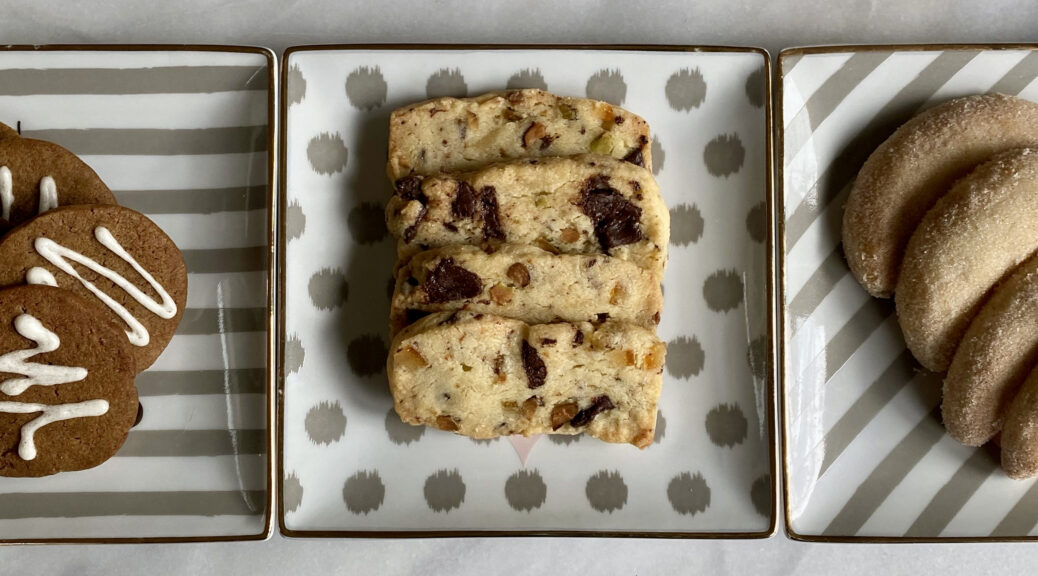
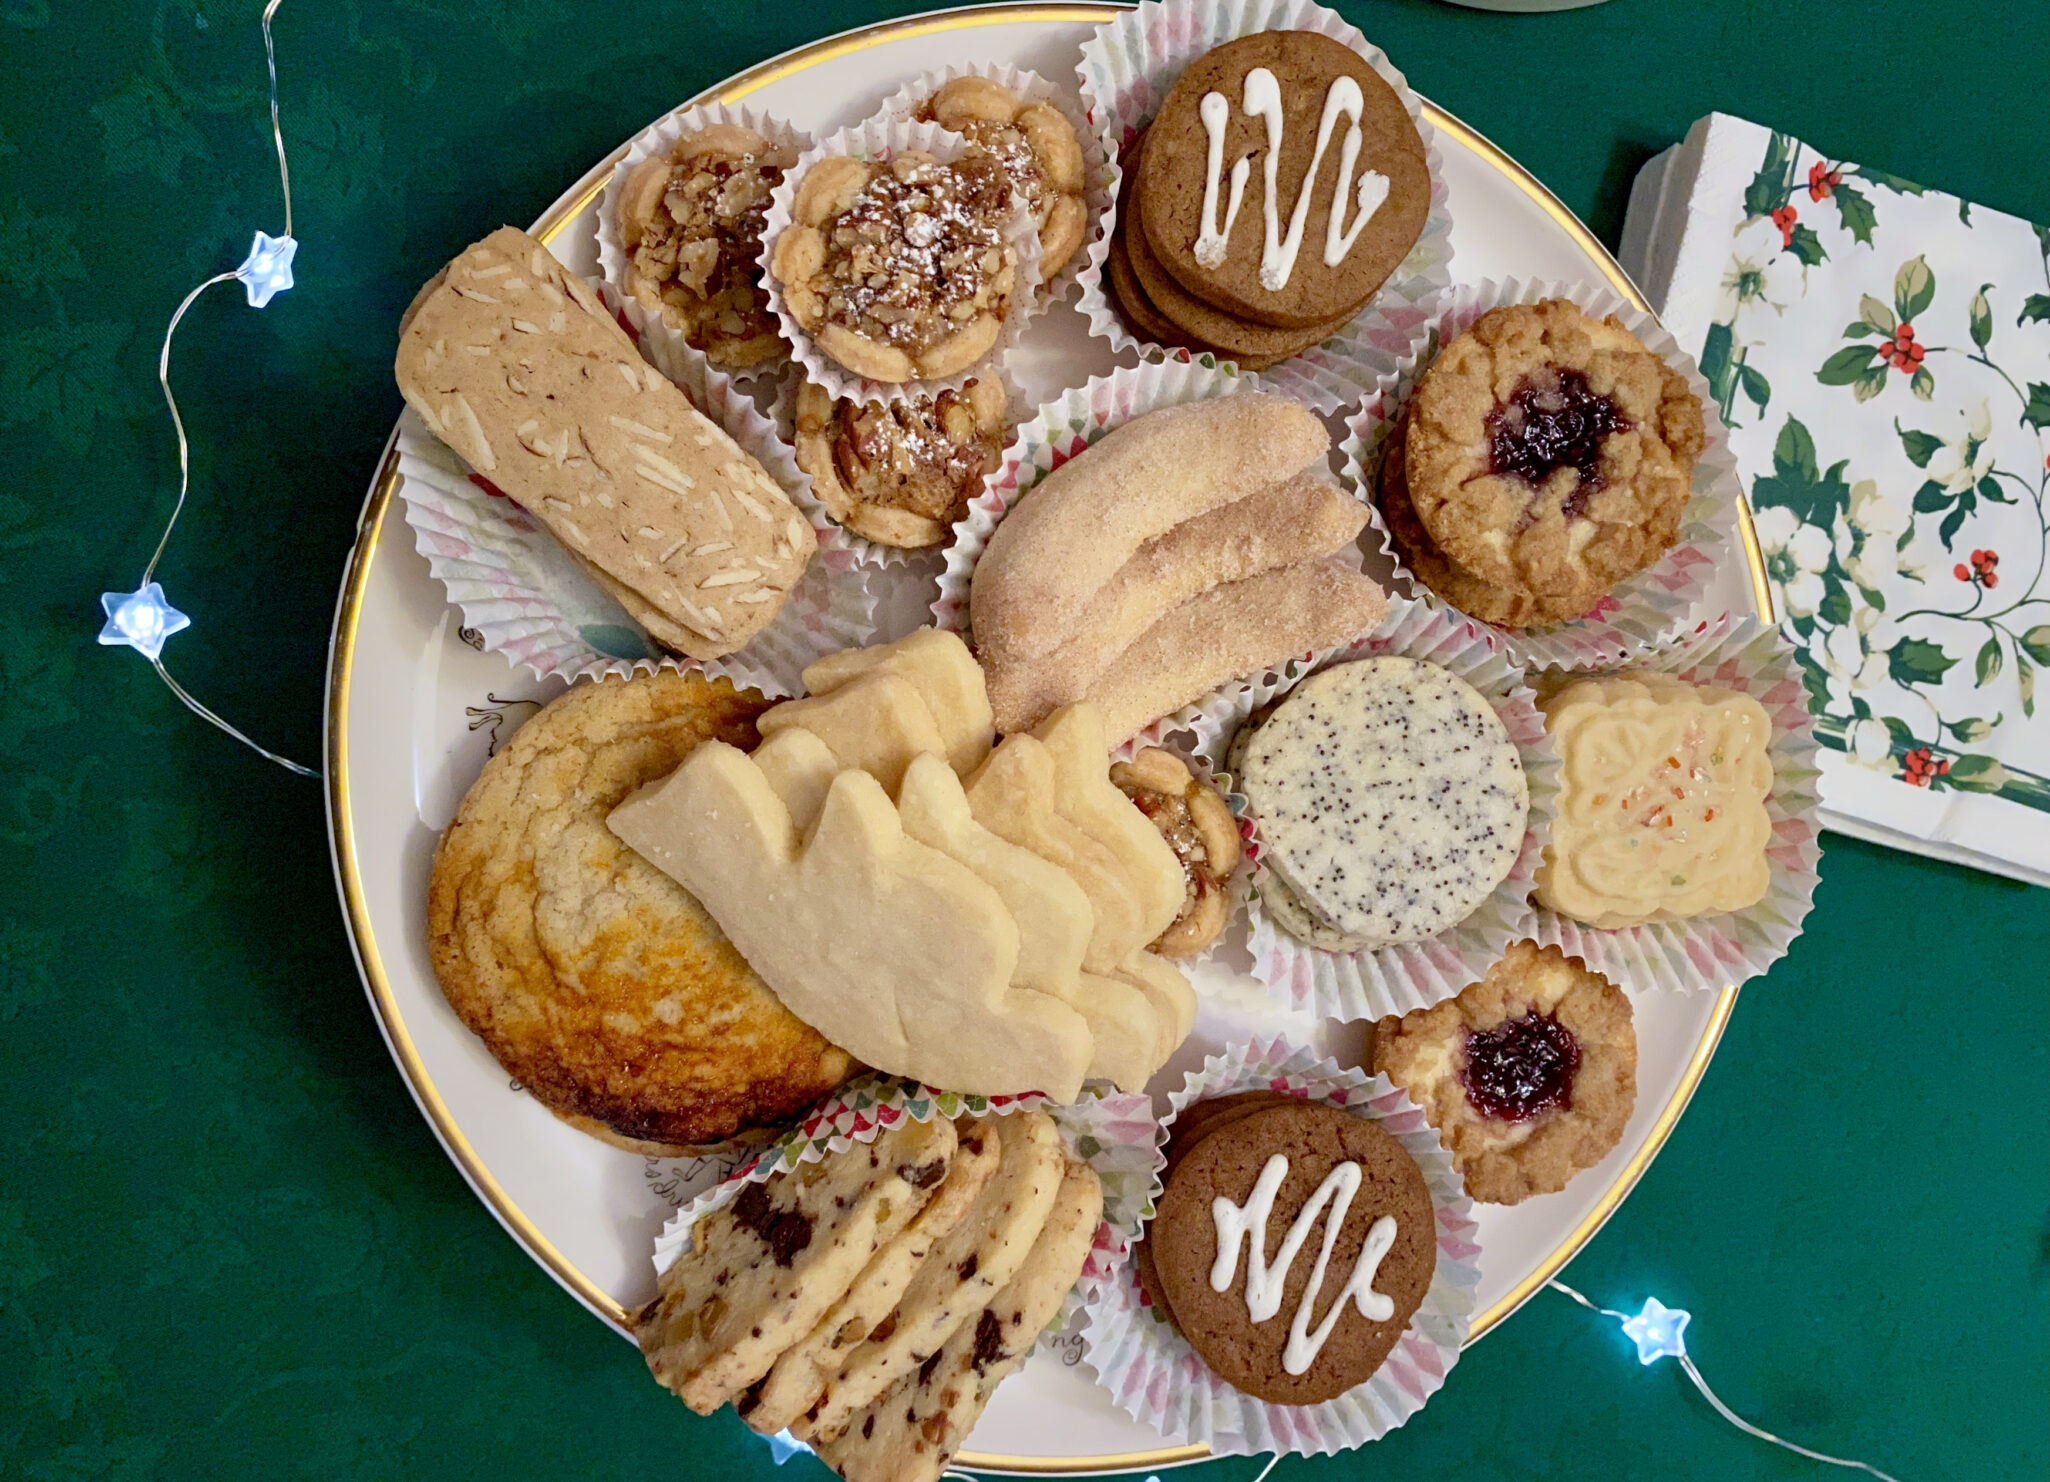
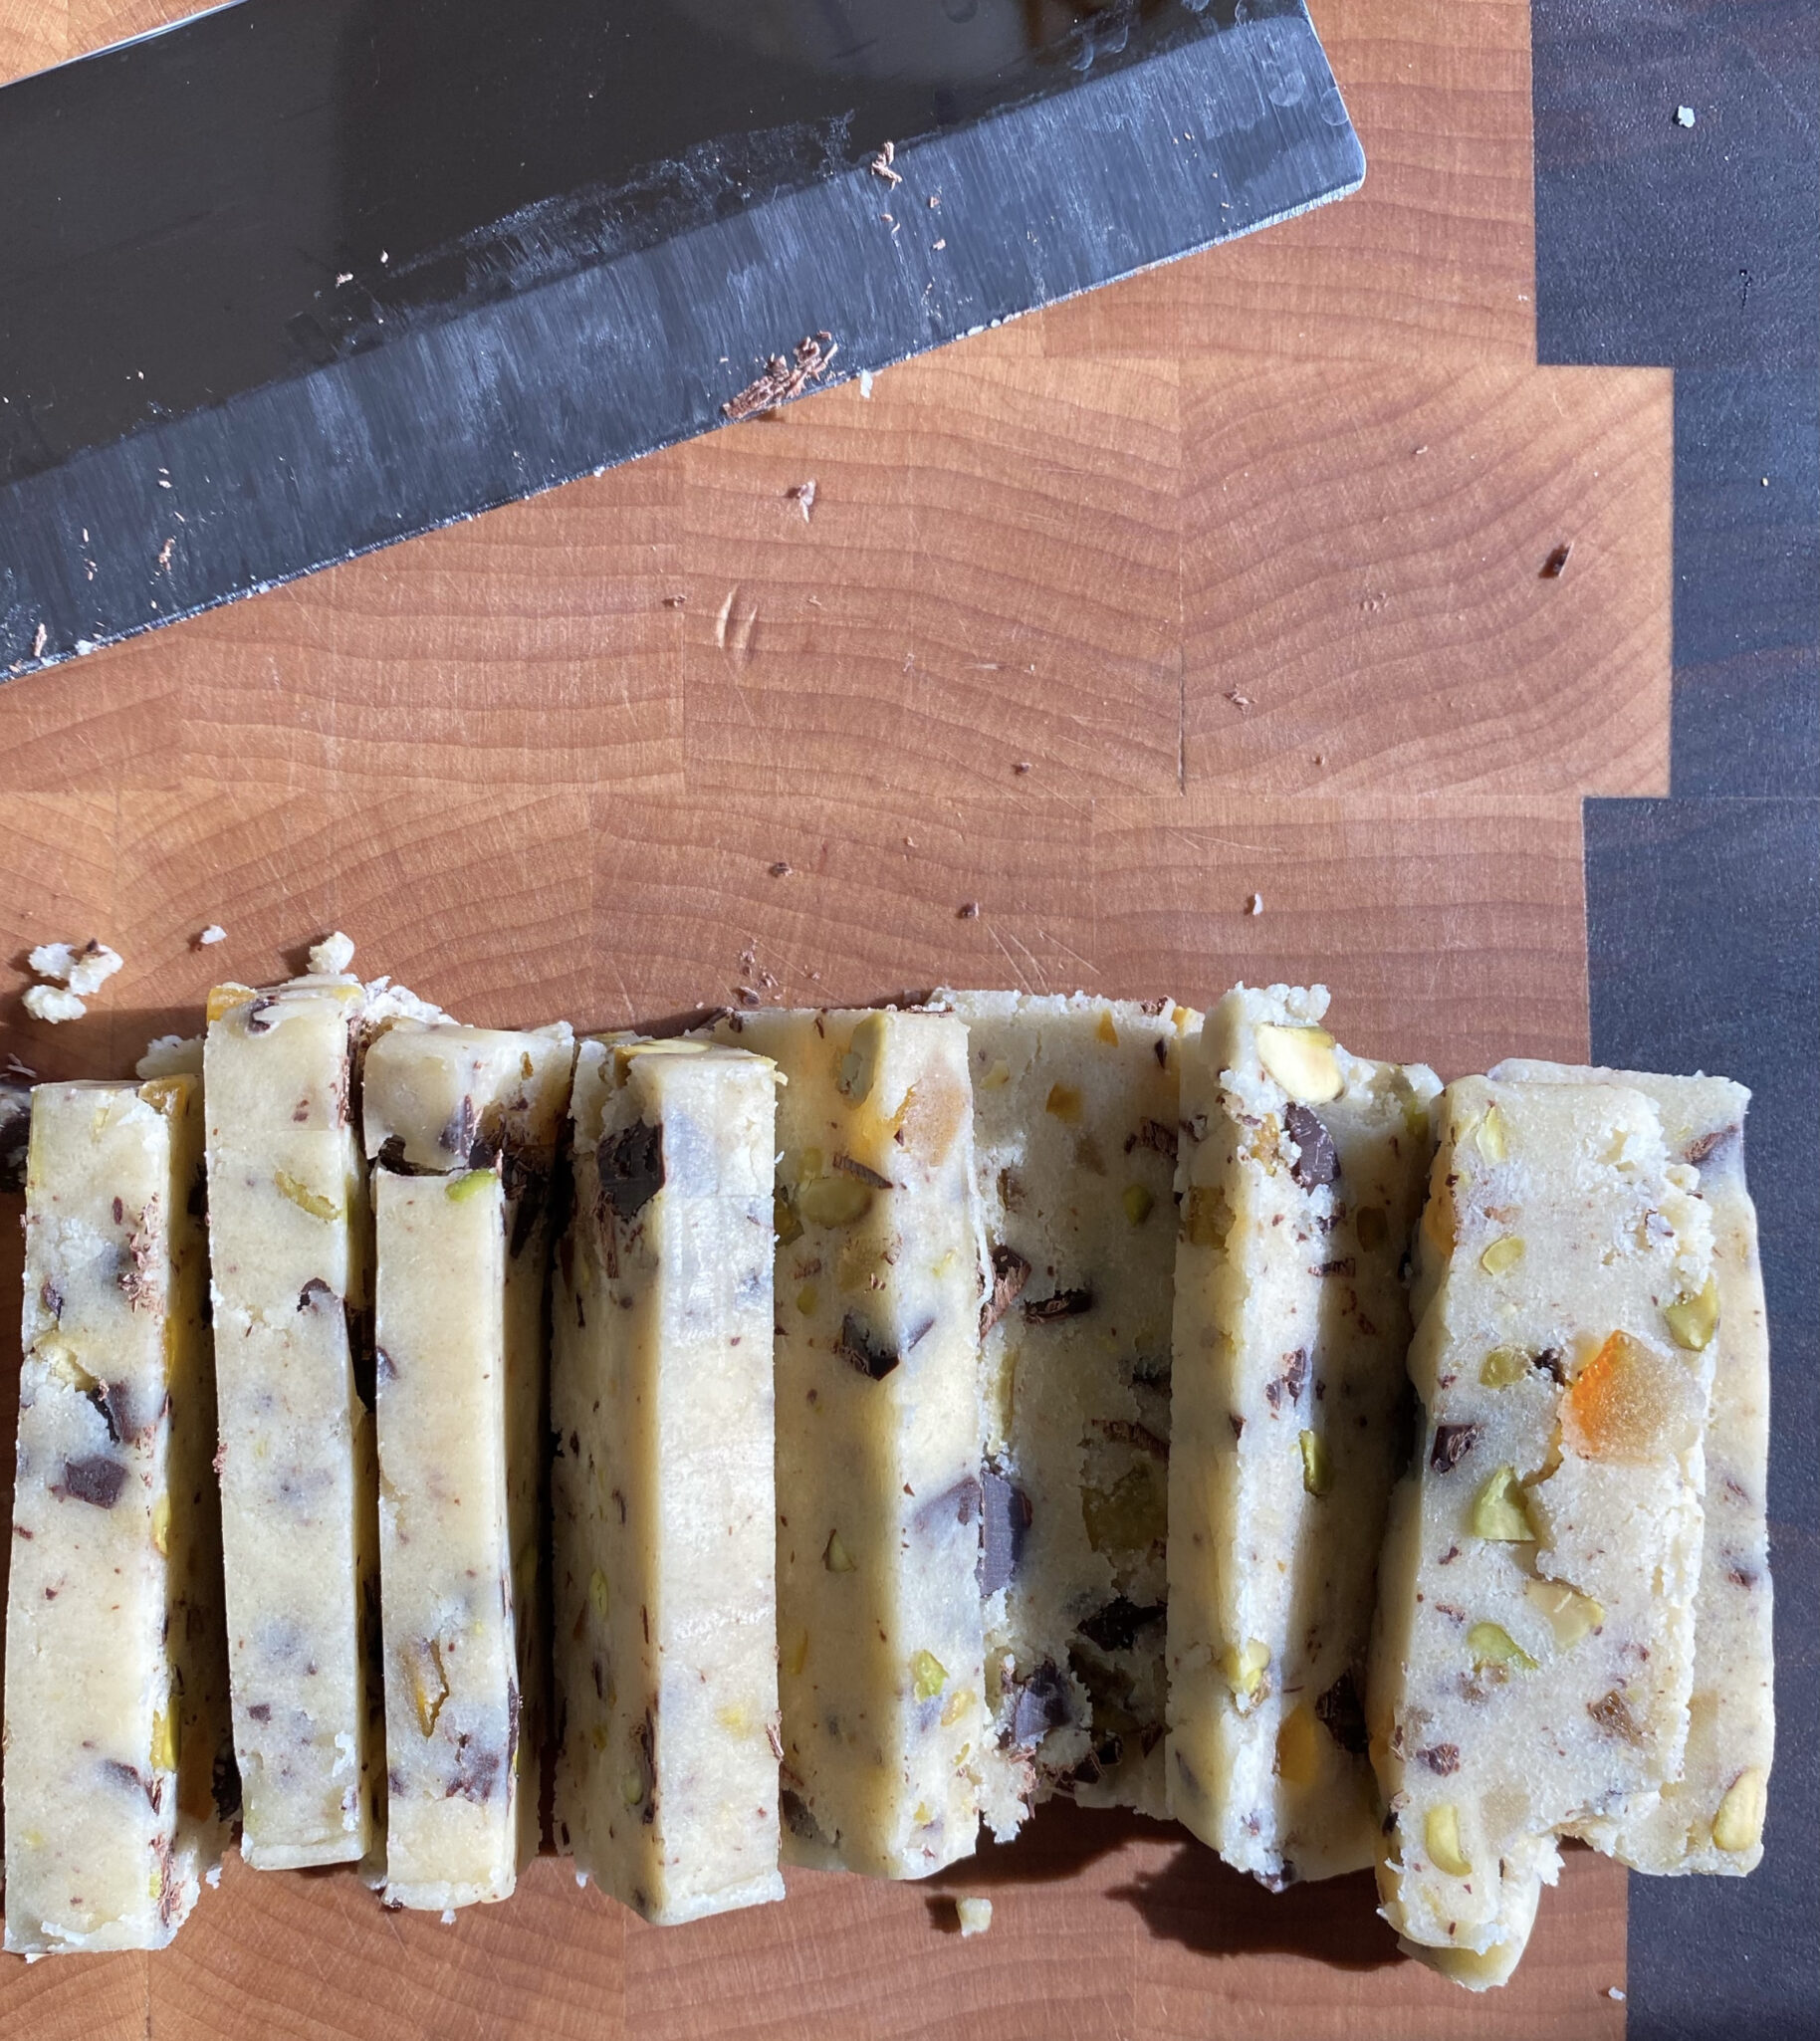
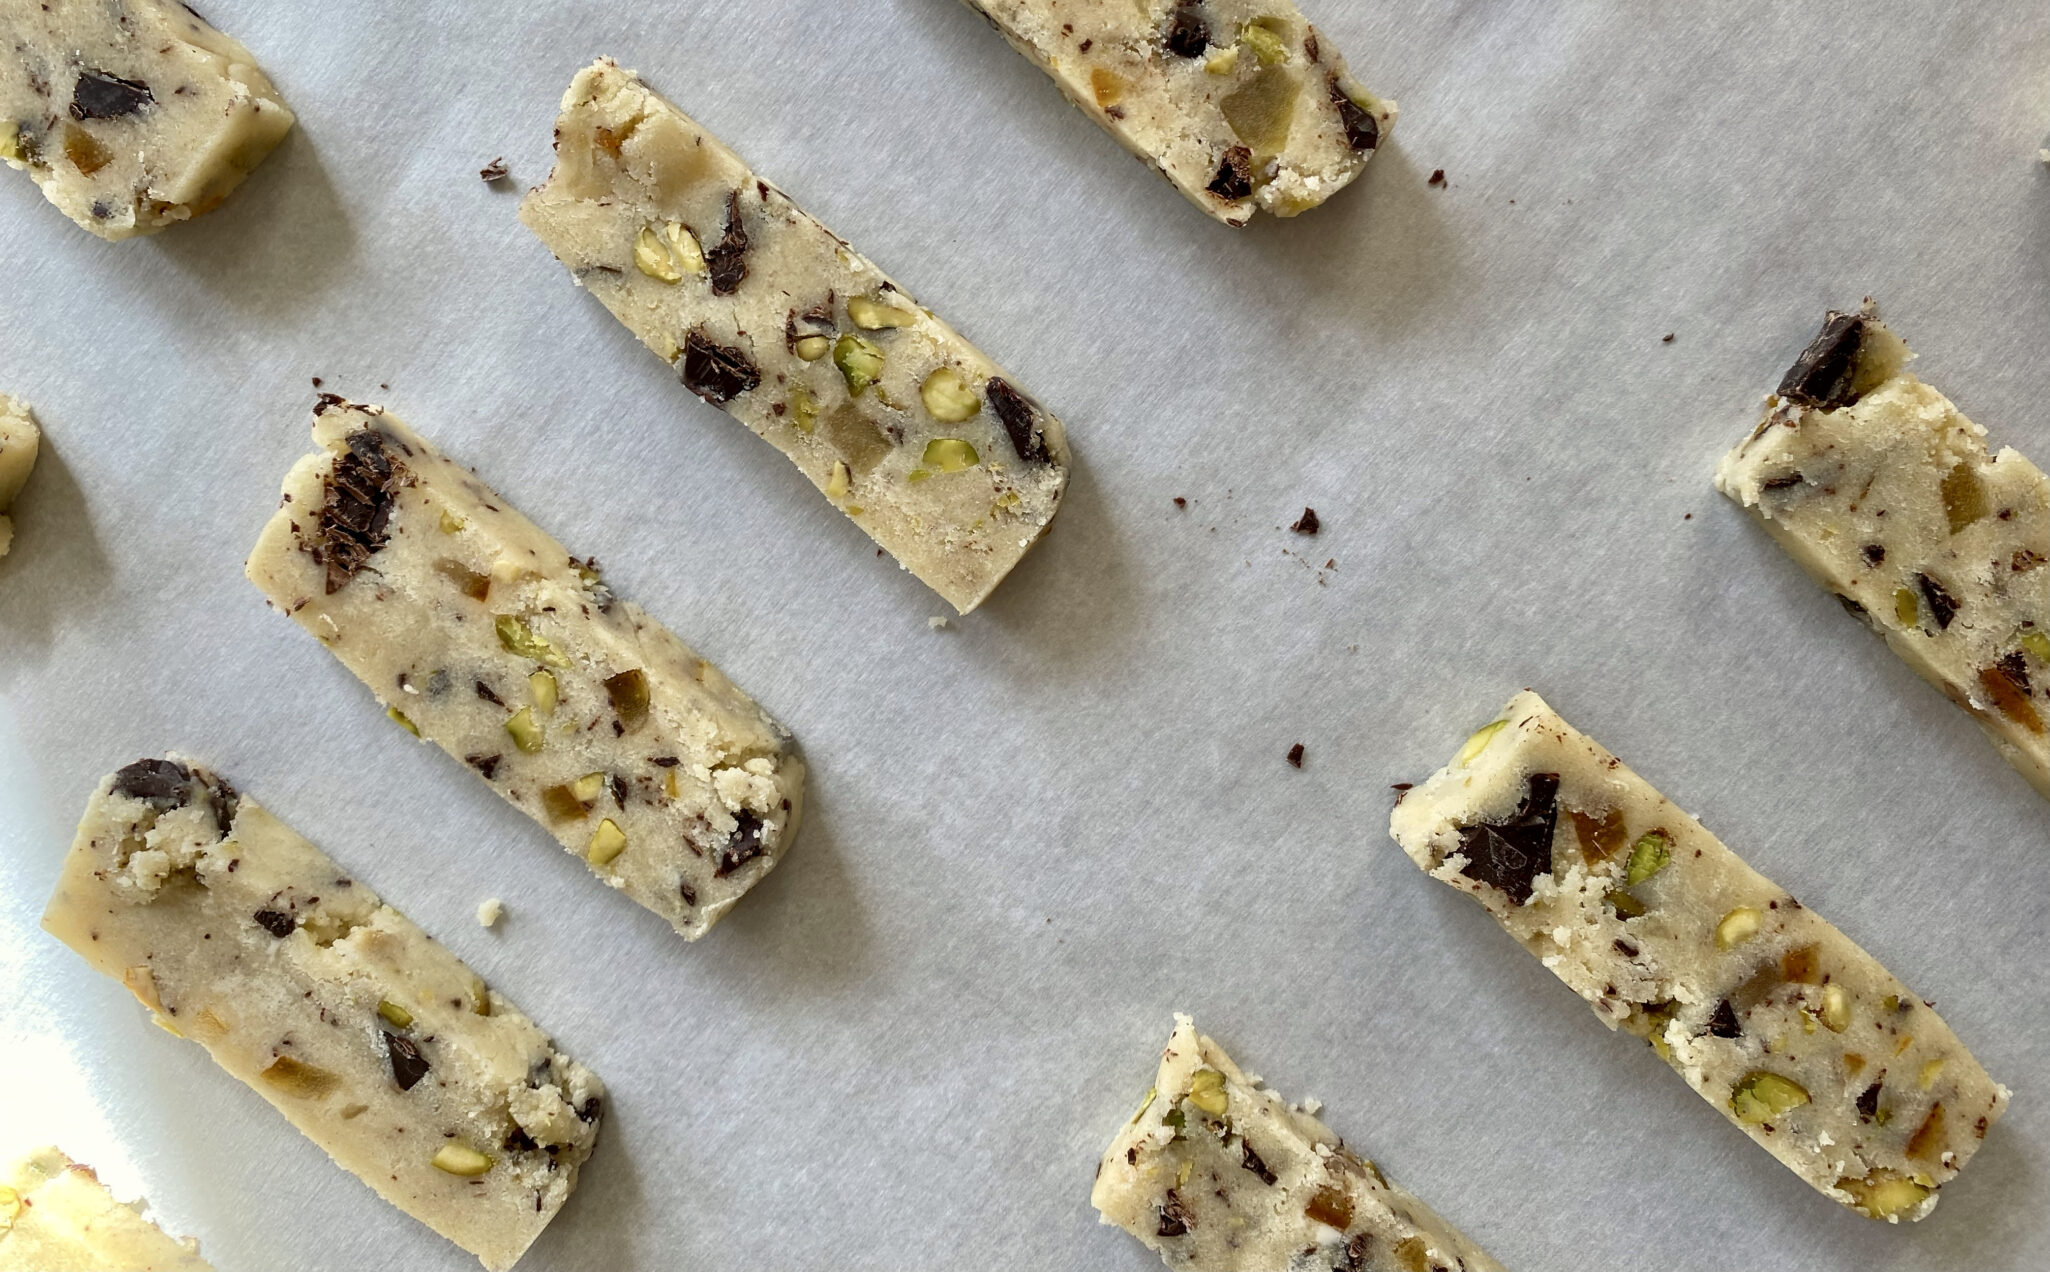
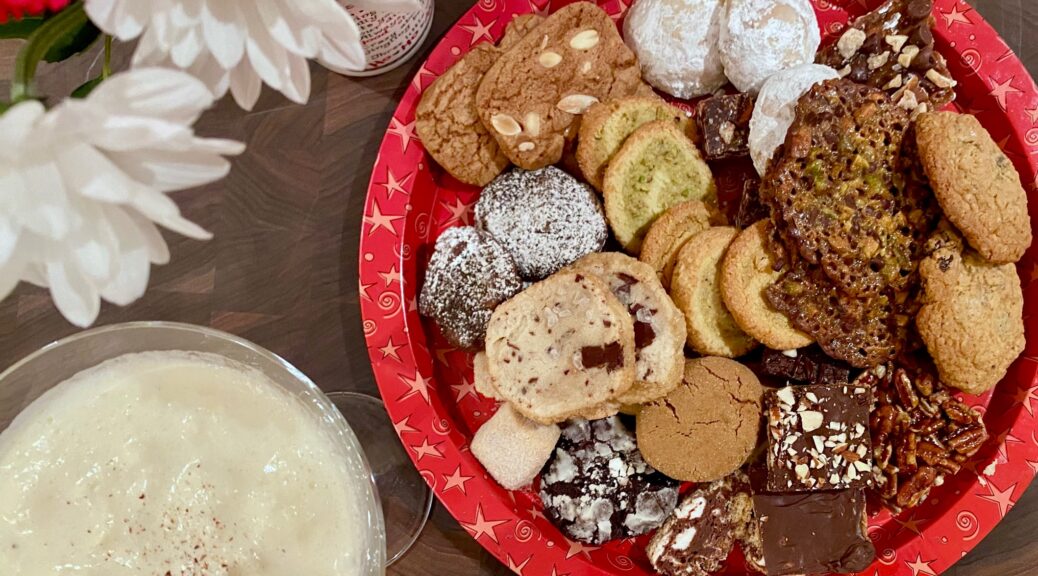
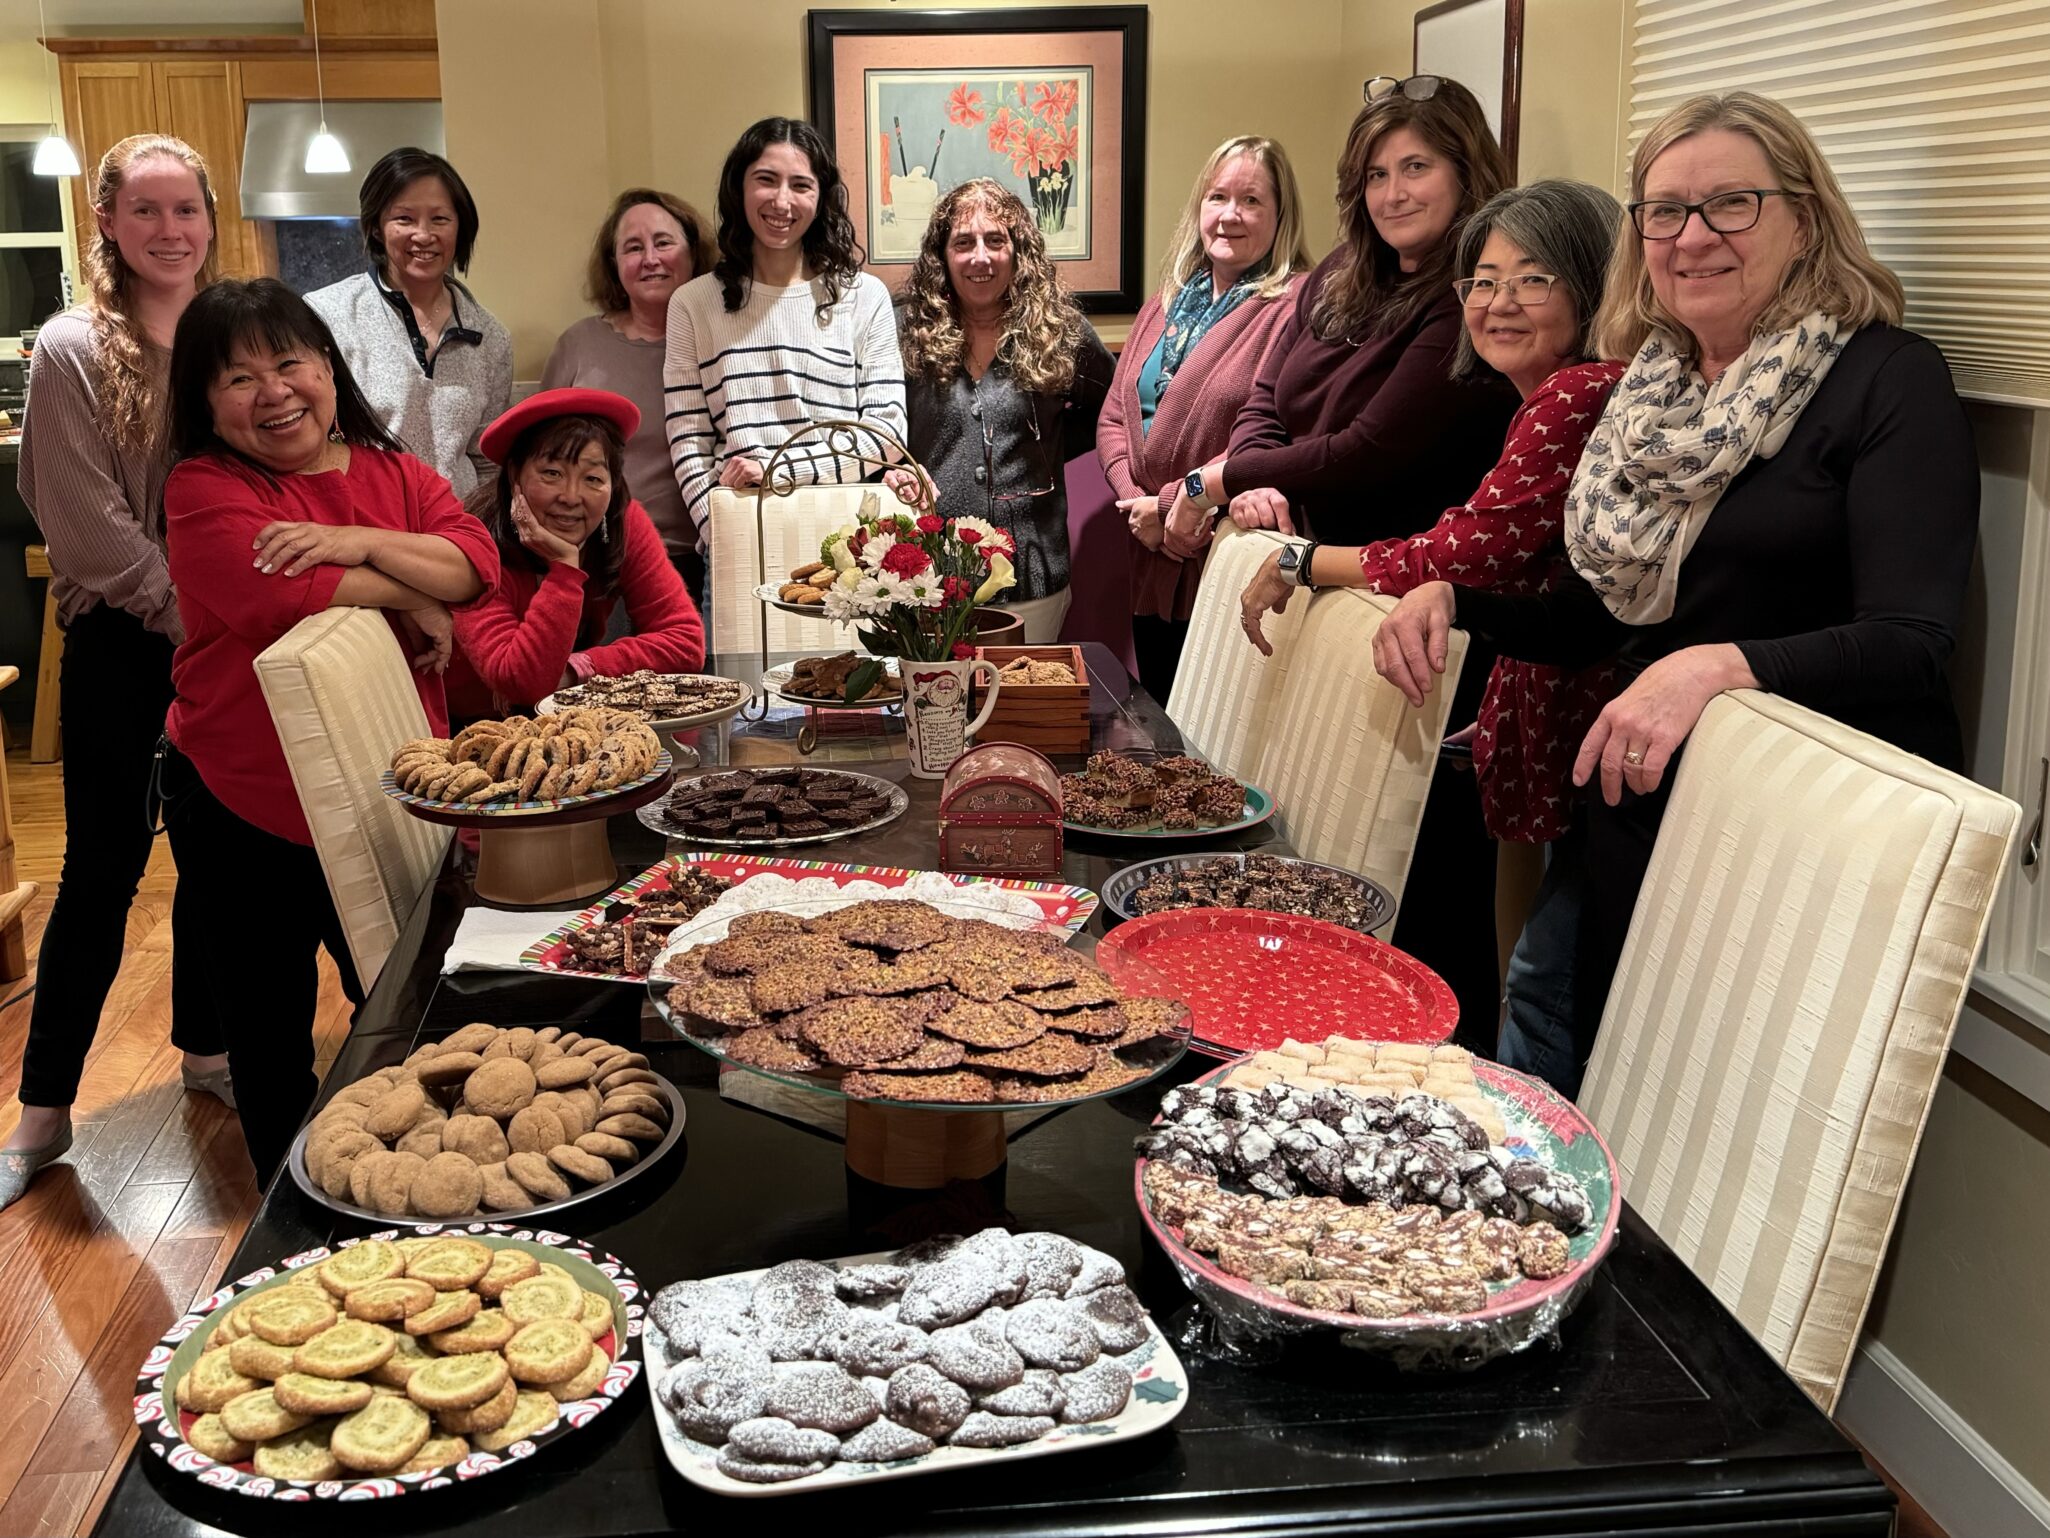
Our Annual Cookie Swap
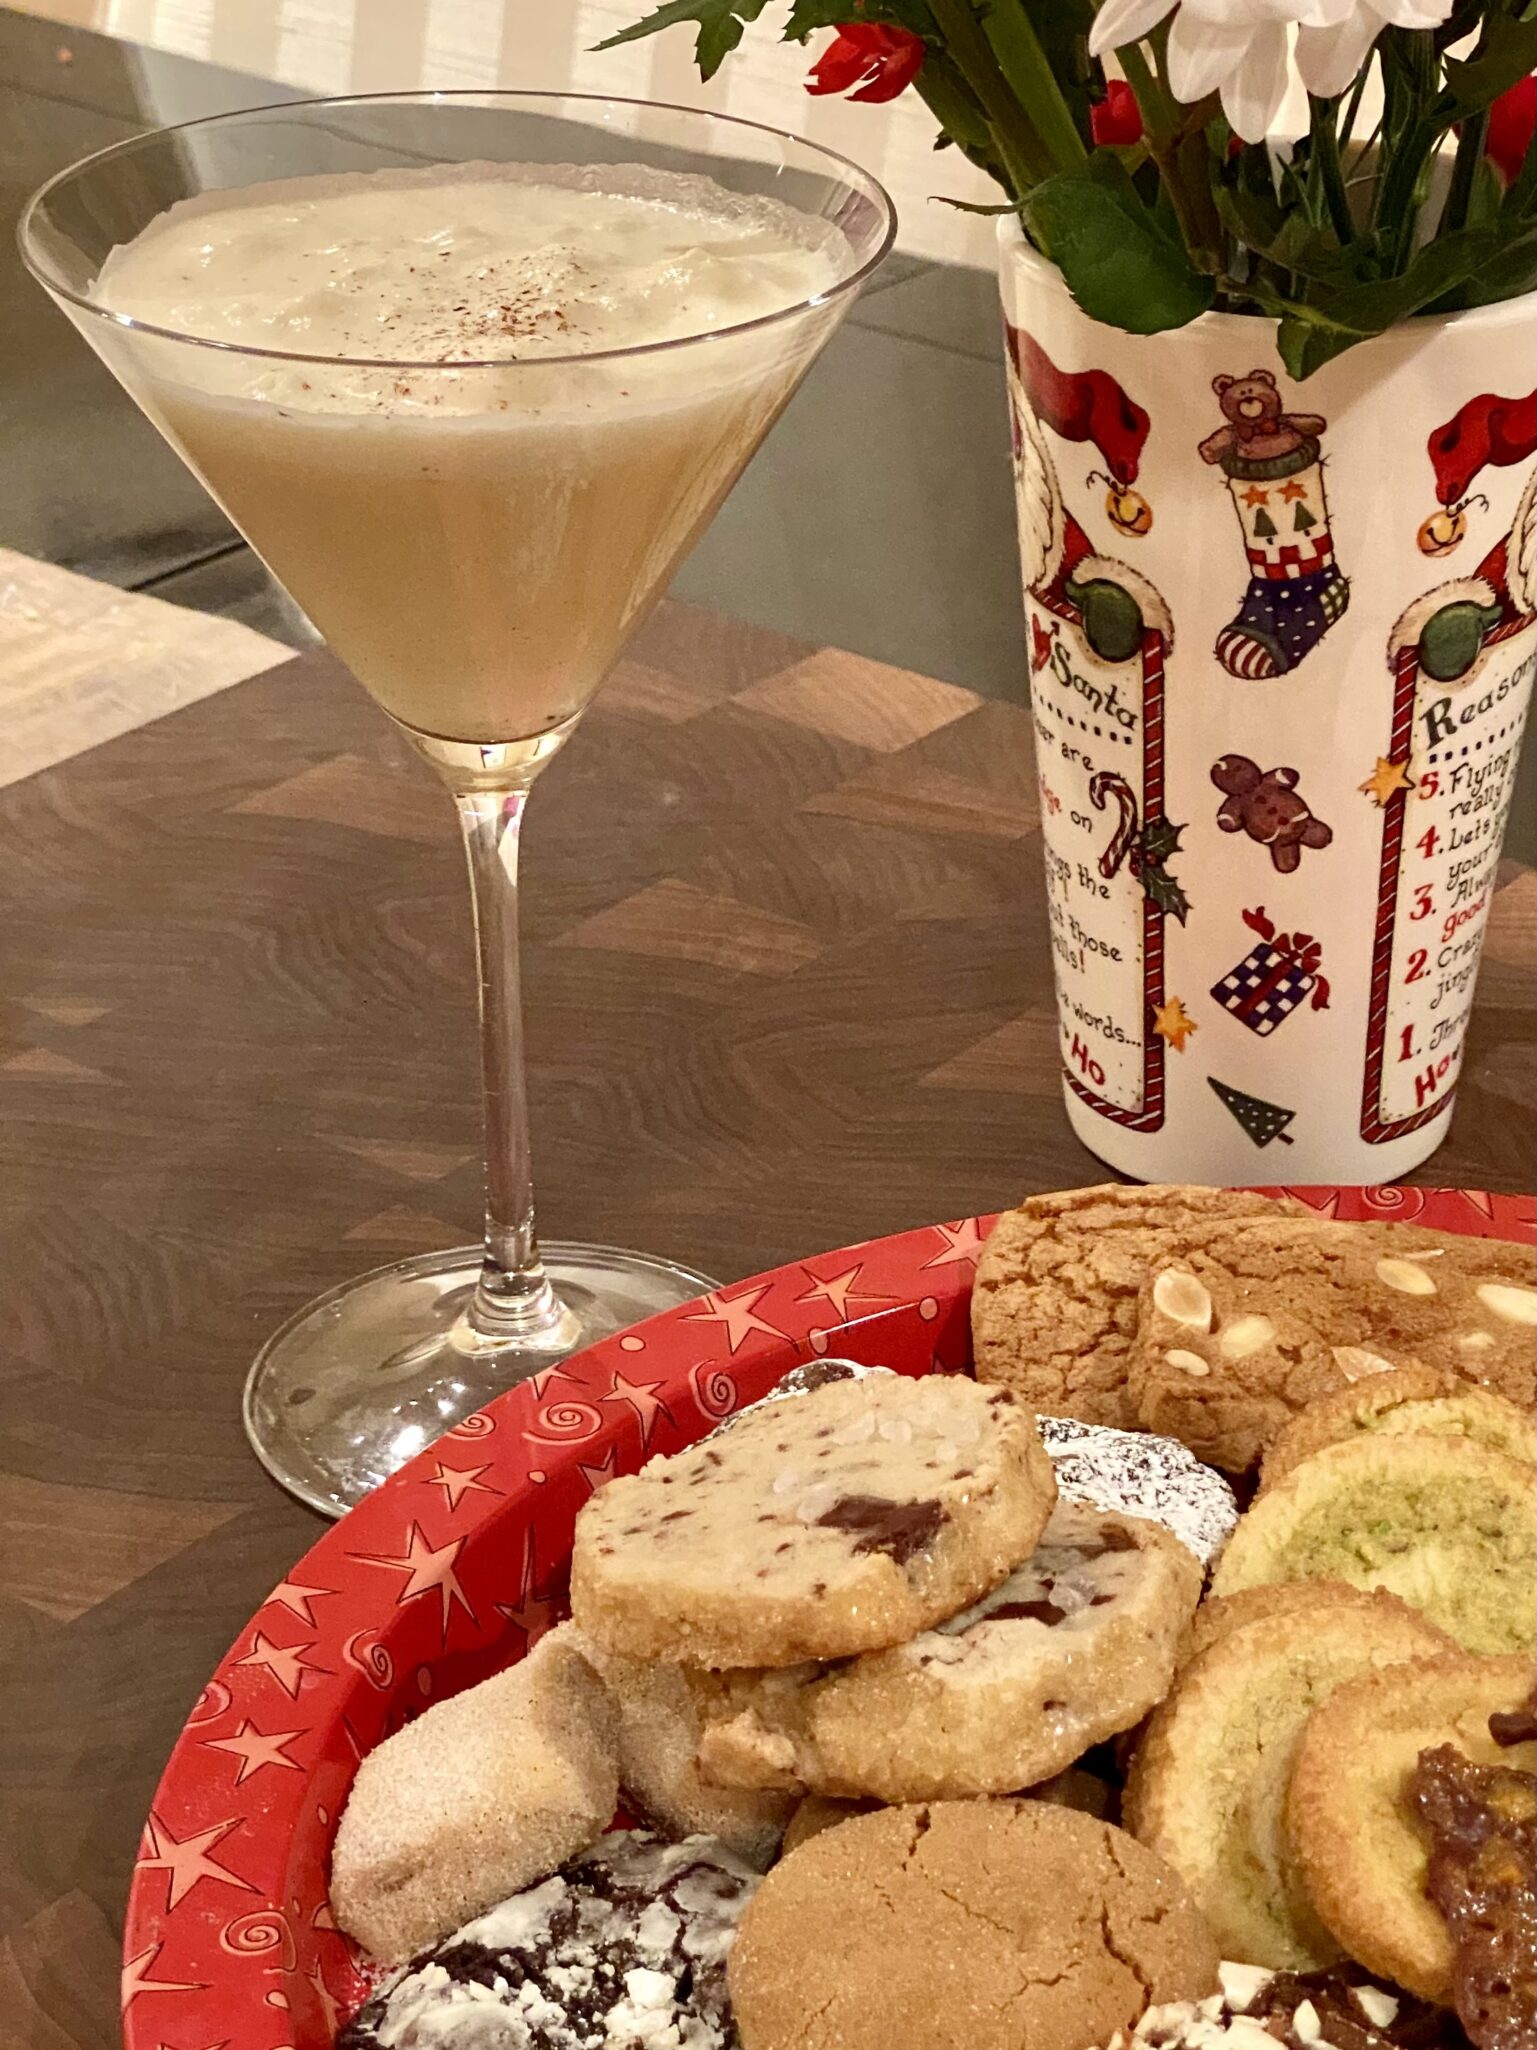
So, for our annual preschool holiday cookie swap, I pulled out Mrs. Singer’s Eggnog recipe. Martini glasses filled with eggnog seemed a fitting way to toast 25 years of cookie swaps that began with toddlers in tow. Back then we were new moms who could not imagine those toddlers becoming adults making their way in the world. It seems like in the blink of an eye we have arrived at that point.
Remember When…
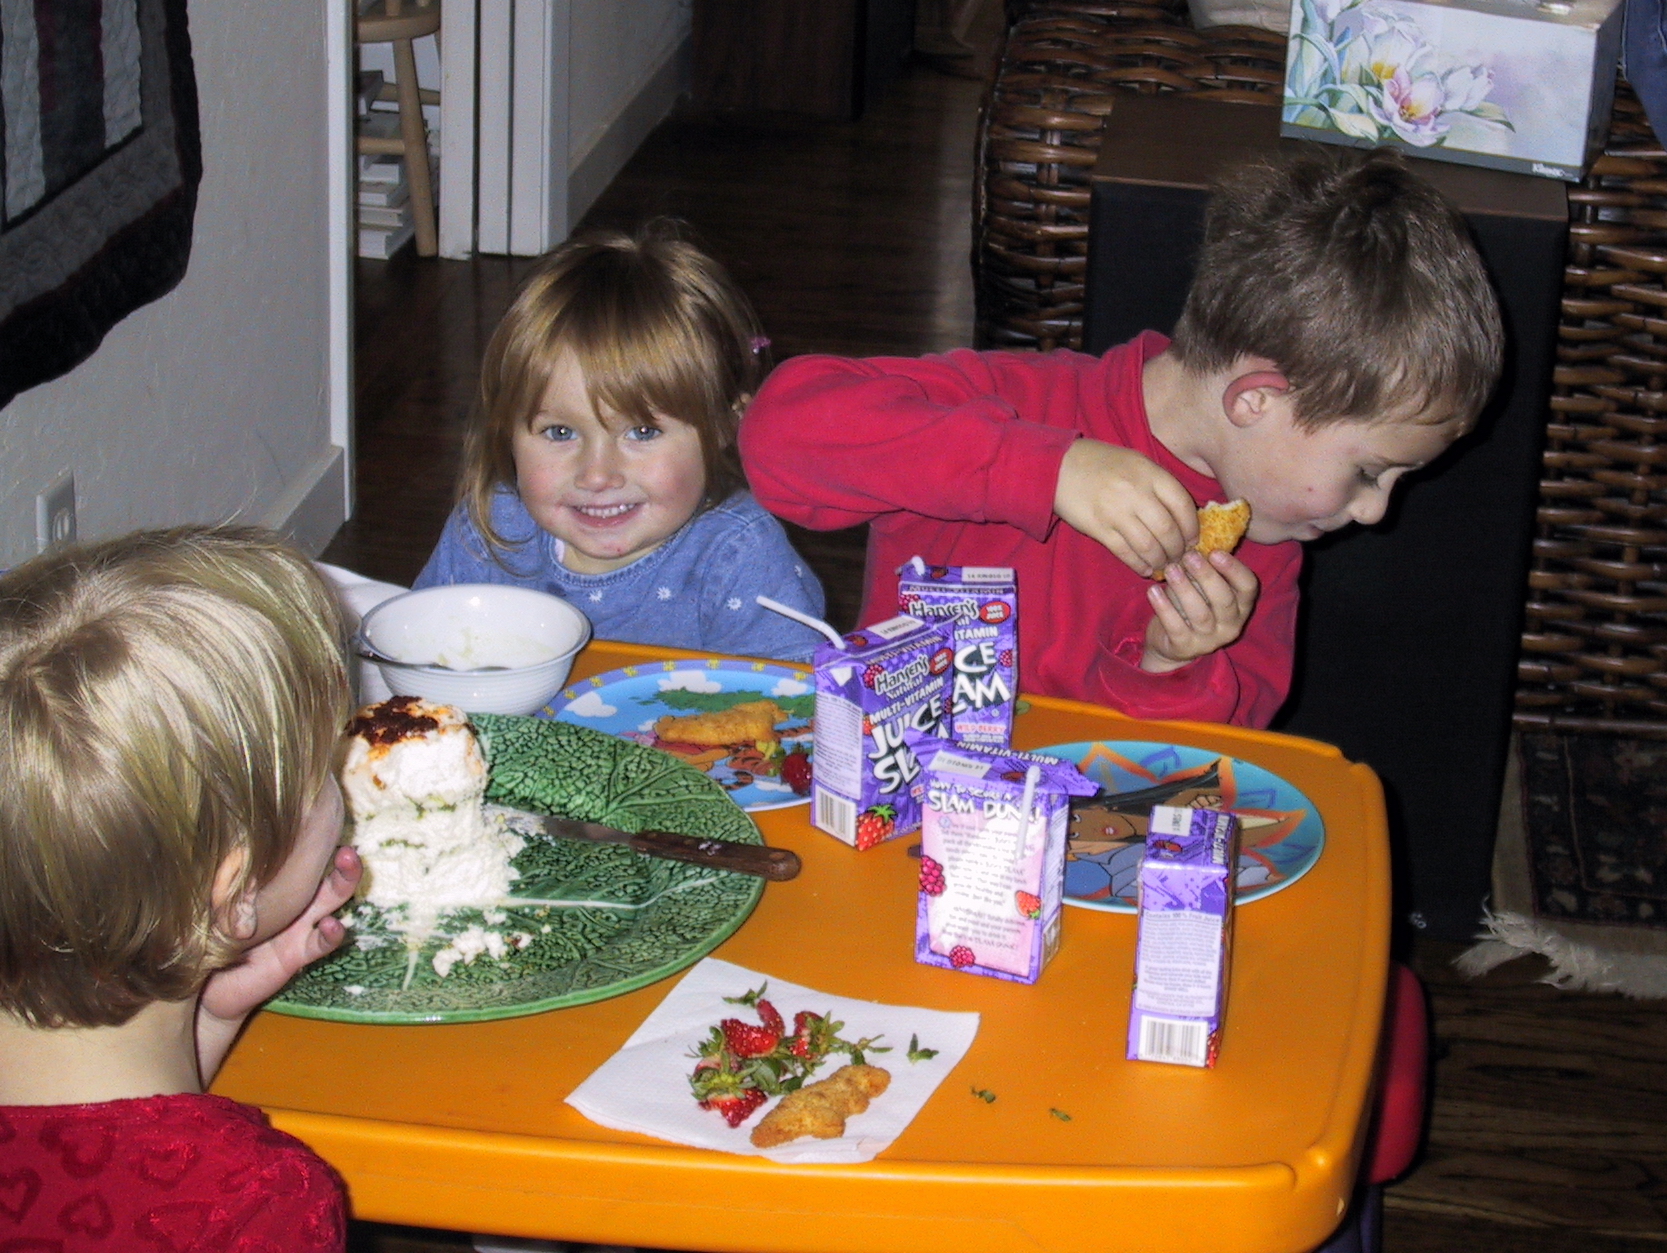
2000

2001

2002
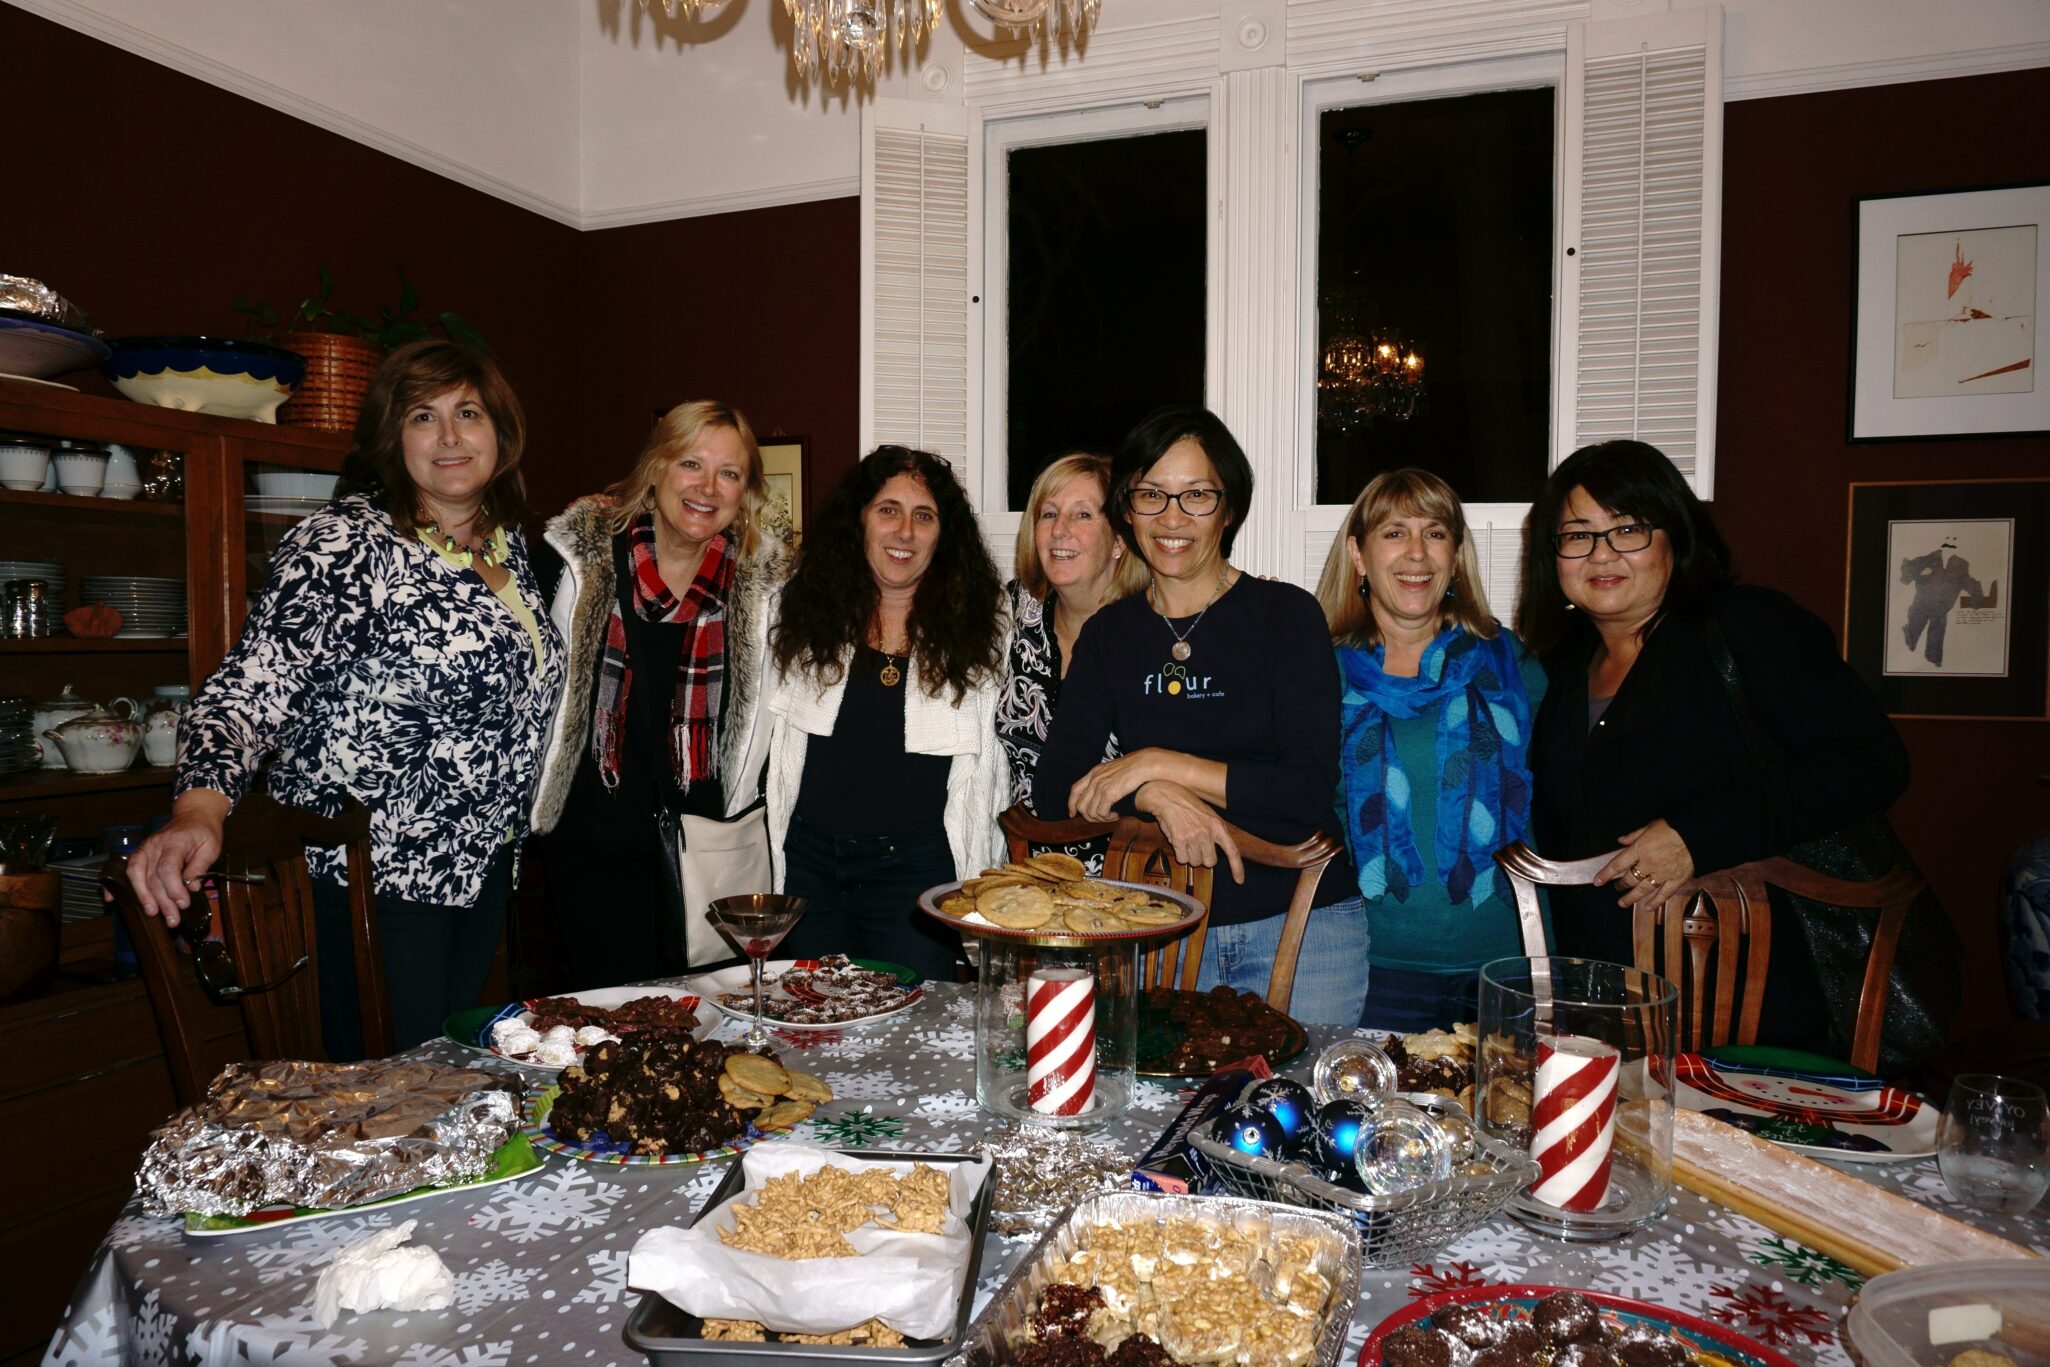
2015
2023
Happy Holidays!
Feel free to HALF this recipe
Ethel Singer's Eggnog
Equipment
- 1 stand mixer
- 3 large bowls, 1 should be your serving bowl, like a punch bowl
Ingredients
- 1 dozen eggs 12 eggs
- 1 pint heavy whipping cream 2 cups
- 1 cup sugar
- 1 cup brandy / bourbon/rum
- 1 quart milk 4 cups
- 1 tsp vanilla extract
- Nutmeg for garnish
Instructions
- Need 3 mixing bowls (2 chilled), and one punchbowl
- Separate egg whites into 1 chilled bowl, and yolks into room-temp bowl (make sure no yolk is in the egg whites or they won’t beat).
- Using a stand or hand mixer, beat egg whites until they are firm and peaked.
- Add 1 cup sugar and 1 cup brandy/bourbon to egg yolks, use mixer to blend completely
- Pour 1 pint of heavy cream into 2nd chilled mixing bowl, beat until firm – add 1 tsp vanilla
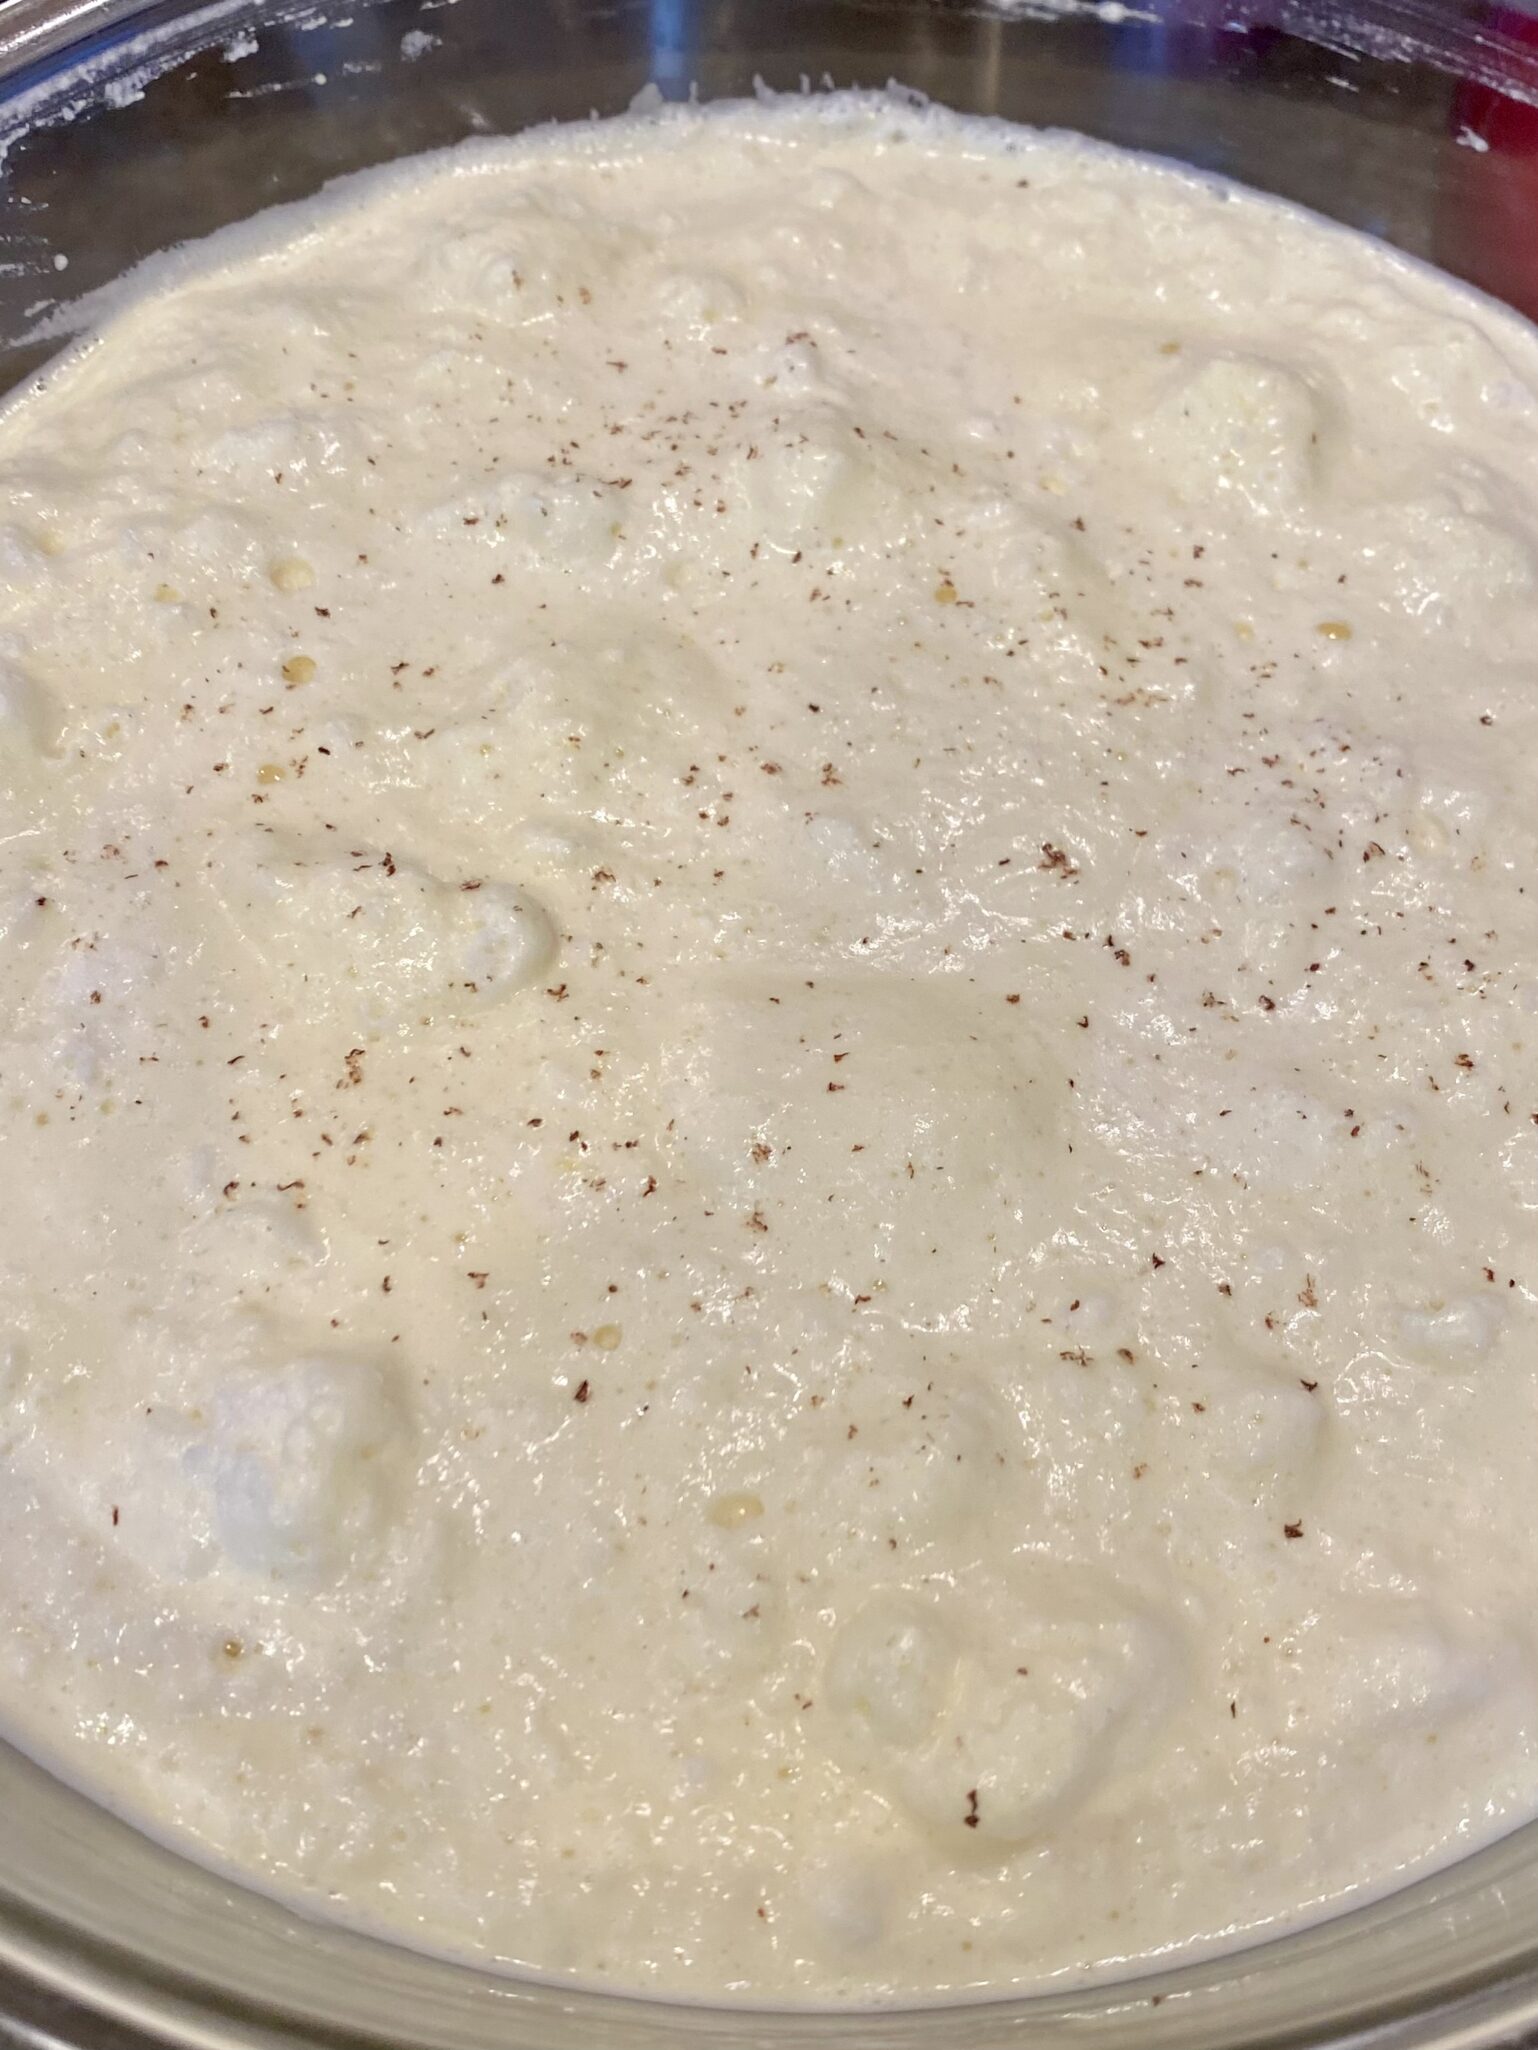
- Combine beaten egg whites, yolks/sugar/brandy mixture, and beaten cream into a punchbowl, and then add 1-quart milk – mix thoroughly, garnish with nutmeg, and chill overnight.
- Step 6 Enjoy