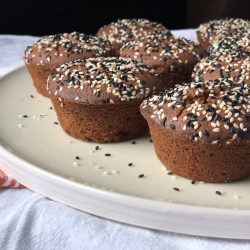
Corn-ered in the House, Chili-n, Bakin’ Muffins (Corn Muffins)
Shhhh…please don’t tell Chef H I messed up his cornbread recipe. I’m not sure what I did wrong but I’m way too embarrassed to ask him so I went hunting for another cornbread recipe. I’m a Californian, I’m pretty wimpy when it comes to cornbread. True cornbread is NOT cake-y and sweet, too bad that’s the way I like it. Another reason I couldn’t call him. What if he said, “that’s the way southern cornbread is, silly”. So I tapped my delete key, d-a-e-r-b and pecked m-u-f-f-i-n in on my keyboard hoping to land on a sweet, cakey, cornbread recipe. I hit return and…
…landed on an old friend, Smitten Kitchen. Her post for Perfect Corn Muffins popped up on my screen. Her post adapts the recipe from Cook’s Illustrated. Uh-oh. I love CI but it probably means a couple of extra steps.
Yes, it did.
A lot of the recipes I looked at for corn muffins called for proportionally more regular flour than cornmeal, yep-cakey. Not this one. The cornmeal is divided and much of it is combined with milk to make something akin to cornmeal mush. This keeps the corn muffins moist. Okay, I went with it. I used the microwave method included in the recipe to make it, worked like a charm.
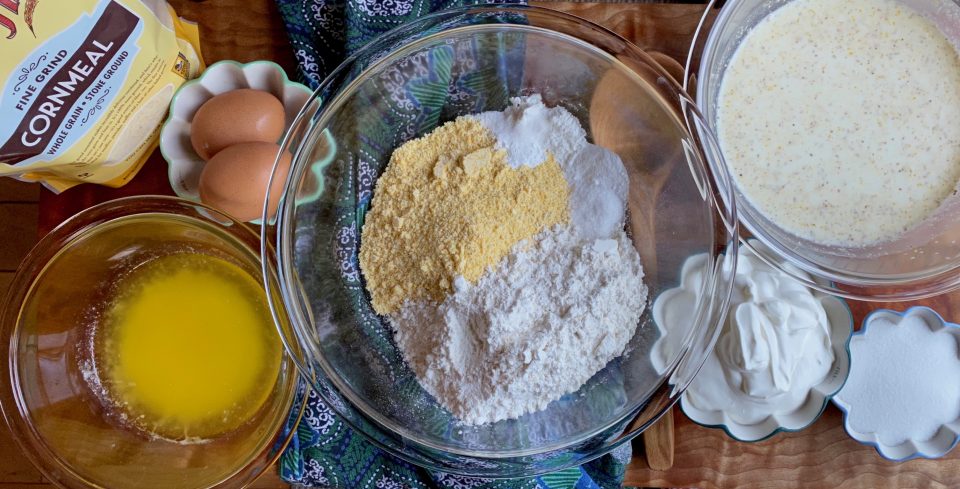
Y’all know what goes into cornbread, flour, butter, flour, baking soda, powder, eggs, sour cream or buttermilk. So what do I want to talk about?
CORNMEAL
There are a plethora of cornmeal products out there. Stone-ground, Machine grind, Which are then furthered divided by grade- coarse, medium, and fine. If you get any product that says stone-ground, you’re going to get a bit of grit as it contains both the bran and germ of the kernel. This recipe calls for medium grind cornmeal, preferably stone-ground. I used Bob’s Red Mill fine stone-ground cornmeal and there was still some bite to the muffins. Why? I am not a big fan of grittiness in my cornbread or muffins. If you like that coarse “toothy” texture, use the medium grind. If you hate that grittiness, don’t use stone-ground. Use the stuff you get at the supermarket, either Quaker Oats or Argo cornmeal-no germ, no bran, no grit. If you want a light and airy cake-like muffin or cornbread (should we call it cornbread?) use cornflour (superfine grind).
You can find corn flour at Whole Foods (probably Bob’s Red Mill) along with the gamut of cornmeal. A couple of recipes that use cornflour include Blueberry Cobbler with a Cornmeal-Sugar Cookie Crust from Vivian Howard and Momofuku’s Christina Tosi recipe for KILLER Corn Cookies. Both amazing.
Then there’s Polenta, Grits, Masa Harina. Polenta or Grits is essentially cornmeal mush. You can use coarse or medium grind cornmeal. Bob’s Red Mill makes a Grits or Polenta Cornmeal (yes I fell for it) which makes it easy, it’s just coarse grind. Masa Harina is corn treated with ash or lime solution (called nixtamalized, now you can file that word away) dried, and ground into masa. Think delicious tamales and tortillas NOT cornbread, polenta or grits.
I use stone-ground, even though I don’t like grittiness, it’s a compromise. I love the flavor and the “it’s healthier for you” aspect.
N.B. Cornstarch is not cornflour, cornmeal, polenta, grits, masa, popcorn. Don’t even go there. It’s just a thickener made from corn endosperm-see, that doesn’t even sound good. I use it all the time in Chinese cooking as a thickener, that’s it.
Back to the Corn Muffins
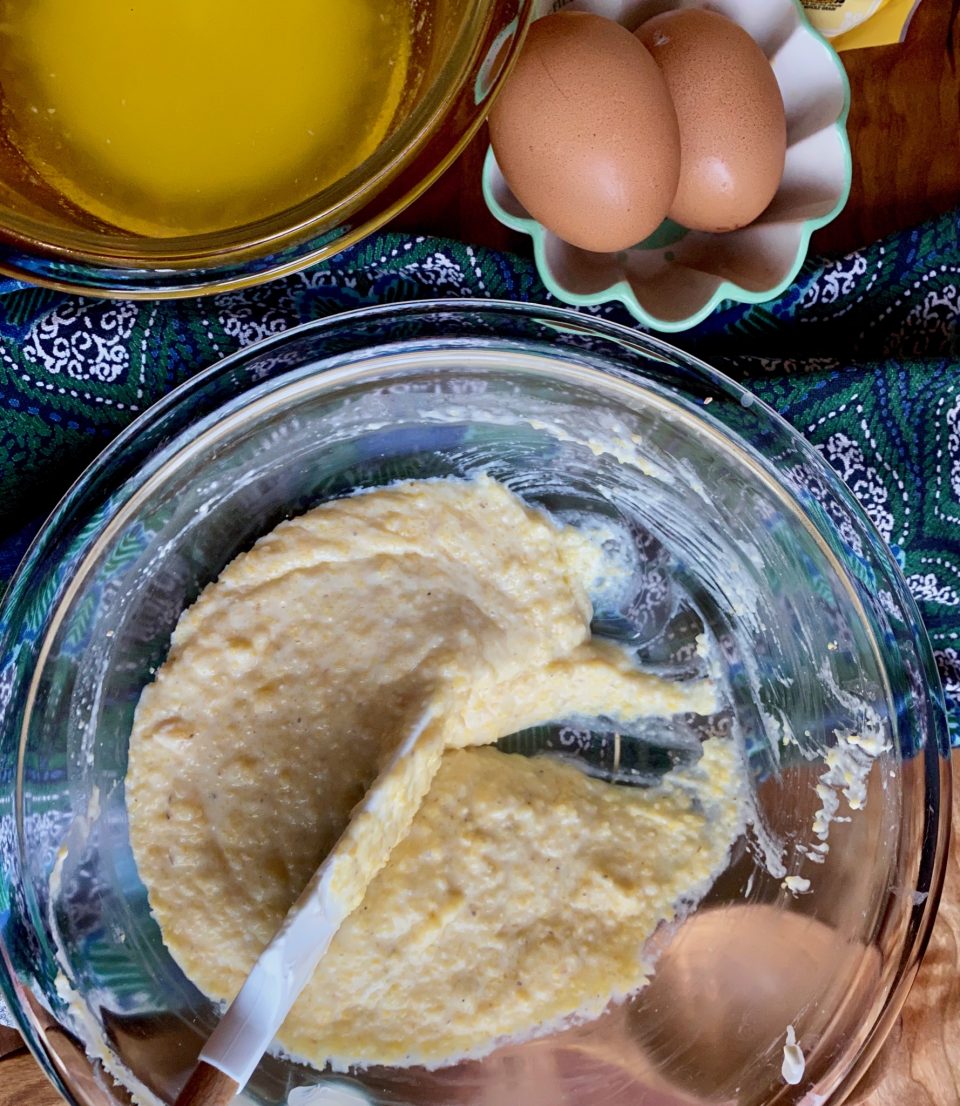
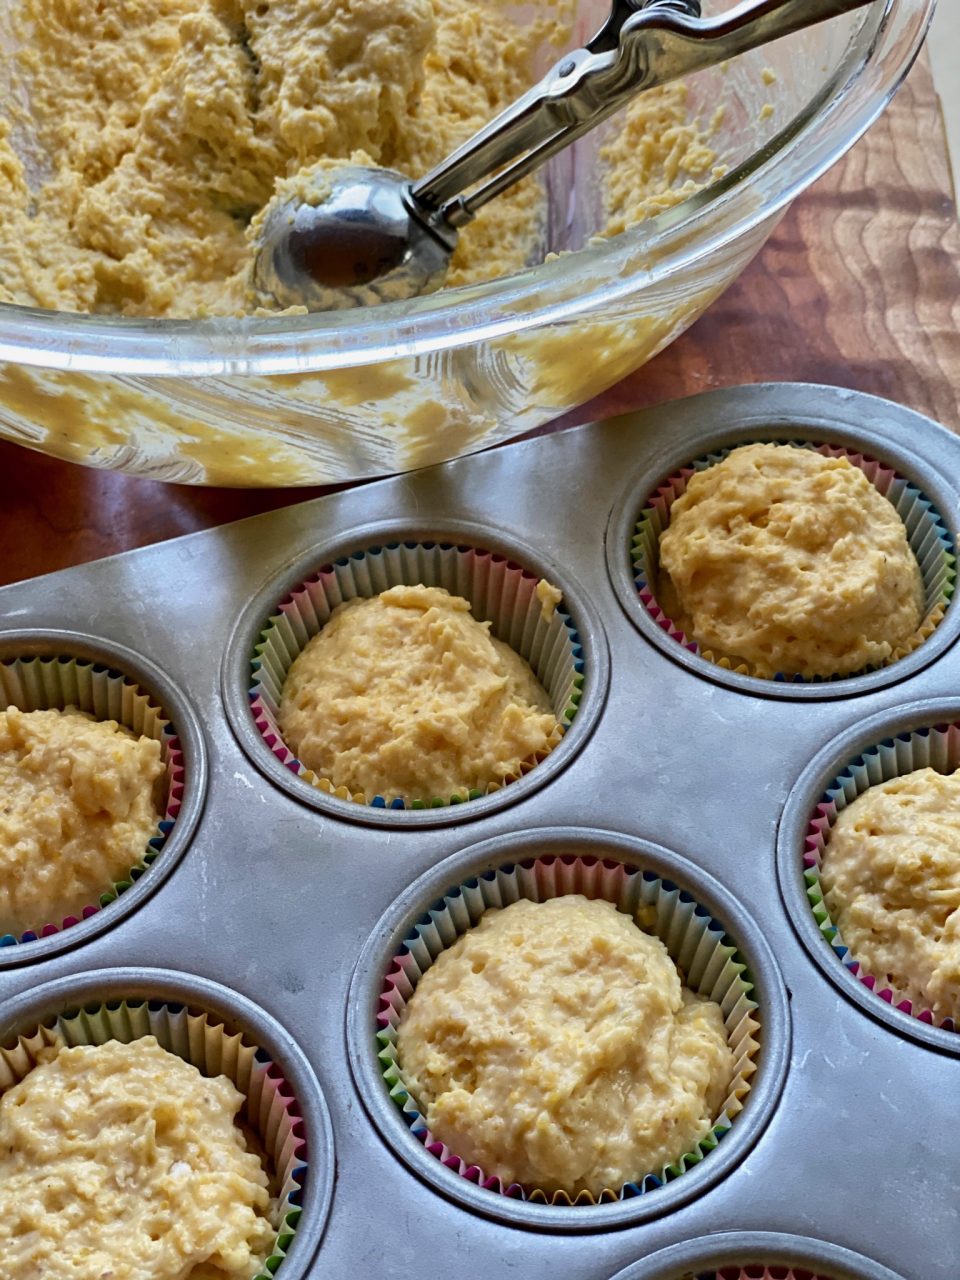
Yes, this is the cornmeal mush that goes into the batter along with dry cornmeal. Cook until it thickens and you can draw a spatula through it. Add wet ingredients to the cornmeal mush and then add the dry ingredients. Your batter will be pretty thick. Use an ice cream scoop to fill your muffin tin. Easy peasy.
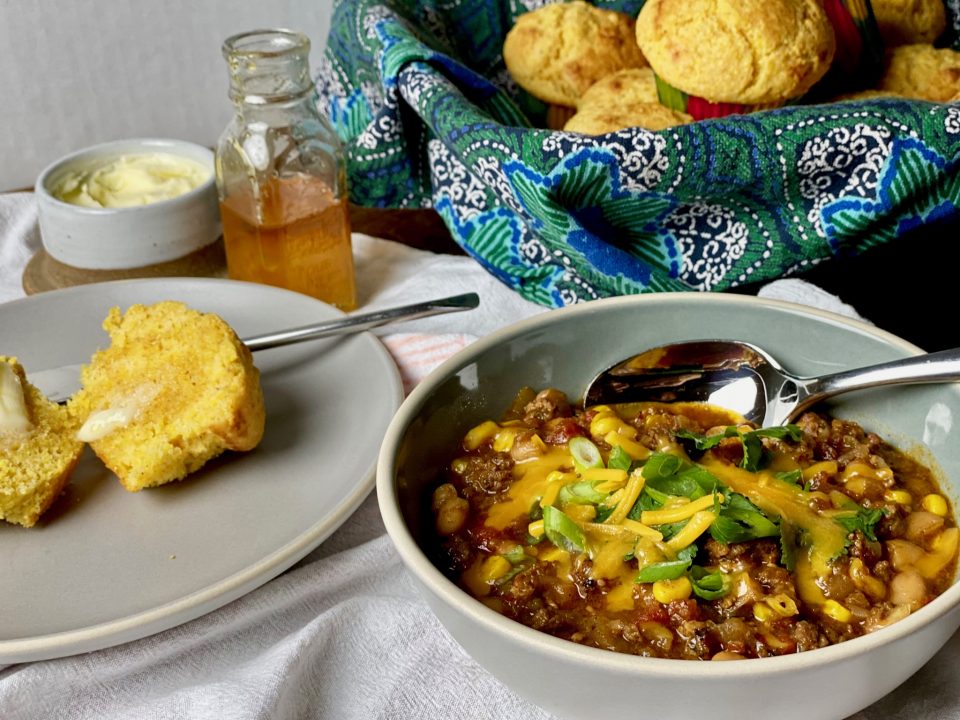
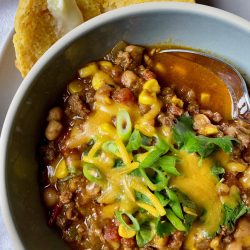
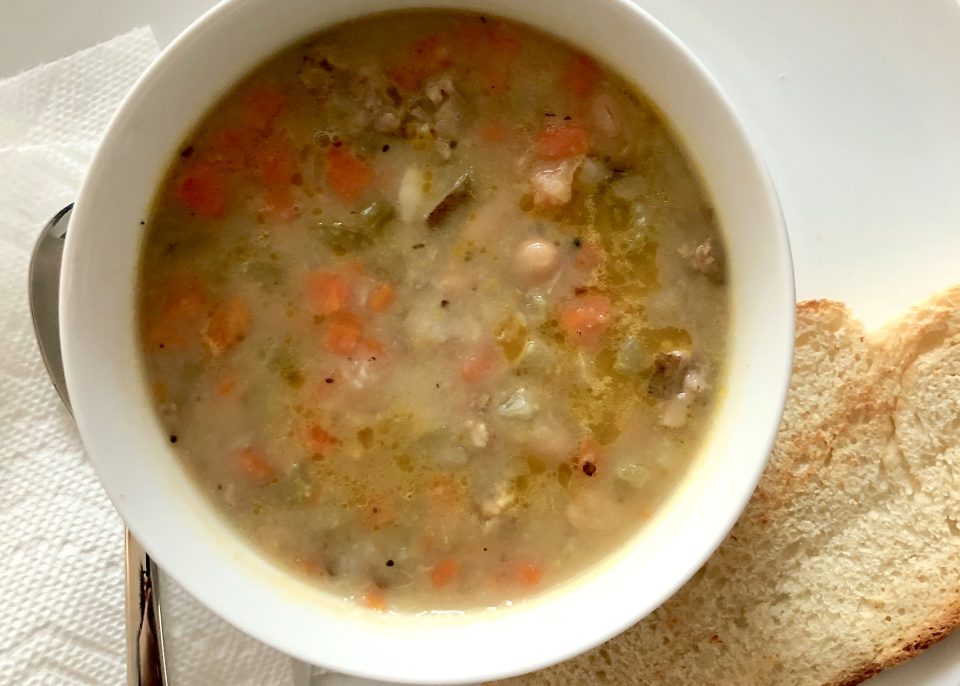
Finally, what to serve with your corn muffins…CHILI of course! Lucky you, I have two chili recipes, Firemen’s Chili from Friends (yes the TV show) and a super-duper easy Chicken Chili Both would go perfectly with these corn muffins.
Ok, we have come to the end of this post and I have a confession to make. These muffins are delicious and I would make them all the time if it weren’t for one thing.
It’s that’s good. Throw away the box and tell your friends and family you made them from scratch. Yep, that good.
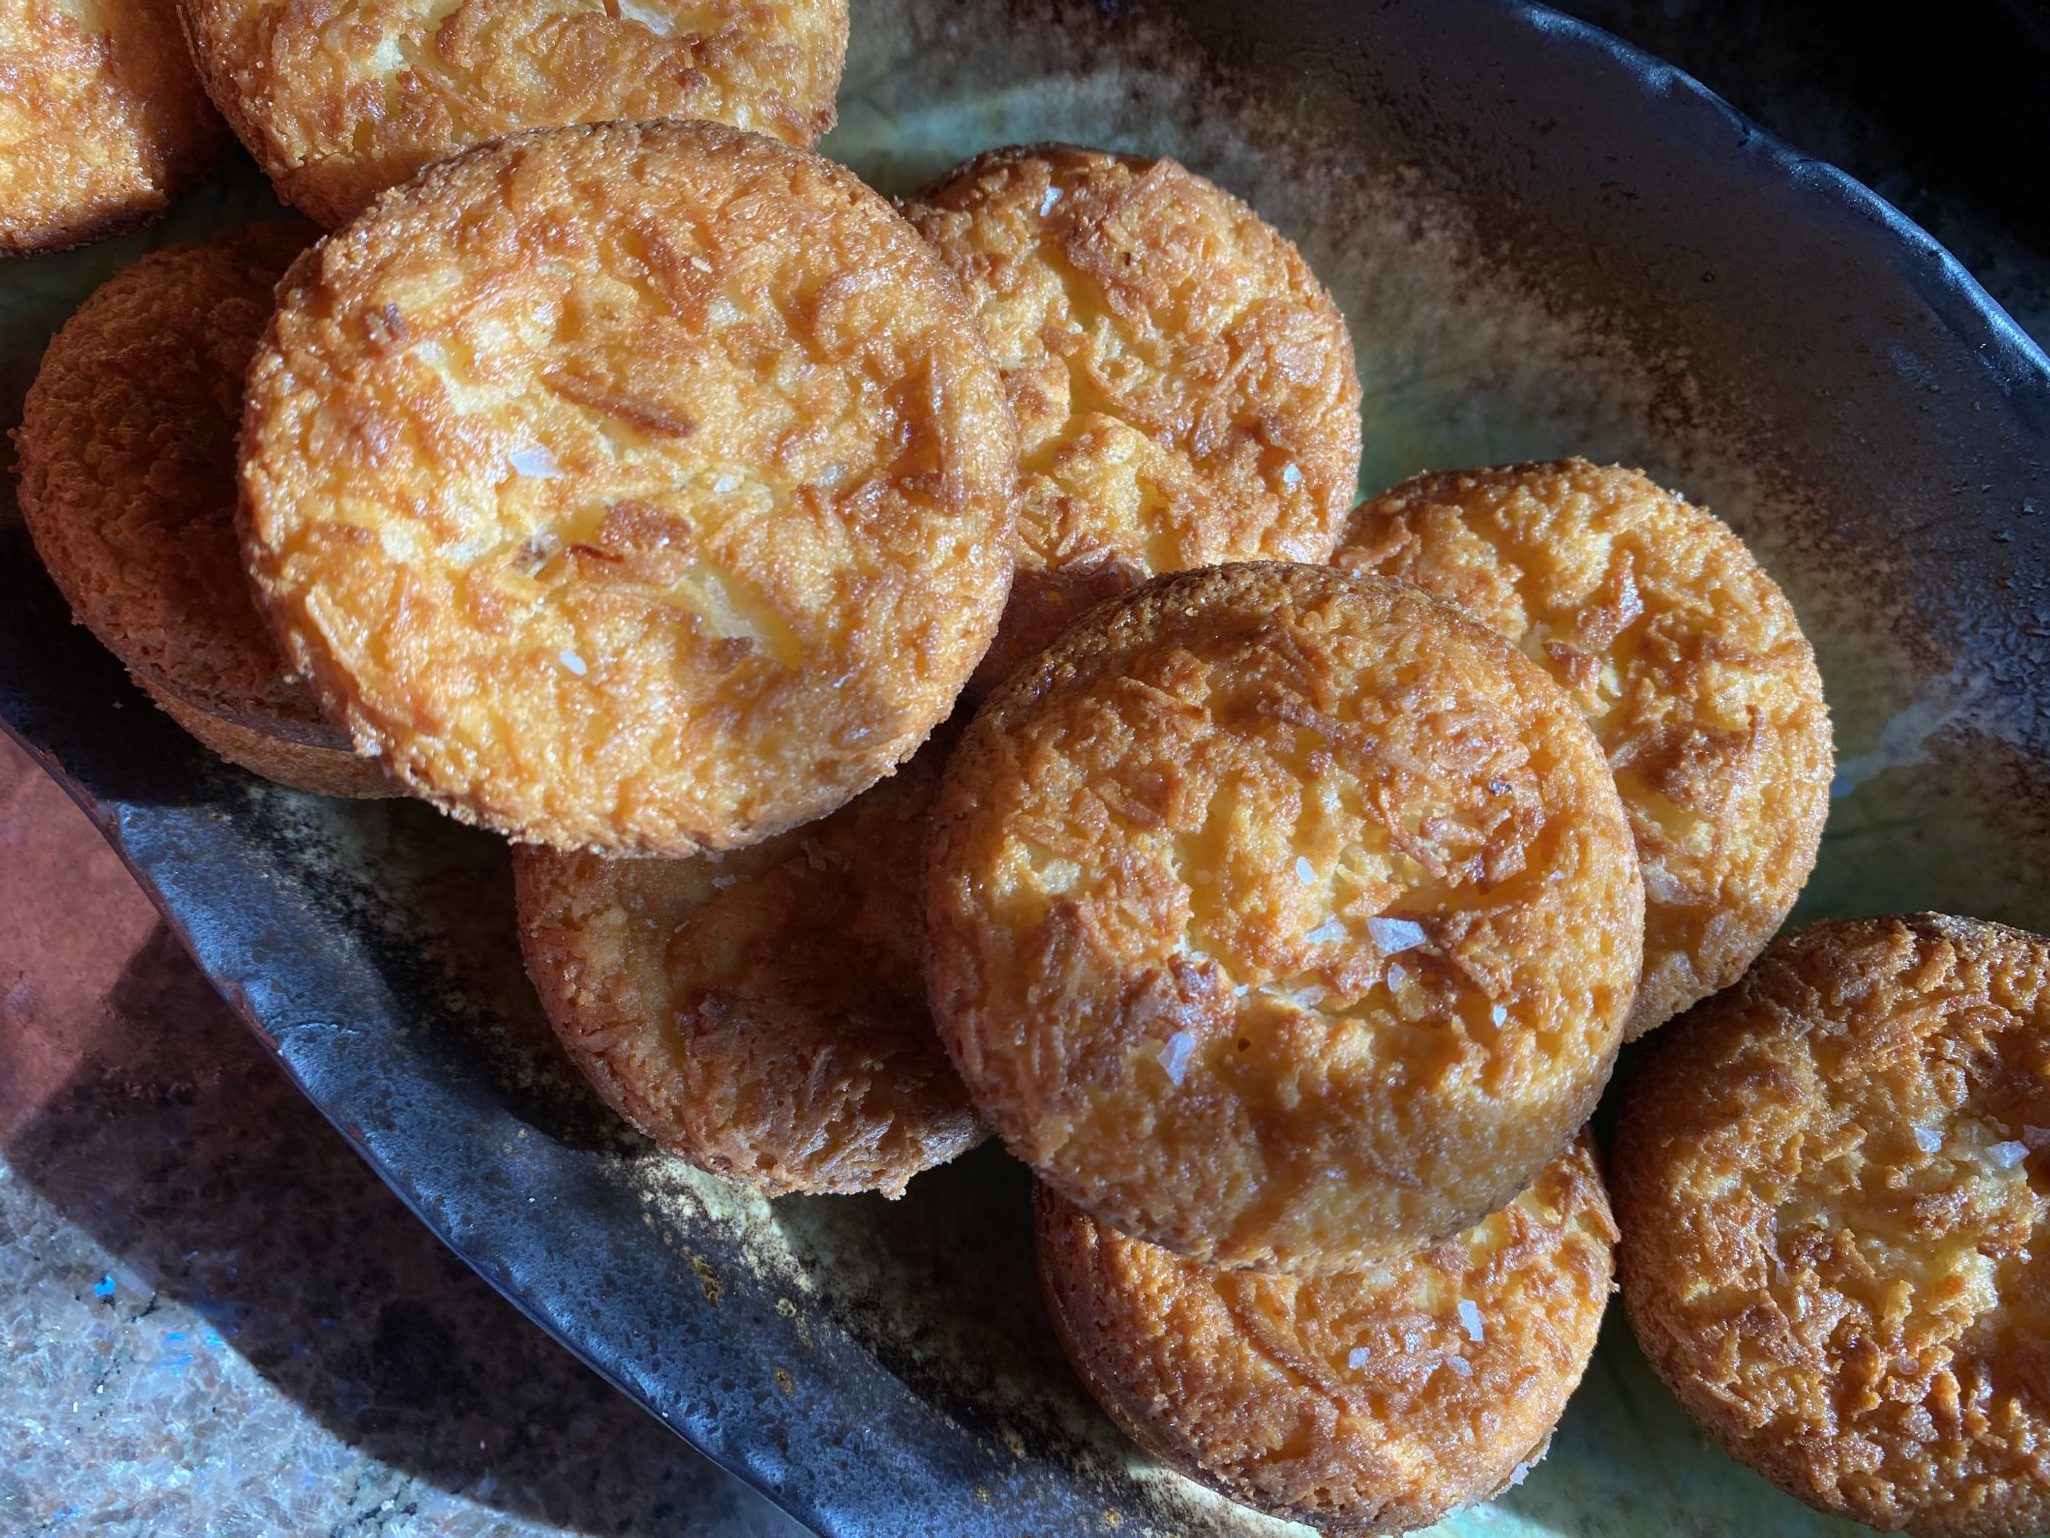
Perfect Corn Muffins
Equipment
- 12-cup standard muffin tin
Ingredients
- 2 cups (280 grams) yellow cornmeal, to be divided Use stone ground for that characteristic grittiness that cornbread can have.
- 1 cup (130 grams) all-purpose flour
- 1 1/2 teaspoons baking powder
- 1 teaspoon baking soda
- 1 1/4 teaspoons fine sea or table salt
- 1 1/4 cups (300 ml) milk, whole is best here
- 1 cup (240 grams) sour cream (full-fat plain yogurt should work here too)
- 8 tablespoons (115 grams) unsalted butter, melted and cooled slightly
- 1/3 cup granulated sugar.
- 2 large eggs
Instructions
- Heat oven to 425°F (220°C). Either grease or line a 12-cup standard muffin tin with liners.
- Whisk 1 1/2 cups cornmeal, flour, baking powder, baking soda and salt together in a medium bowl.
Cornmeal Mush
- In a large bowl (if you have a microwave) or a medium saucepan (if you do not), combine milk and remaining 1/2 cup cornmeal. In a microwave, cook cornmeal–milk mixture for 1 1/2 minutes, then whisk thoroughly, and continue to microwave in 30-second increments, mixing between them, until it’s thickened to a batter-like consistency, i.e. the whisk will leave a clear line across the bottom of the bowl that slowly fills in. This will take 1 to 3 minutes longer.
- On the stove, cook cornmeal mixture over medium heat, whisking constantly, until it thickens as described above, then transfer to a large bowl.
Put the batter together
- Whisk butter, then sugar, then sour cream into cooked cornmeal until combined. At this point, the wet mixture should be cool enough that adding the eggs will not scramble them, but if it still seems too hot, let it cool for 5 minutes longer. Whisk in eggs until combined.
- Fold in flour mixture until thoroughly combined and the batter is very thick. Divide batter evenly among prepared muffin cups; it will mound slightly above the rim.
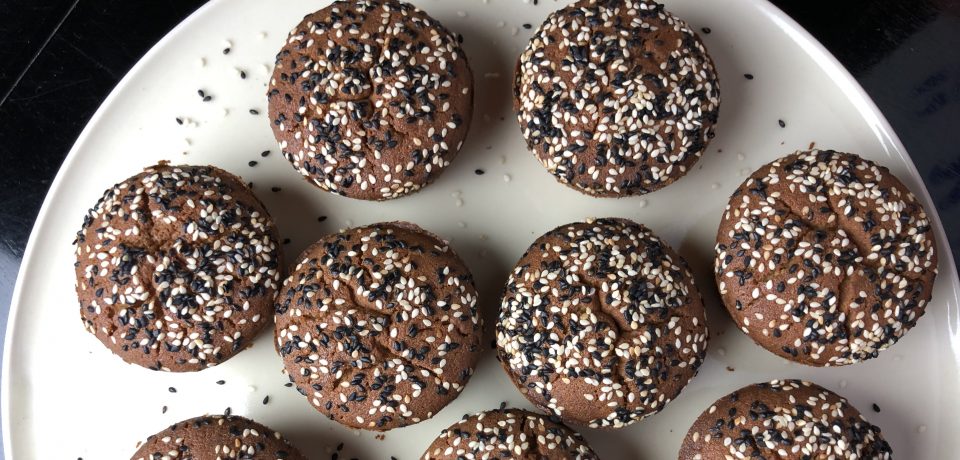
- Bake until tops are golden brown and toothpick inserted in center comes out clean, 13 to 17 minutes, rotating muffin tin halfway through baking to ensure even cooking. Let muffins cool in muffin tin on wire rack for 5 minutes, then remove muffins from tin and let cool 5 minutes longer. Serve warm with honey butter or just honey if you feel guilty.
- Eat by themselves, with Chili, with just about anything.

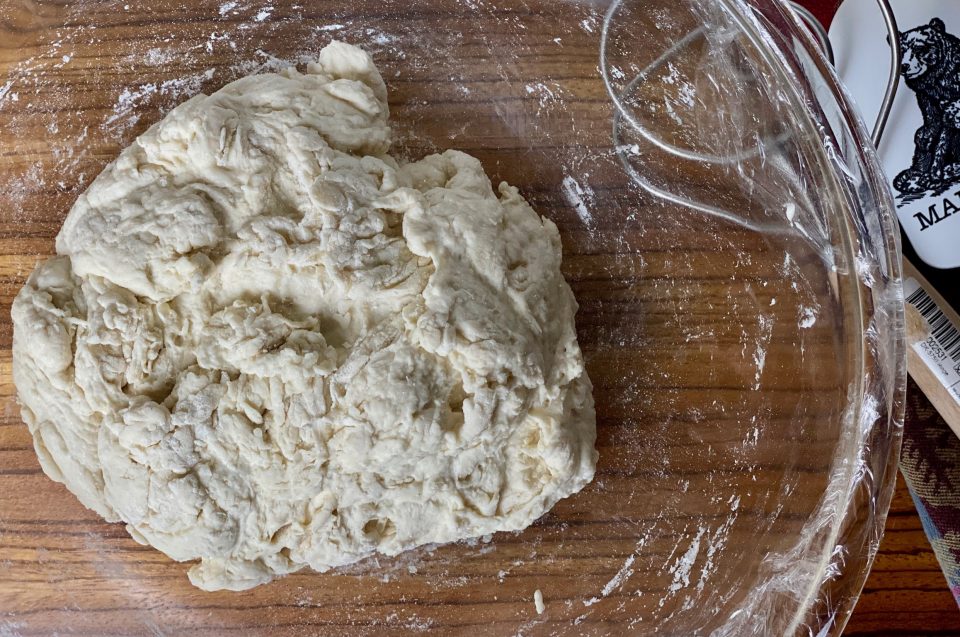

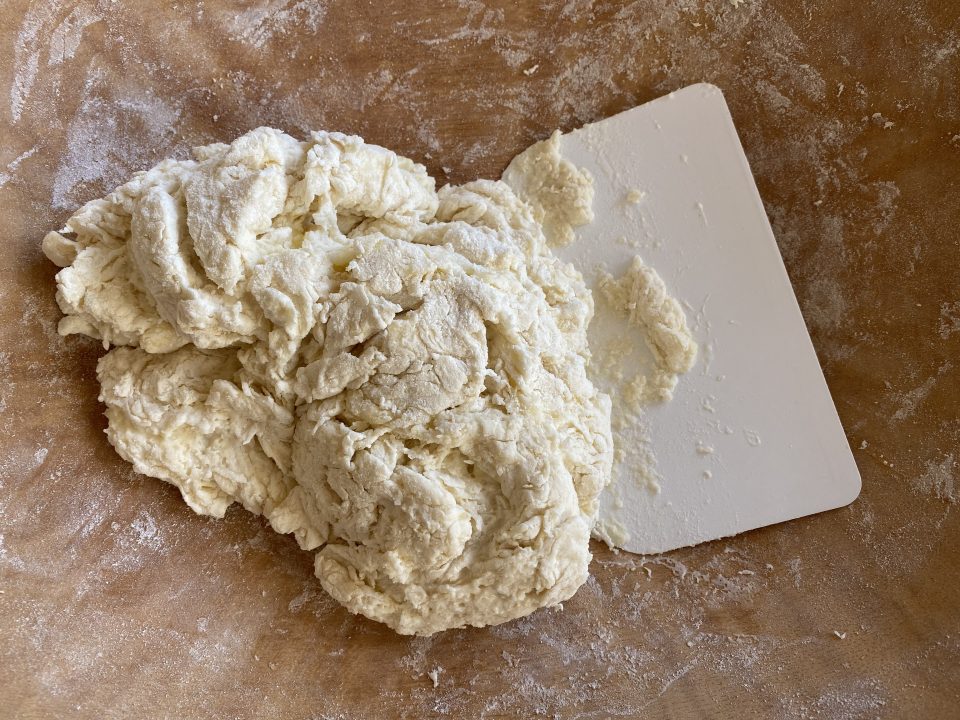
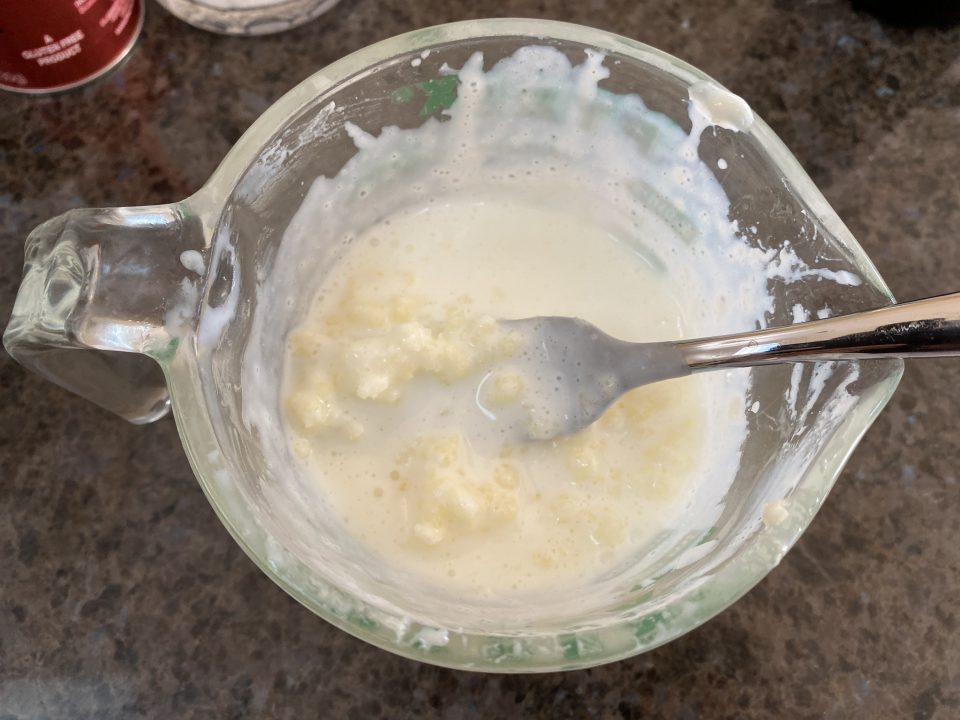 Pour the buttermilk mixture into the flour, stir together, voila’ ready to make biscuits!