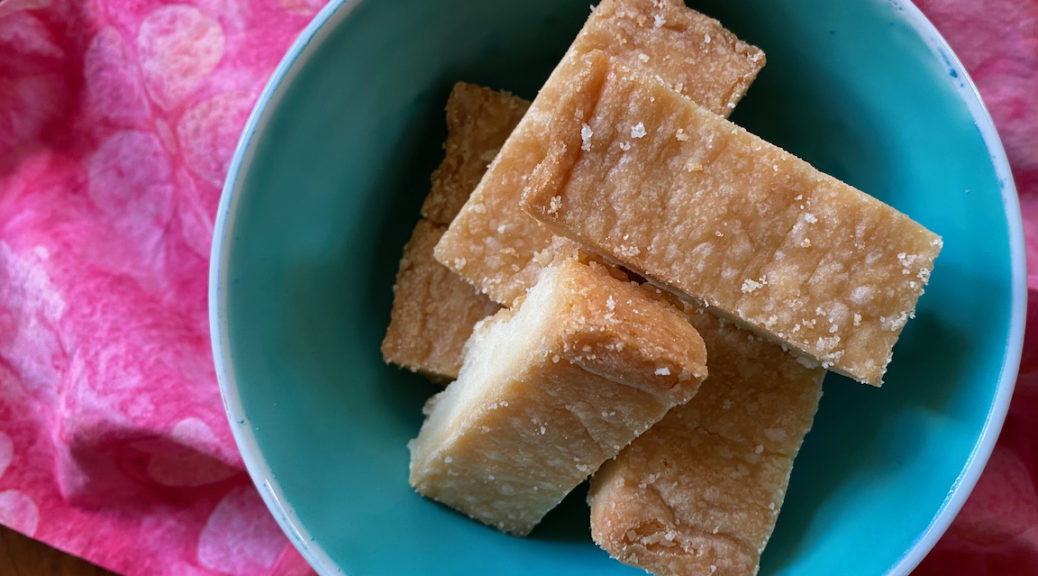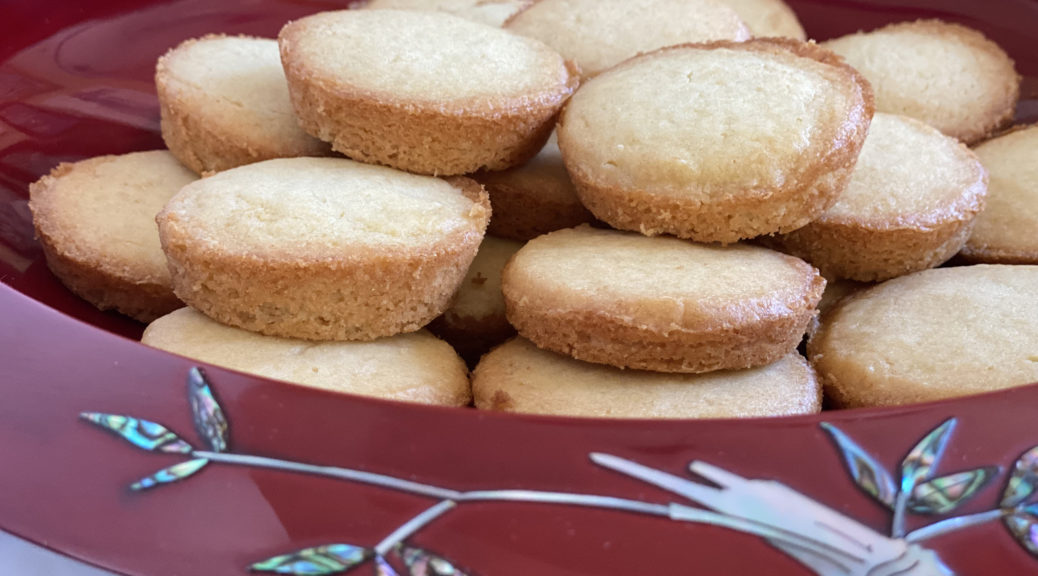
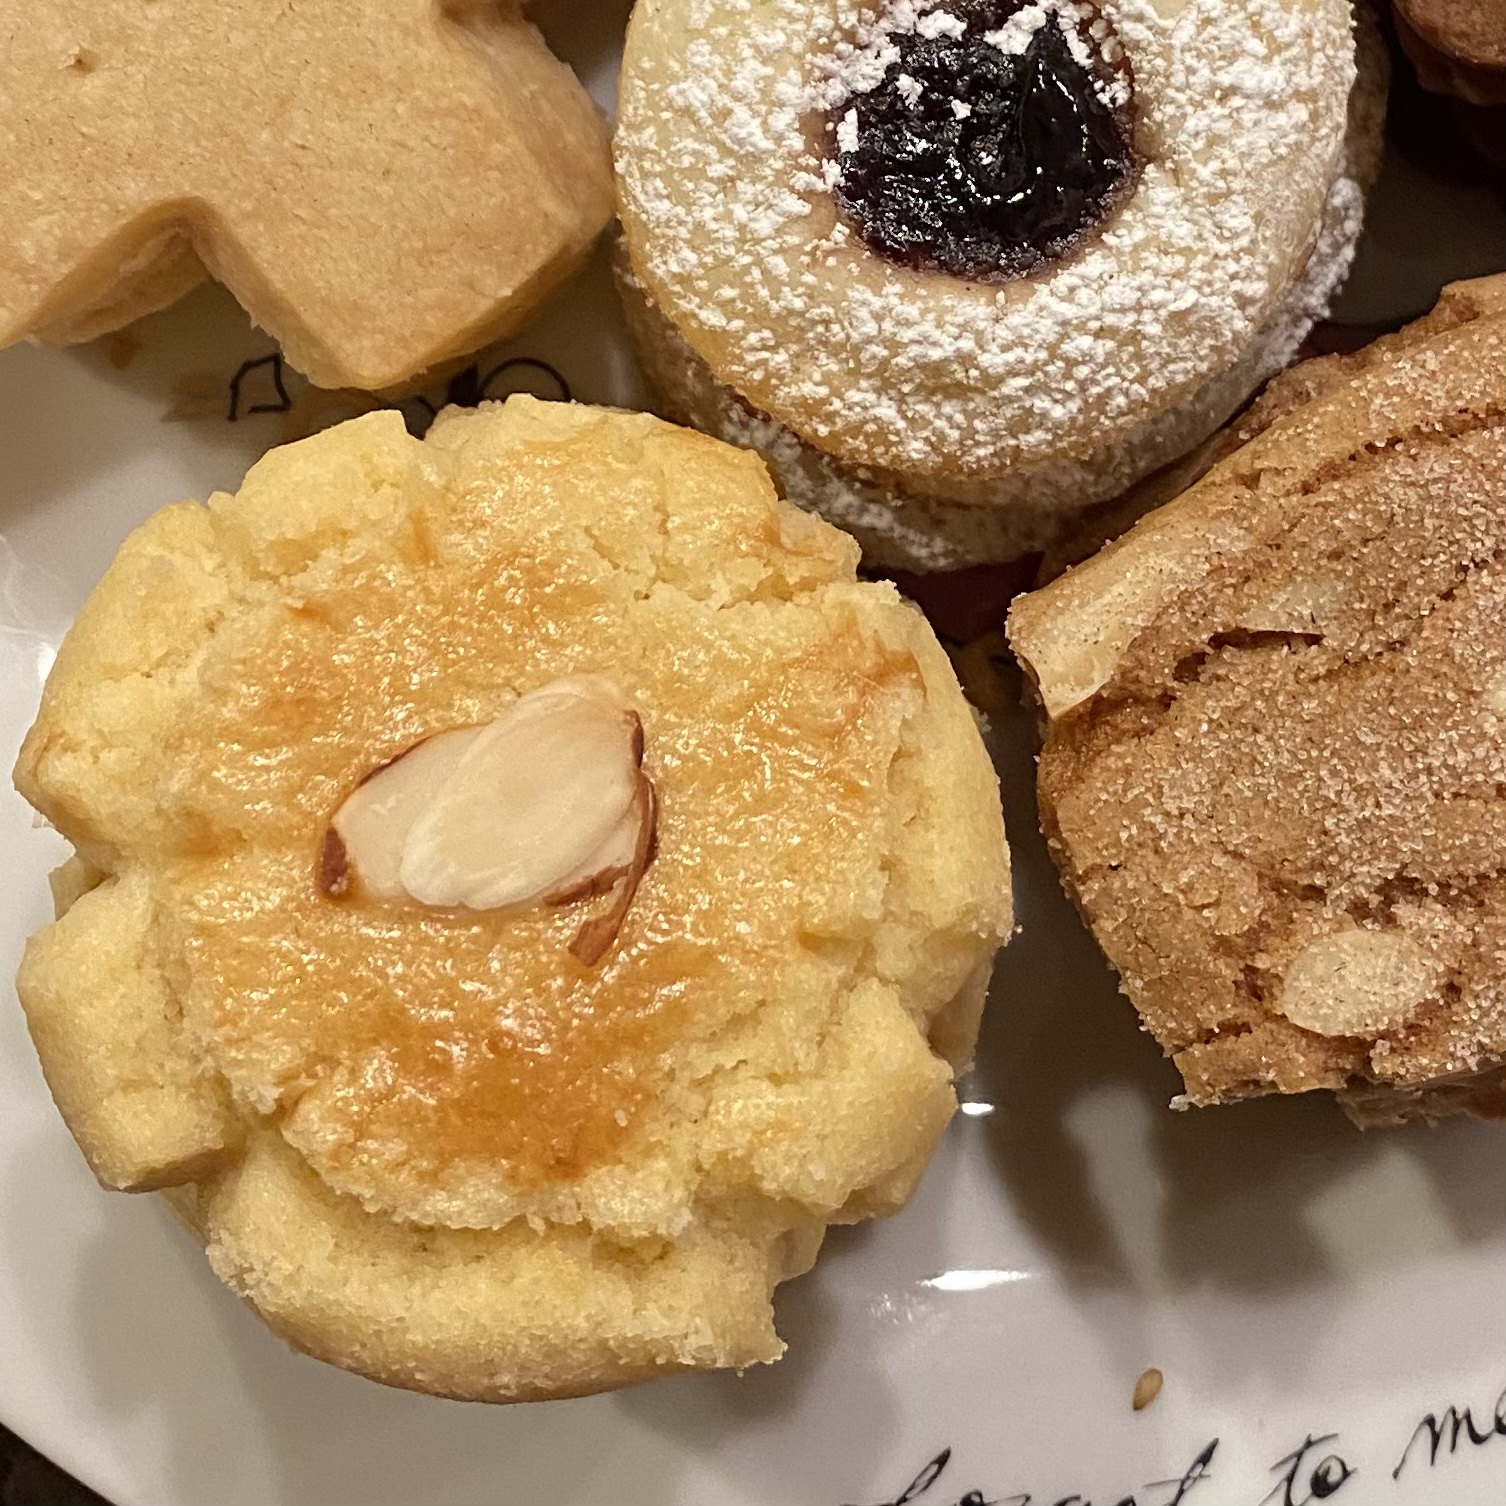
Old School Almond Cookies
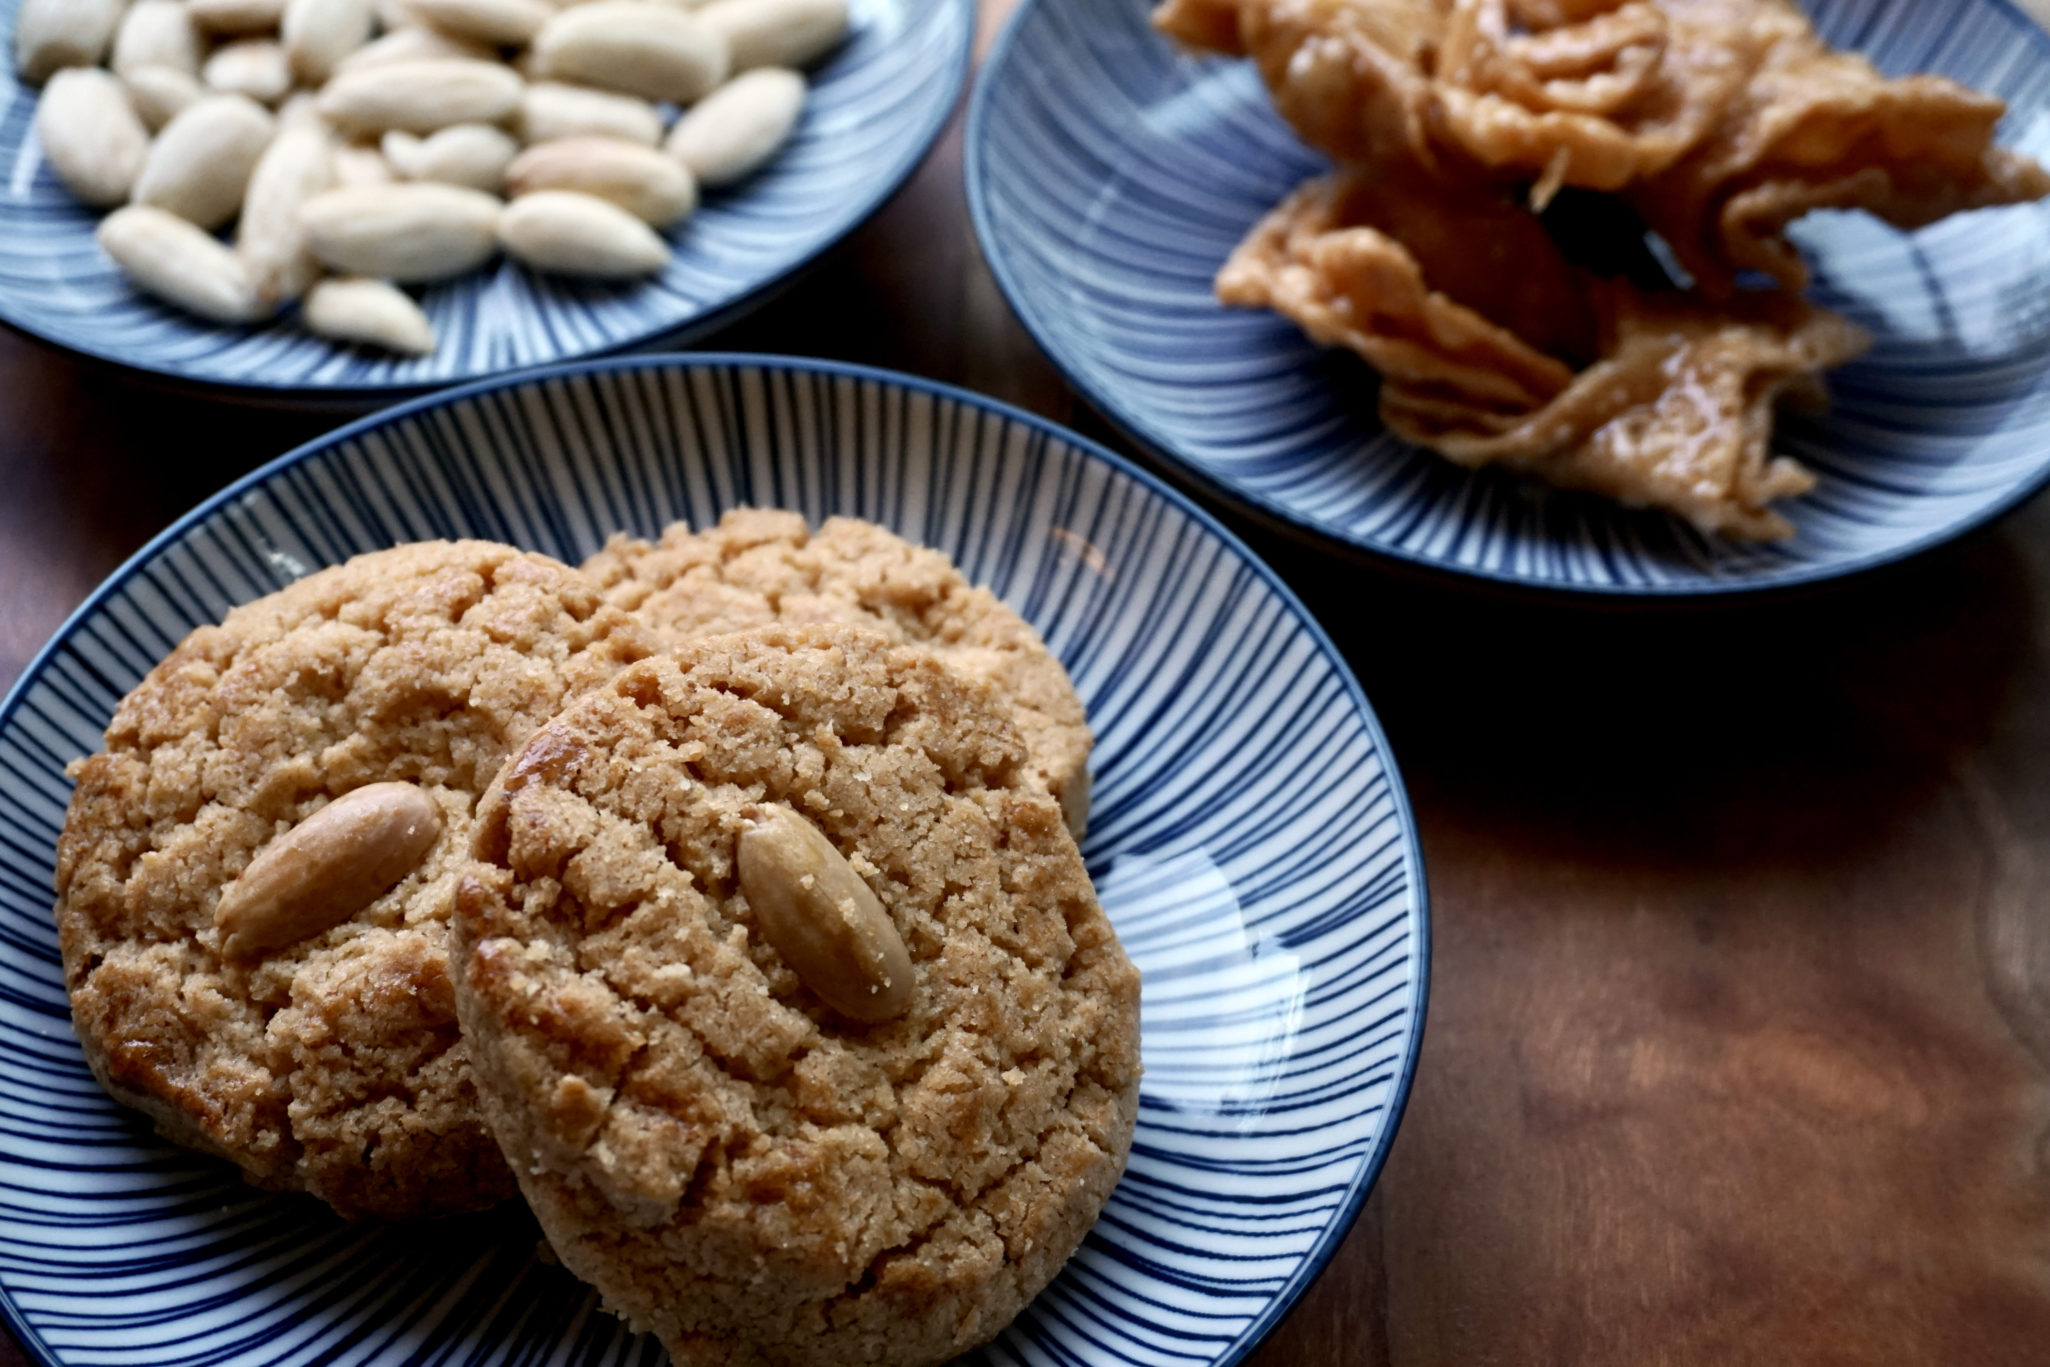
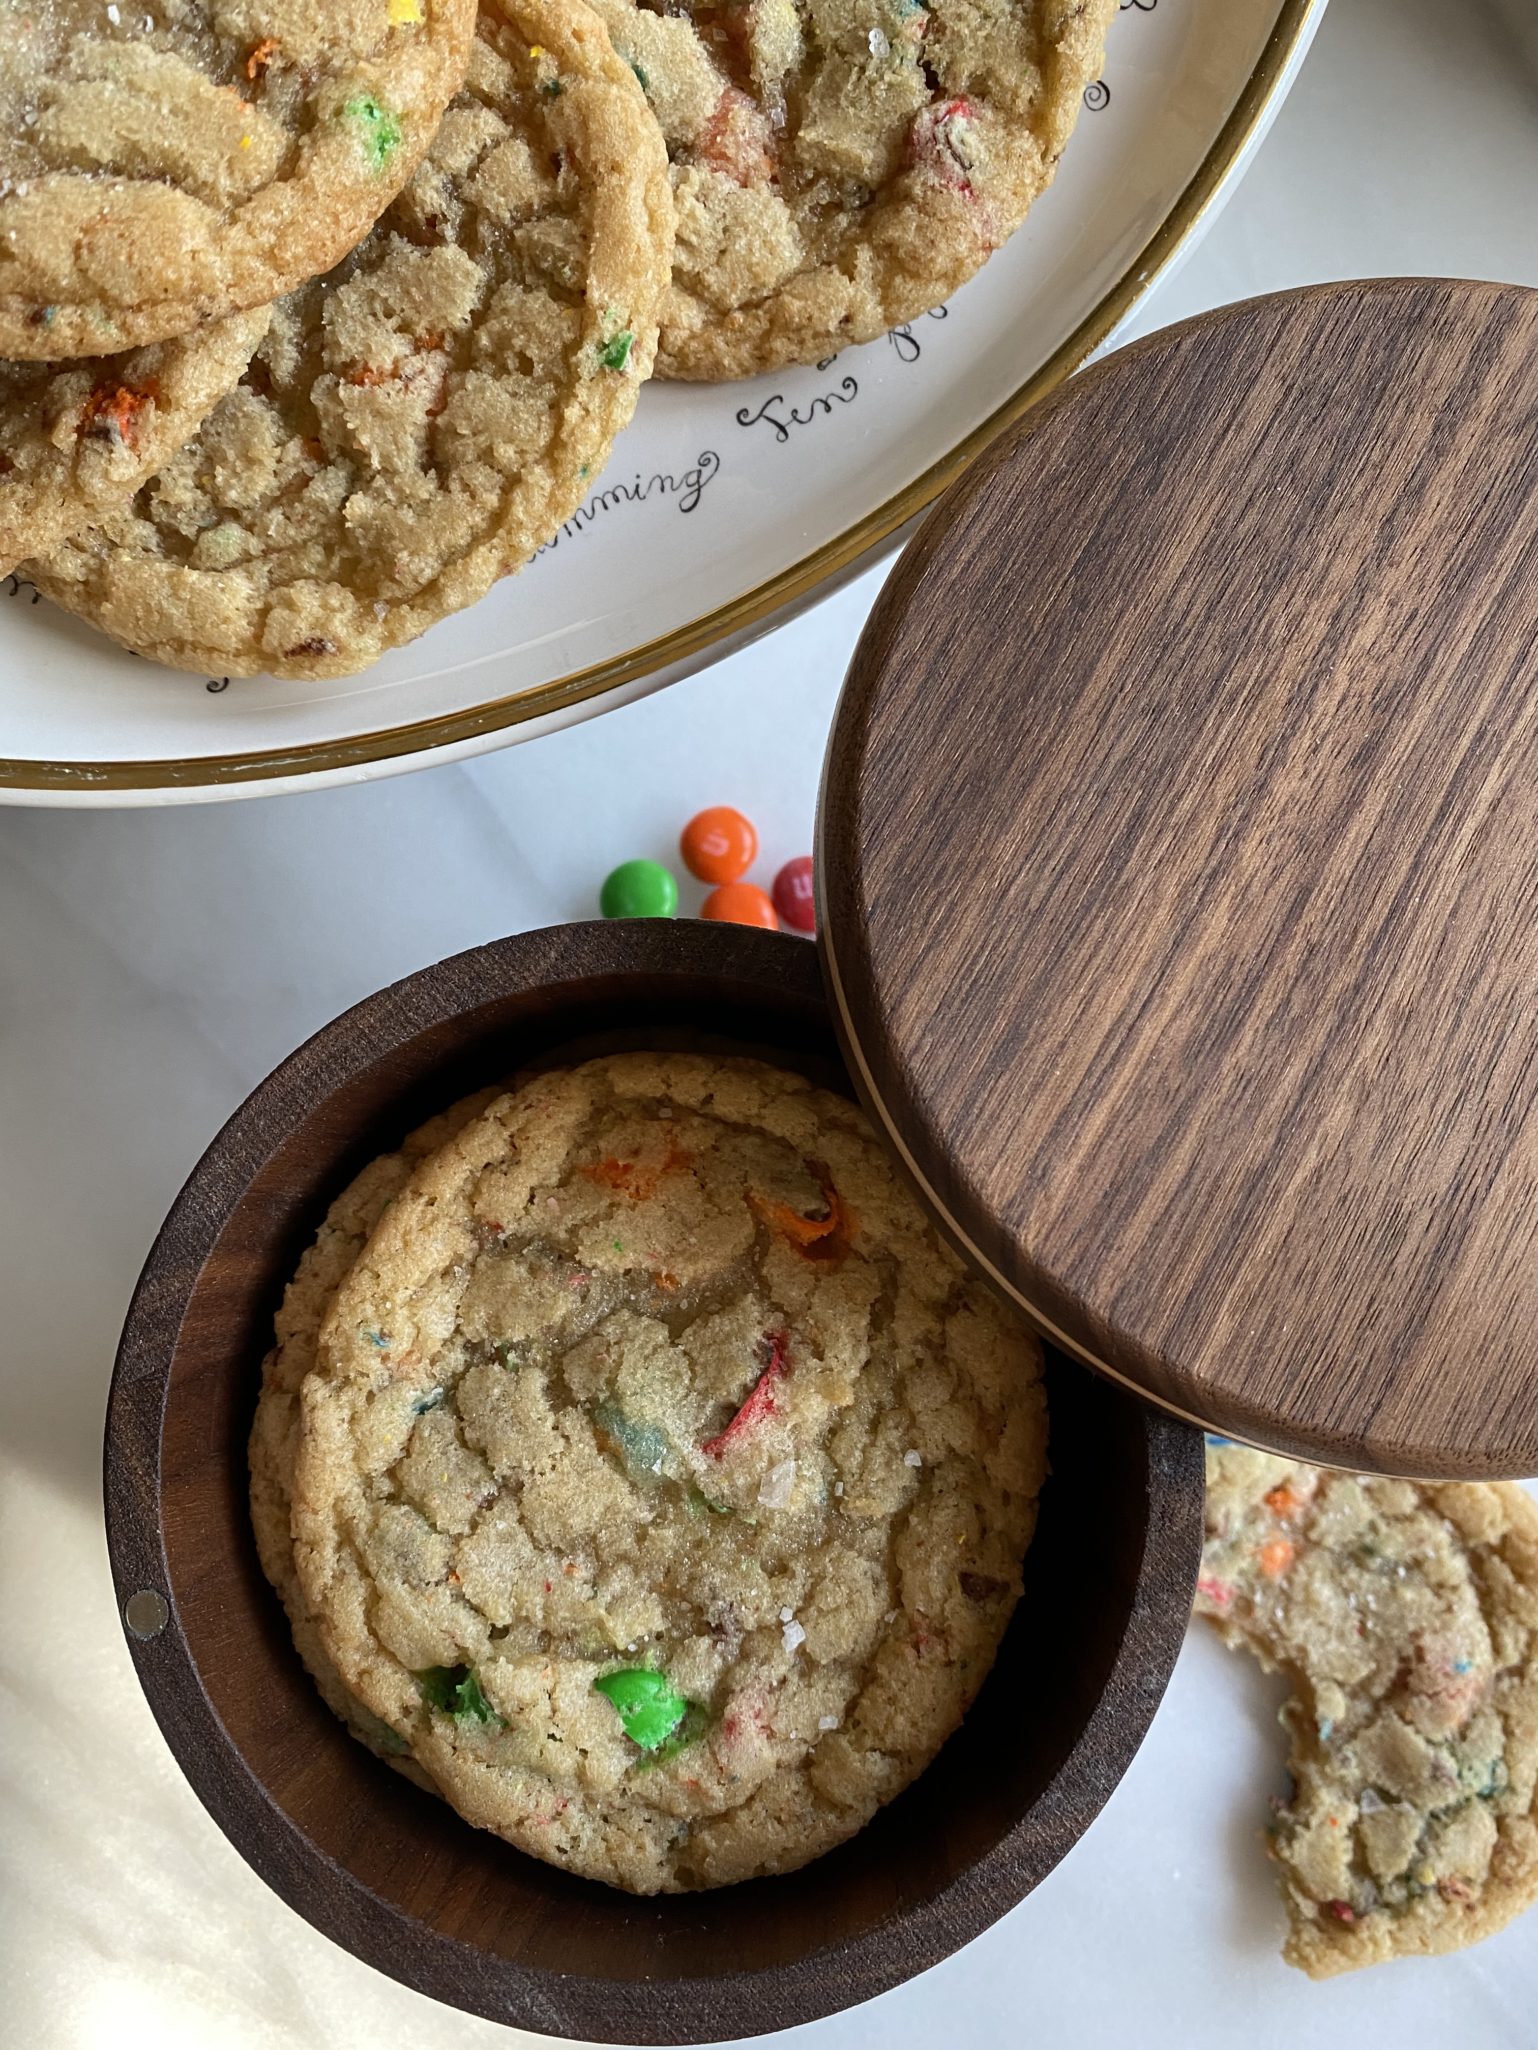
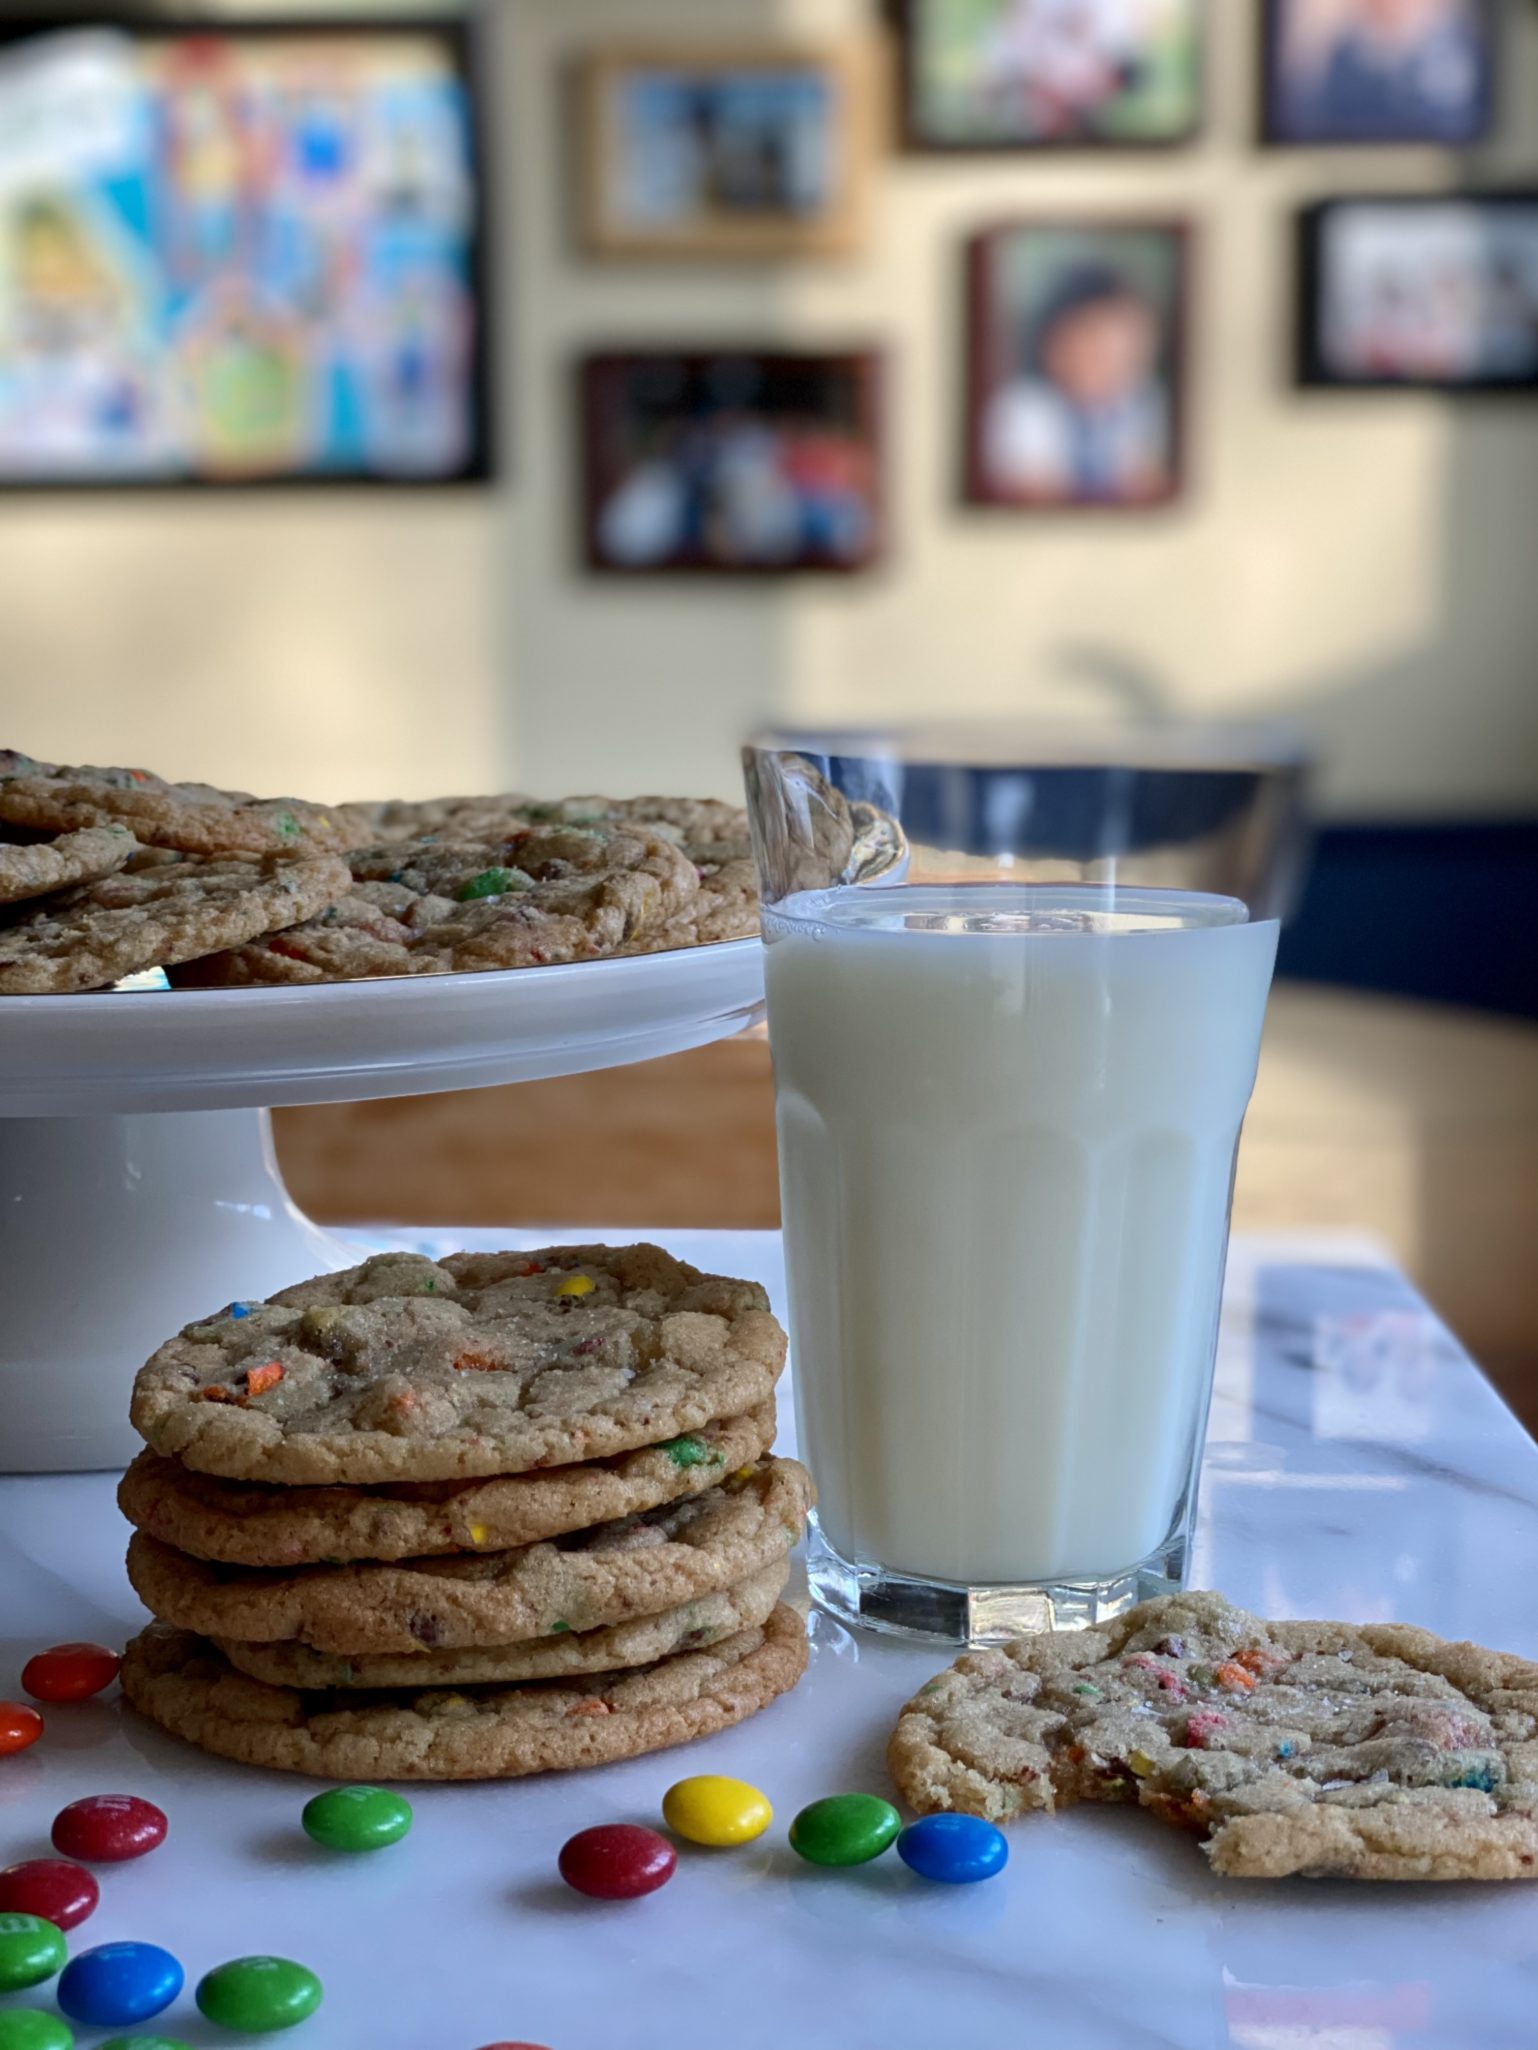
Growing up in Chinatown the standard plate of cookies found on our table was not Chocolate Chip Cookies, but Almond Cookies. Found in every Chinese Bakery, these were my favorite cookie, well except for the almond in the center, which I ate around, kids, what do you do.
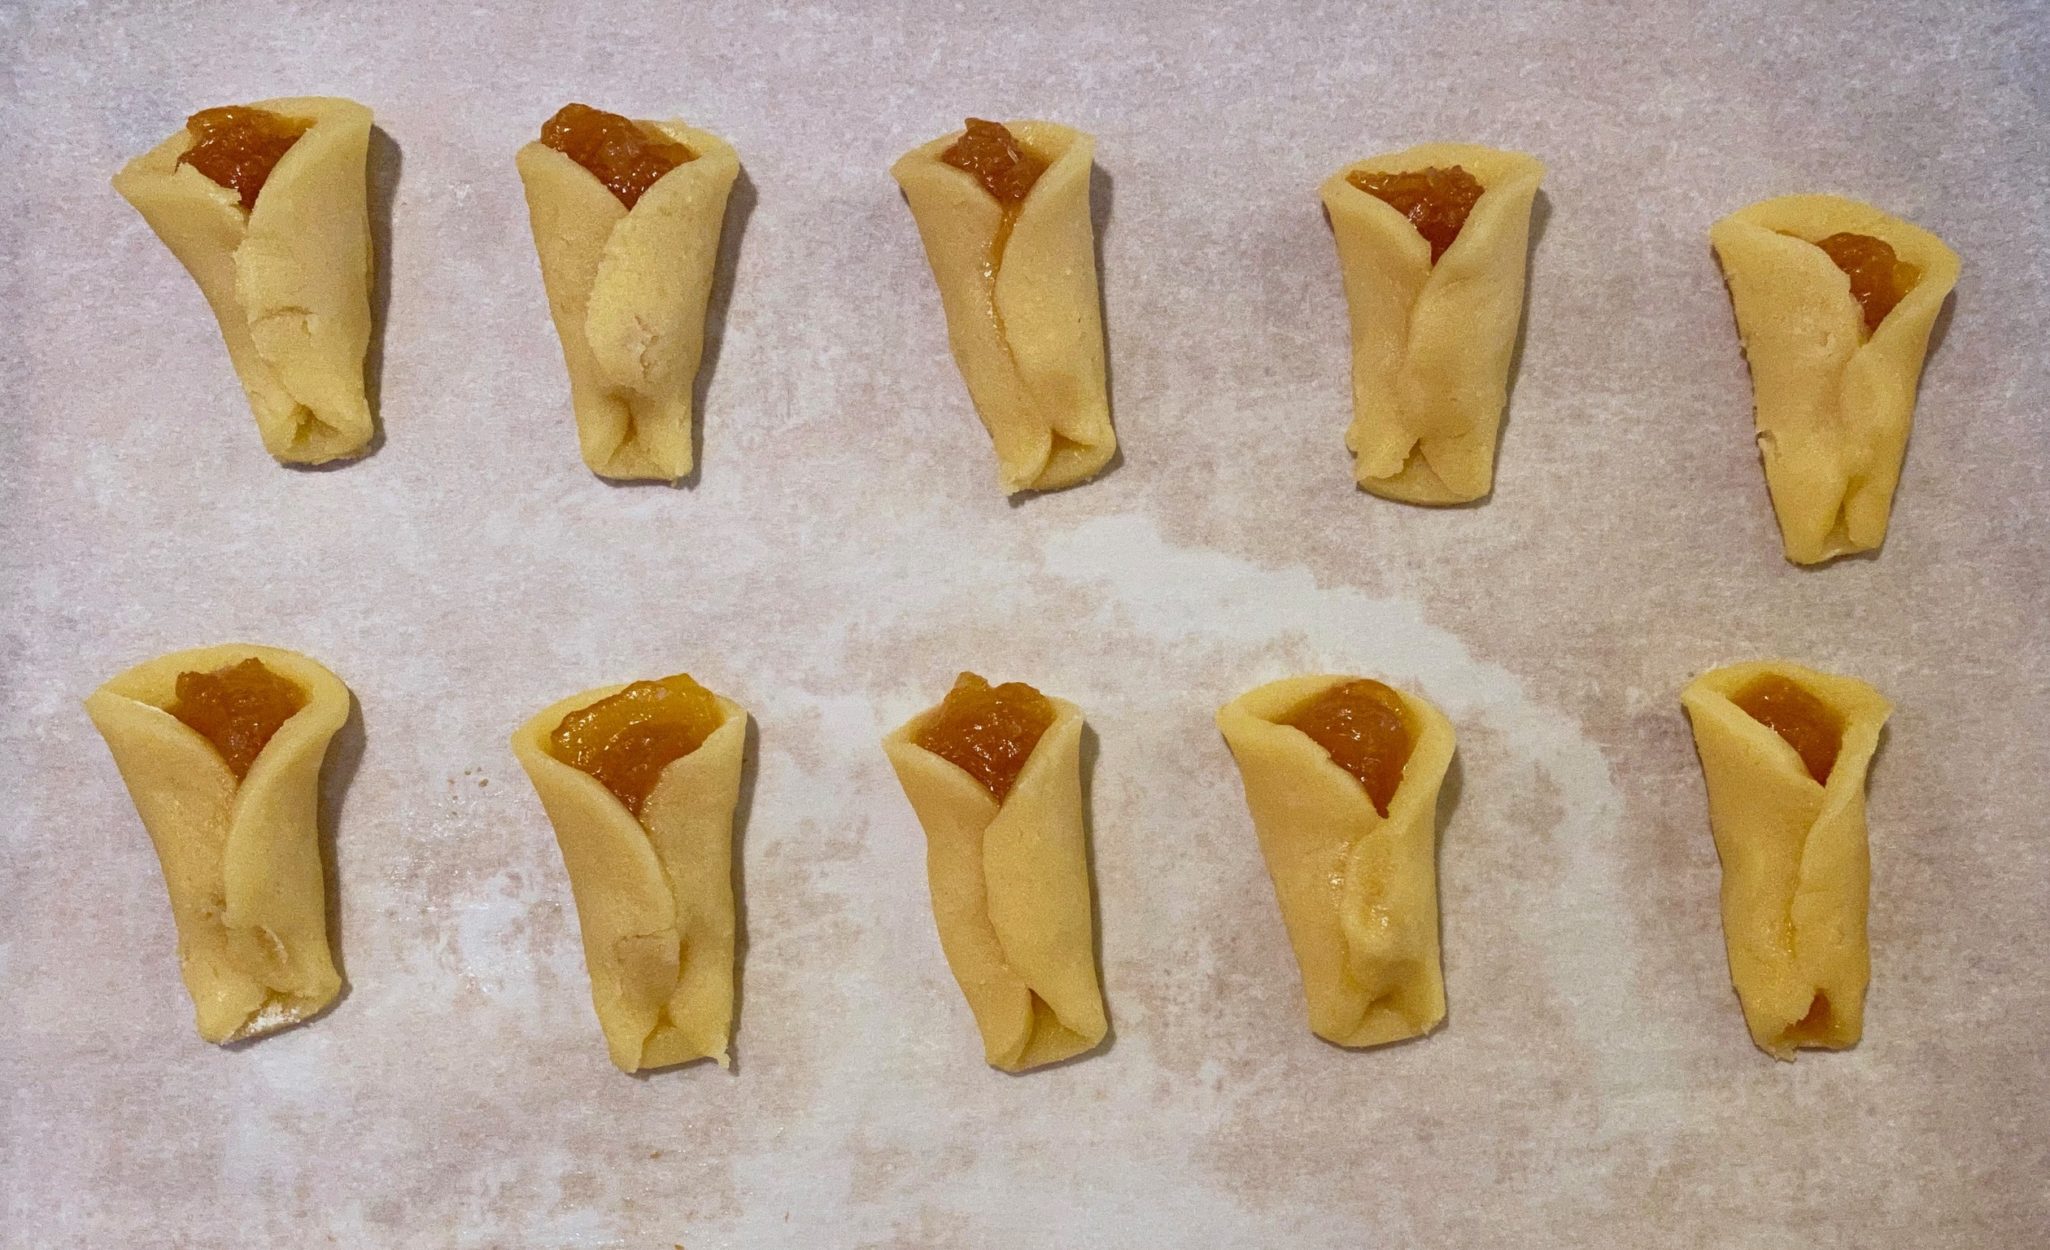
Last Roadtrip
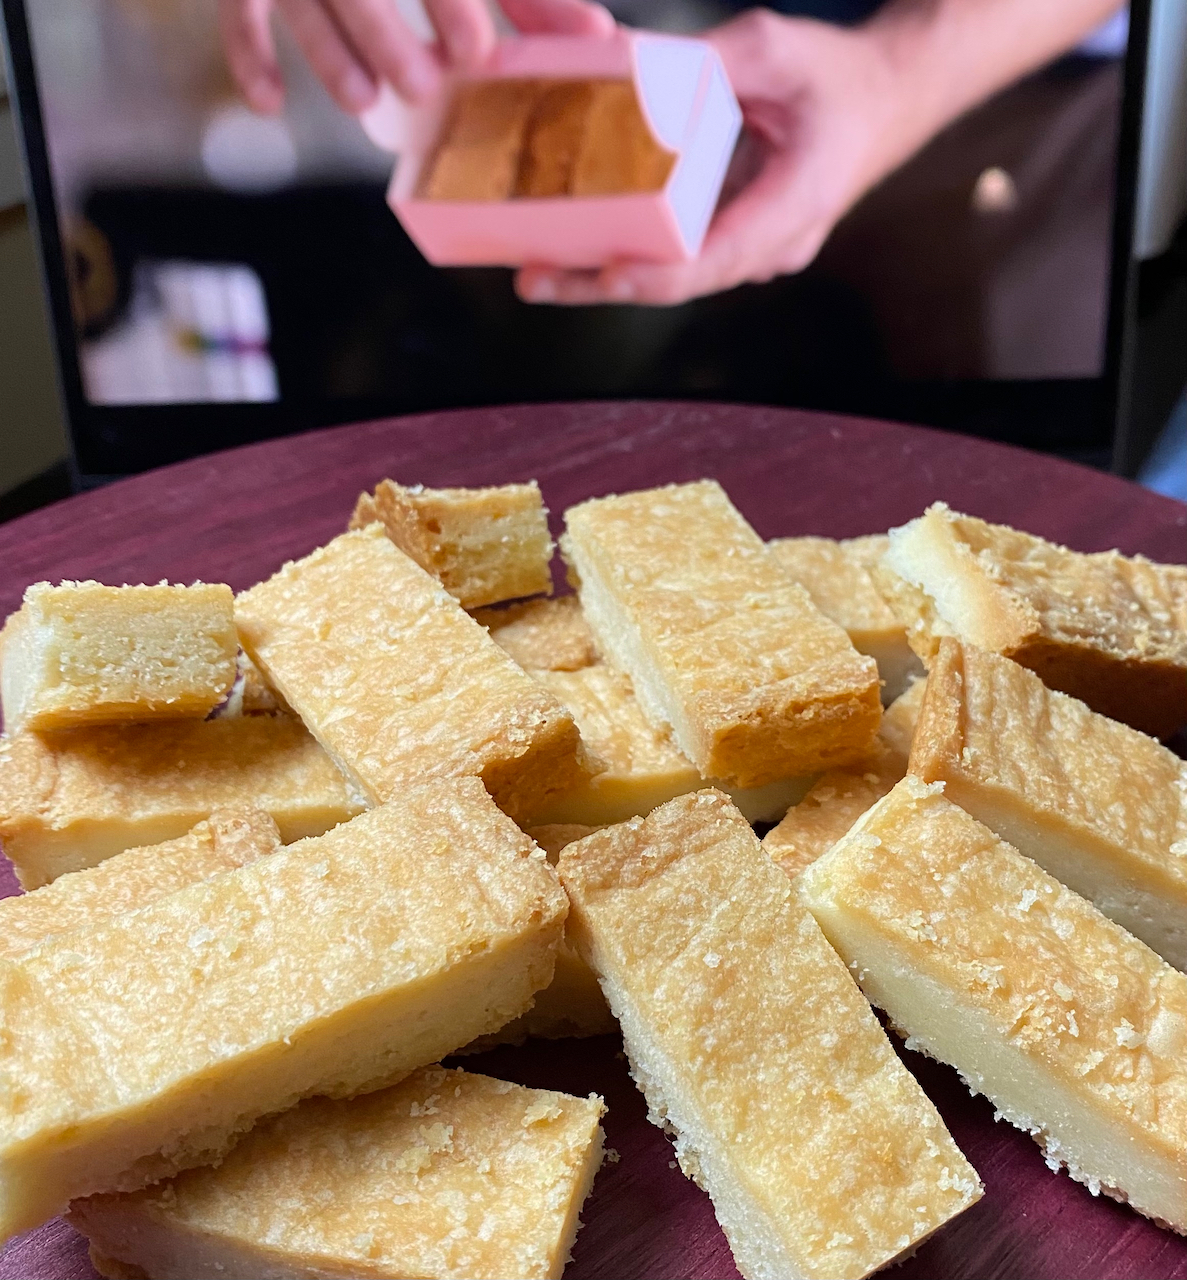
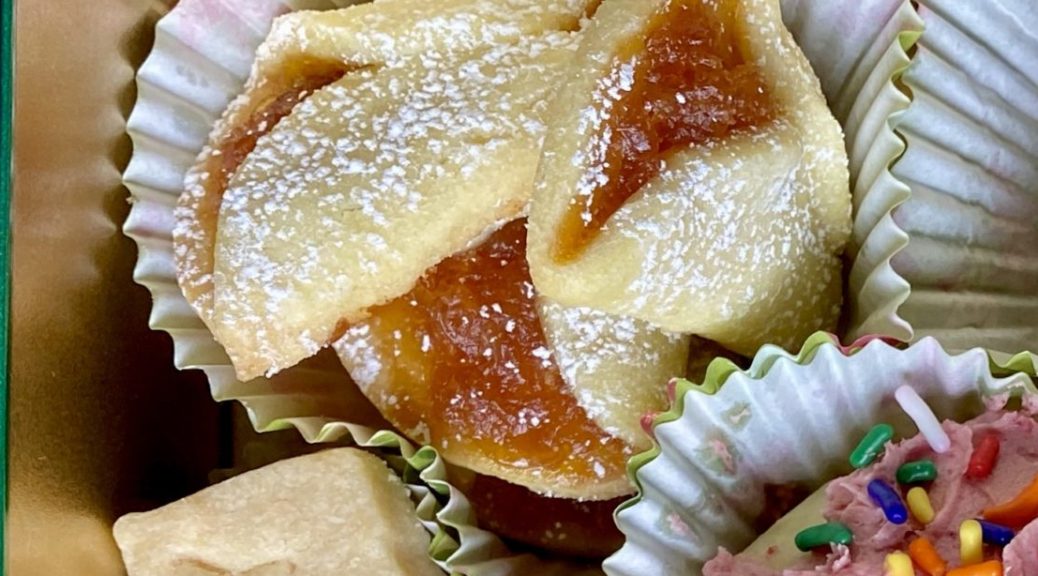
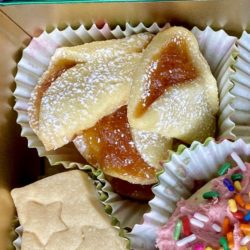
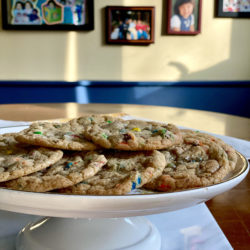
One of my favorite Almond Cookies comes from Phoenix Bakery in Los Angeles Chinatown. It’s been there a long time, three generations of the Chan family (hopefully there is a fourth generation) cranking out cookies and cakes. Theirs is the quintessential Almond Cookie, crumbly not crisp, nutty, dense but not tough, and distinctly almond-flavored. Growing up, every family trip to Los Angeles included the prerequisite stop at Phoenix Bakery for those pink boxes filled with almond cookies and sweet, sticky butterfly cookies. Right before COVID hit, I drove down to LA for my favorite auntie’s birthday and of course, I stopped at Phoenix Bakery.
An Homage
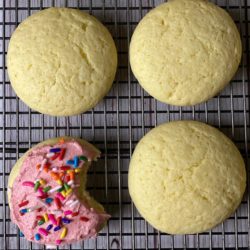
Every Christmas my brother-in-law’s mother baked boxes and boxes (pink cake boxes of course) of cookies. We were one of the lucky recipients. My favorite, her almond cookie. With that first bite, I was transported back to the Chinatown of my childhood.
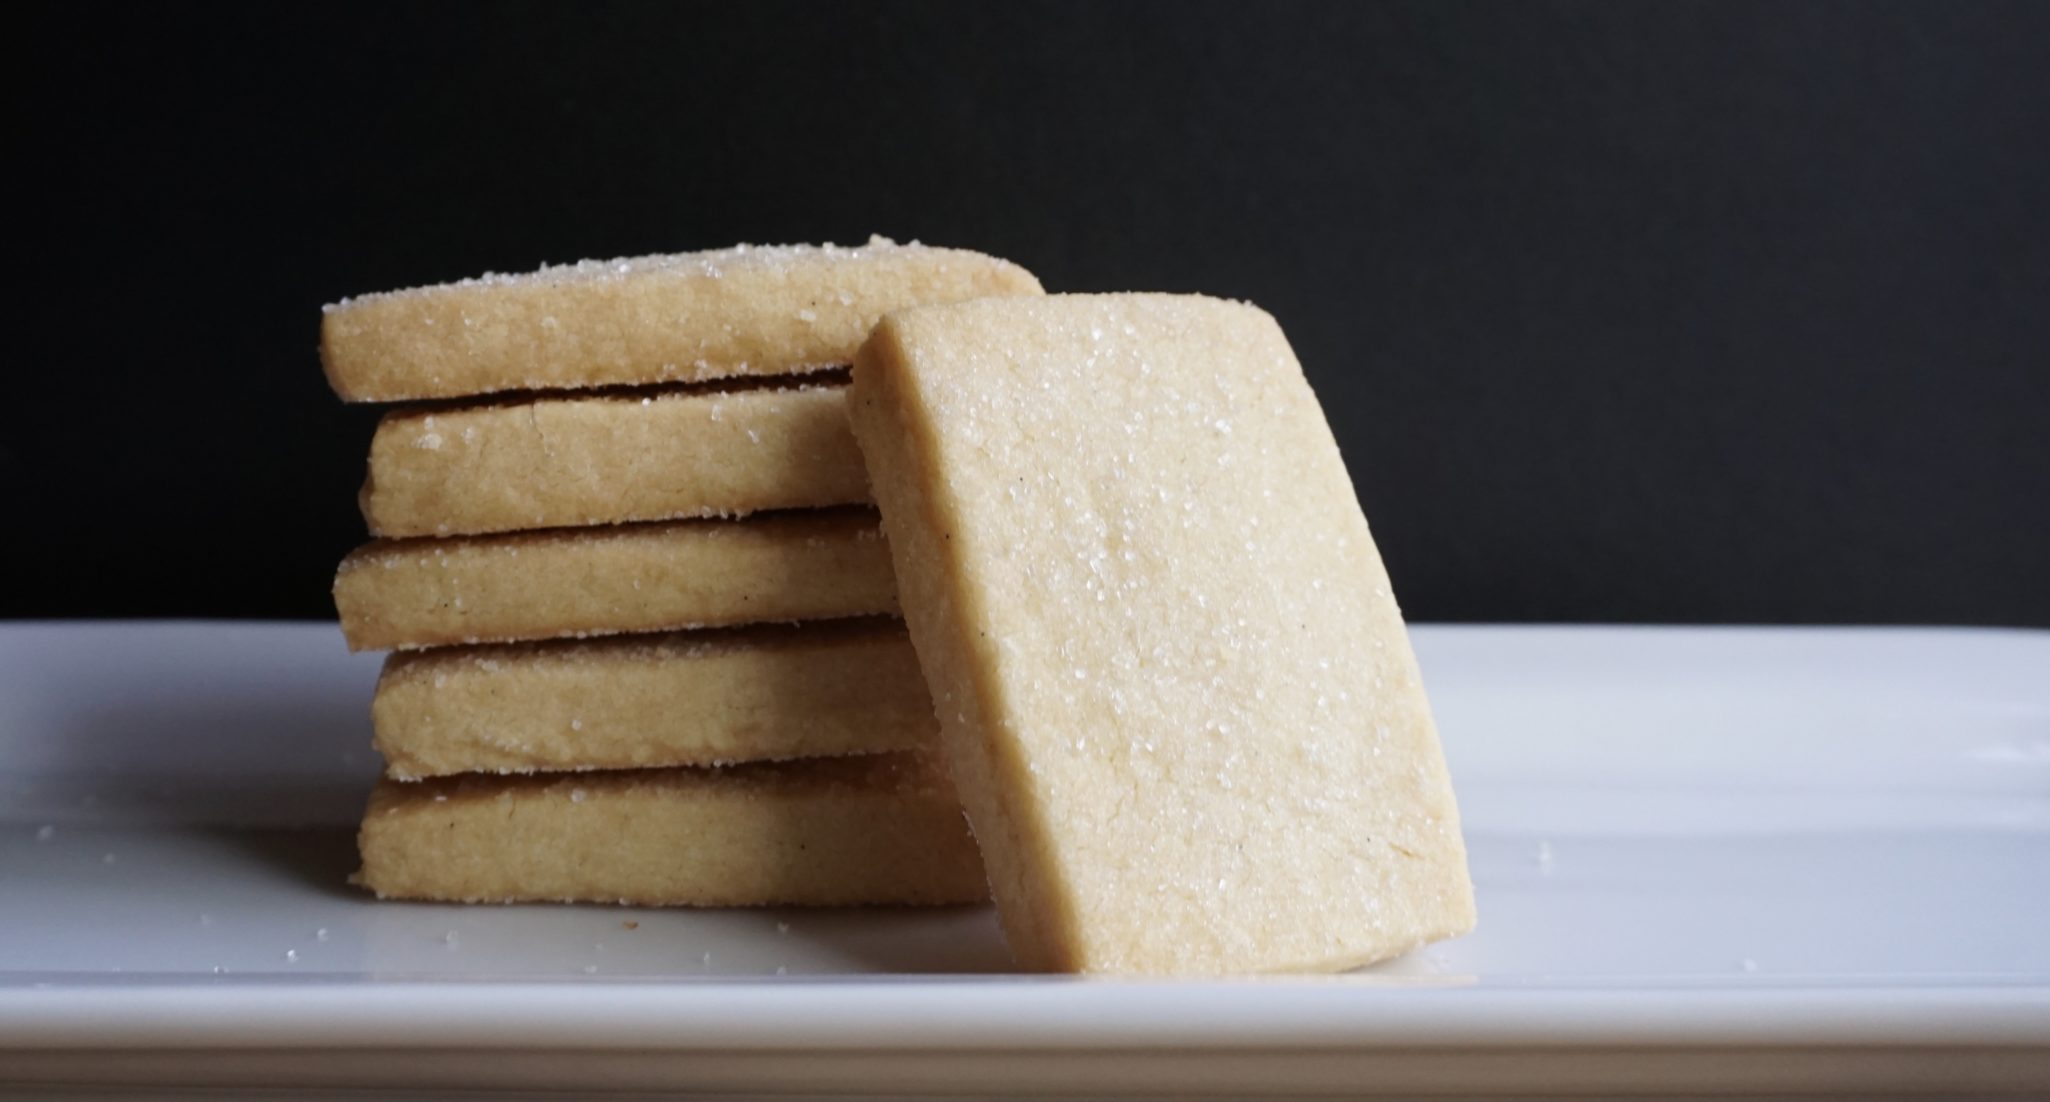
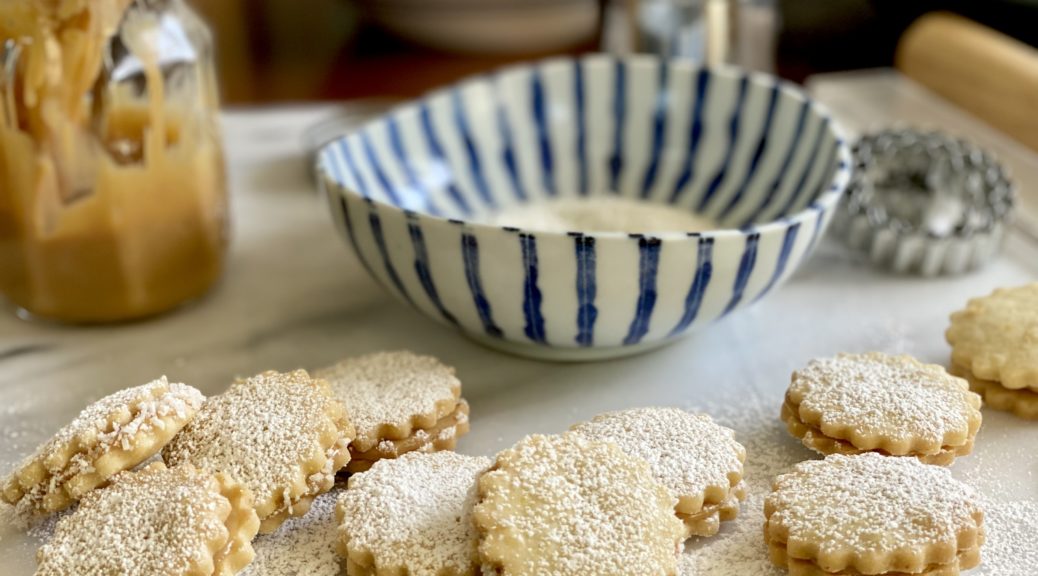
As a testament to how much I like Almond Cookies, I have multiple almond cookies on 3Jamigos. The first time I wrote about Mrs. F’s Almond Cookies, I actually included the Almond Cookie recipe from B’s Patisserie in San Francisco. It’s a luscious almond cookie, buttery, crispy, filled with almond flavor, delicious in its own right, but texturally different from the classic Chinatown Almond Cookie.
Finally, Mrs. F’s Almond Cookies
Why didn’t I make Mrs. F’s cookies from the get-go? Embarrassingly, I had misplaced her recipe. After an all-out hunt, I finally found it (or did I ask my brother-in-law?). Well, bottom line, I have it now my little duckies.
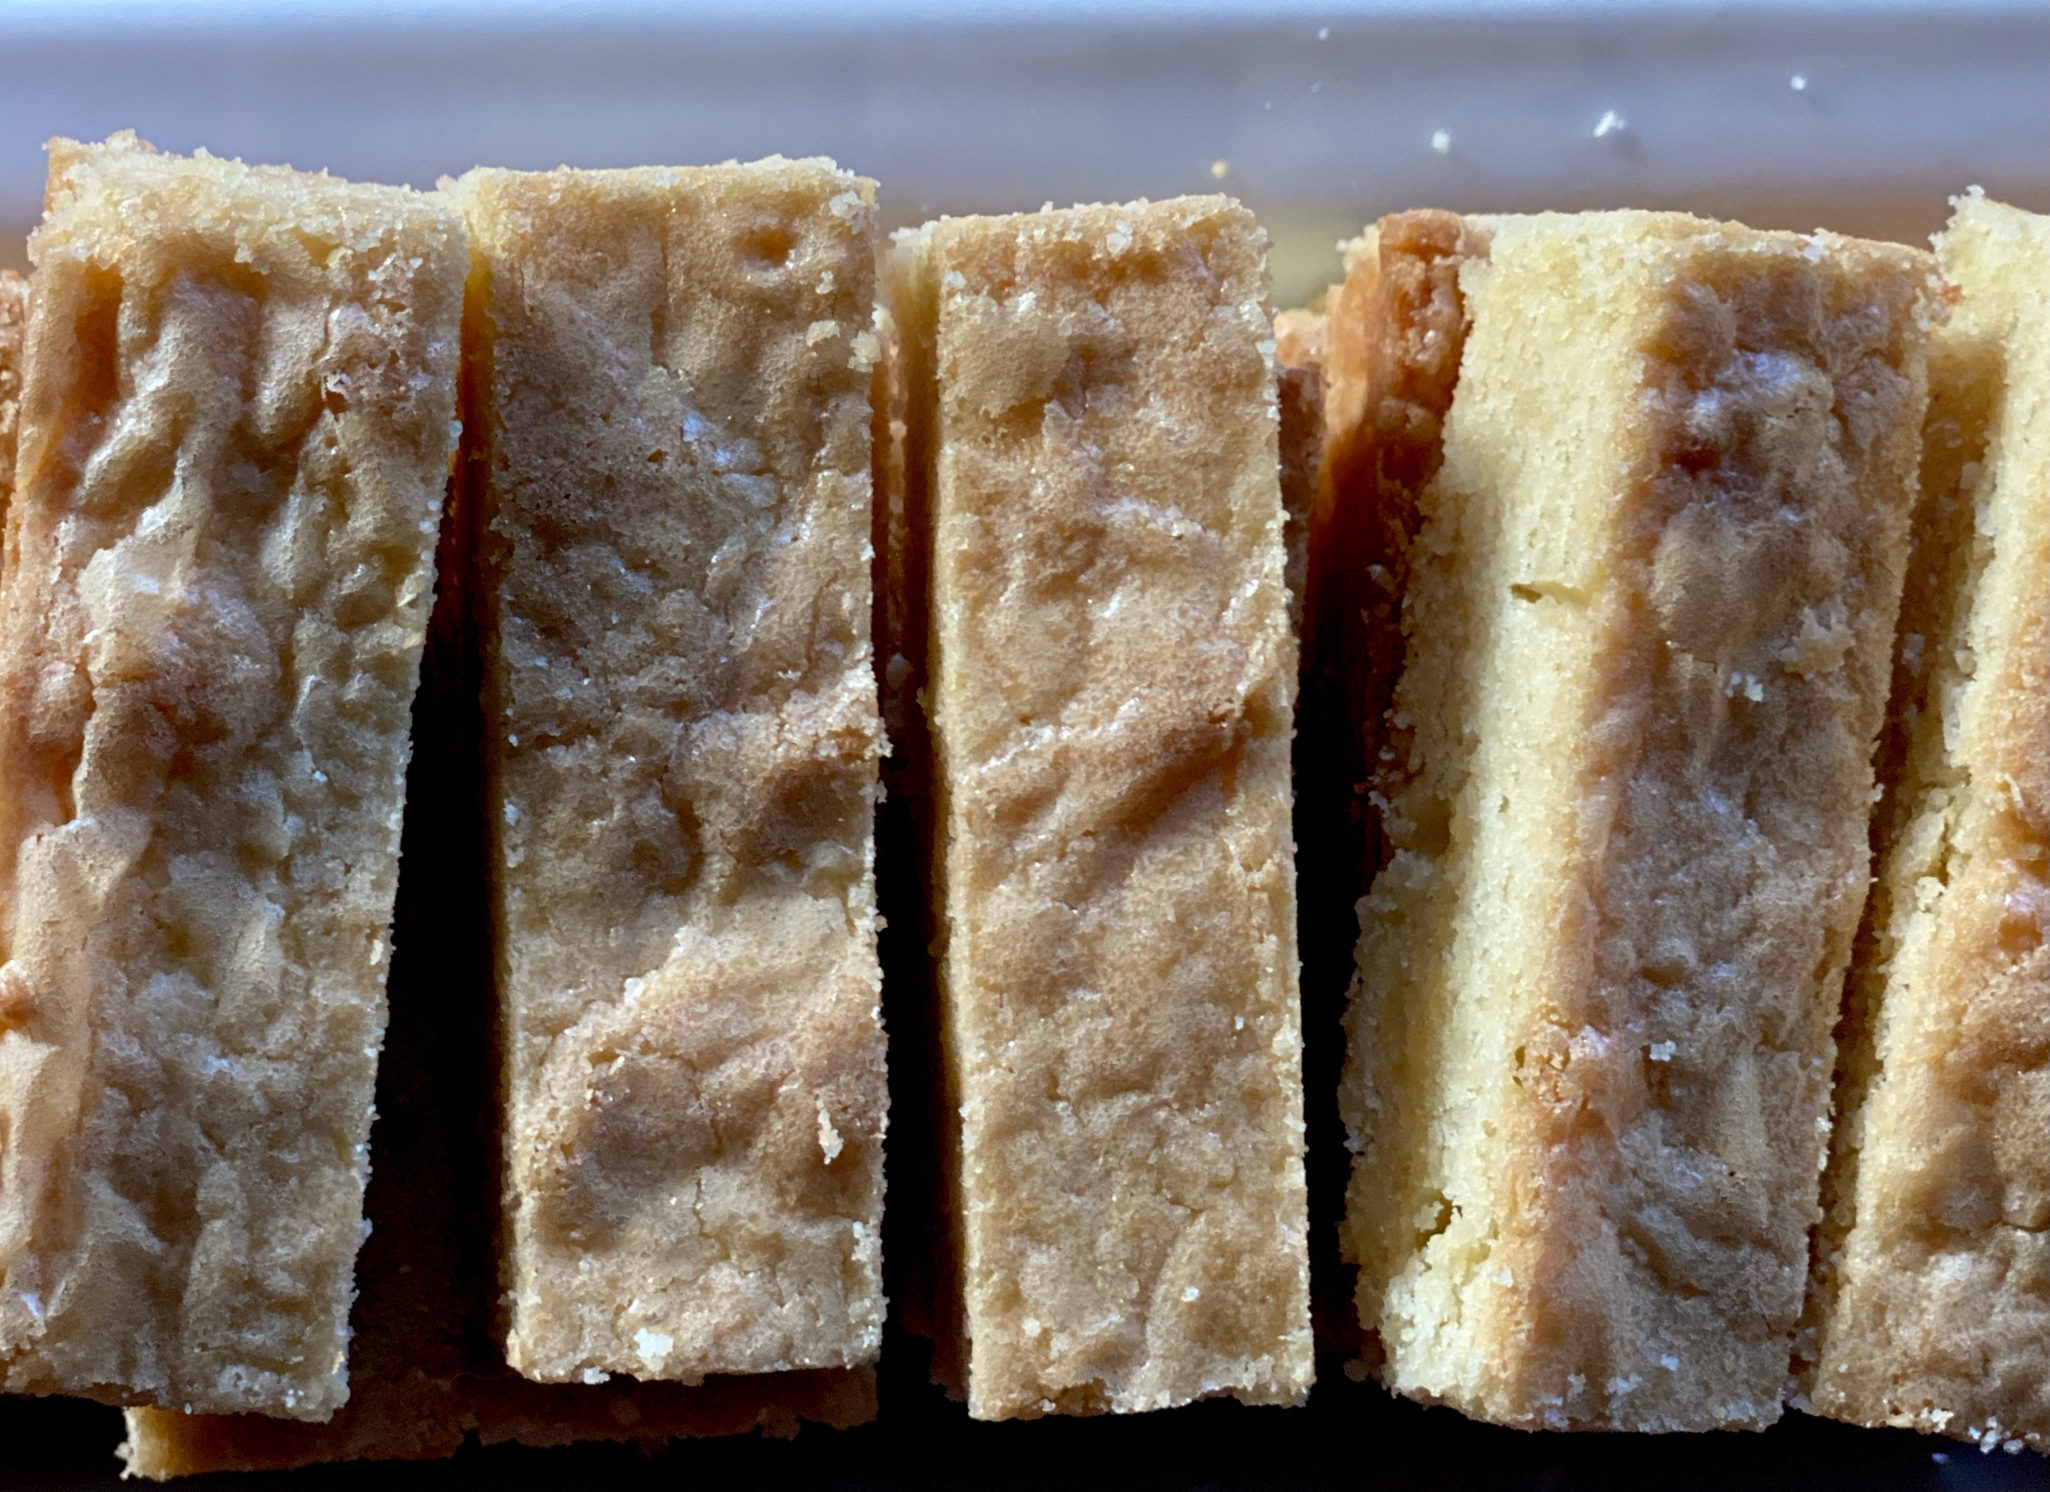
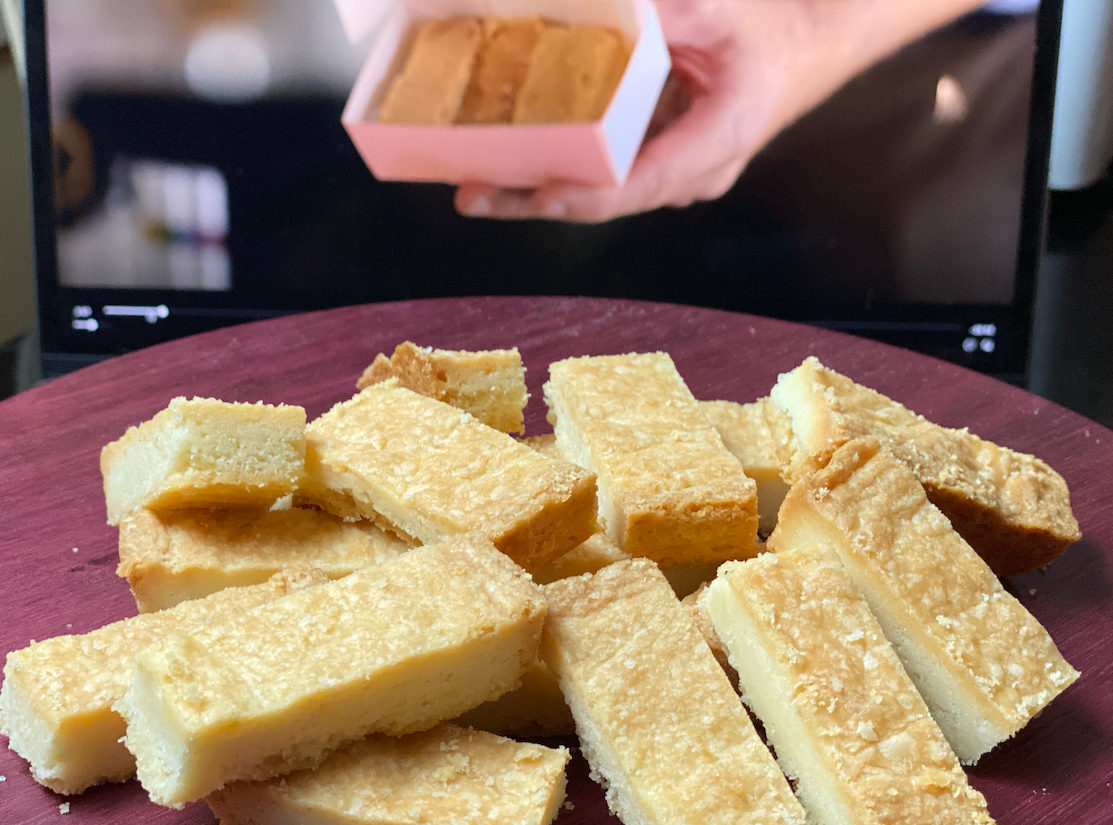
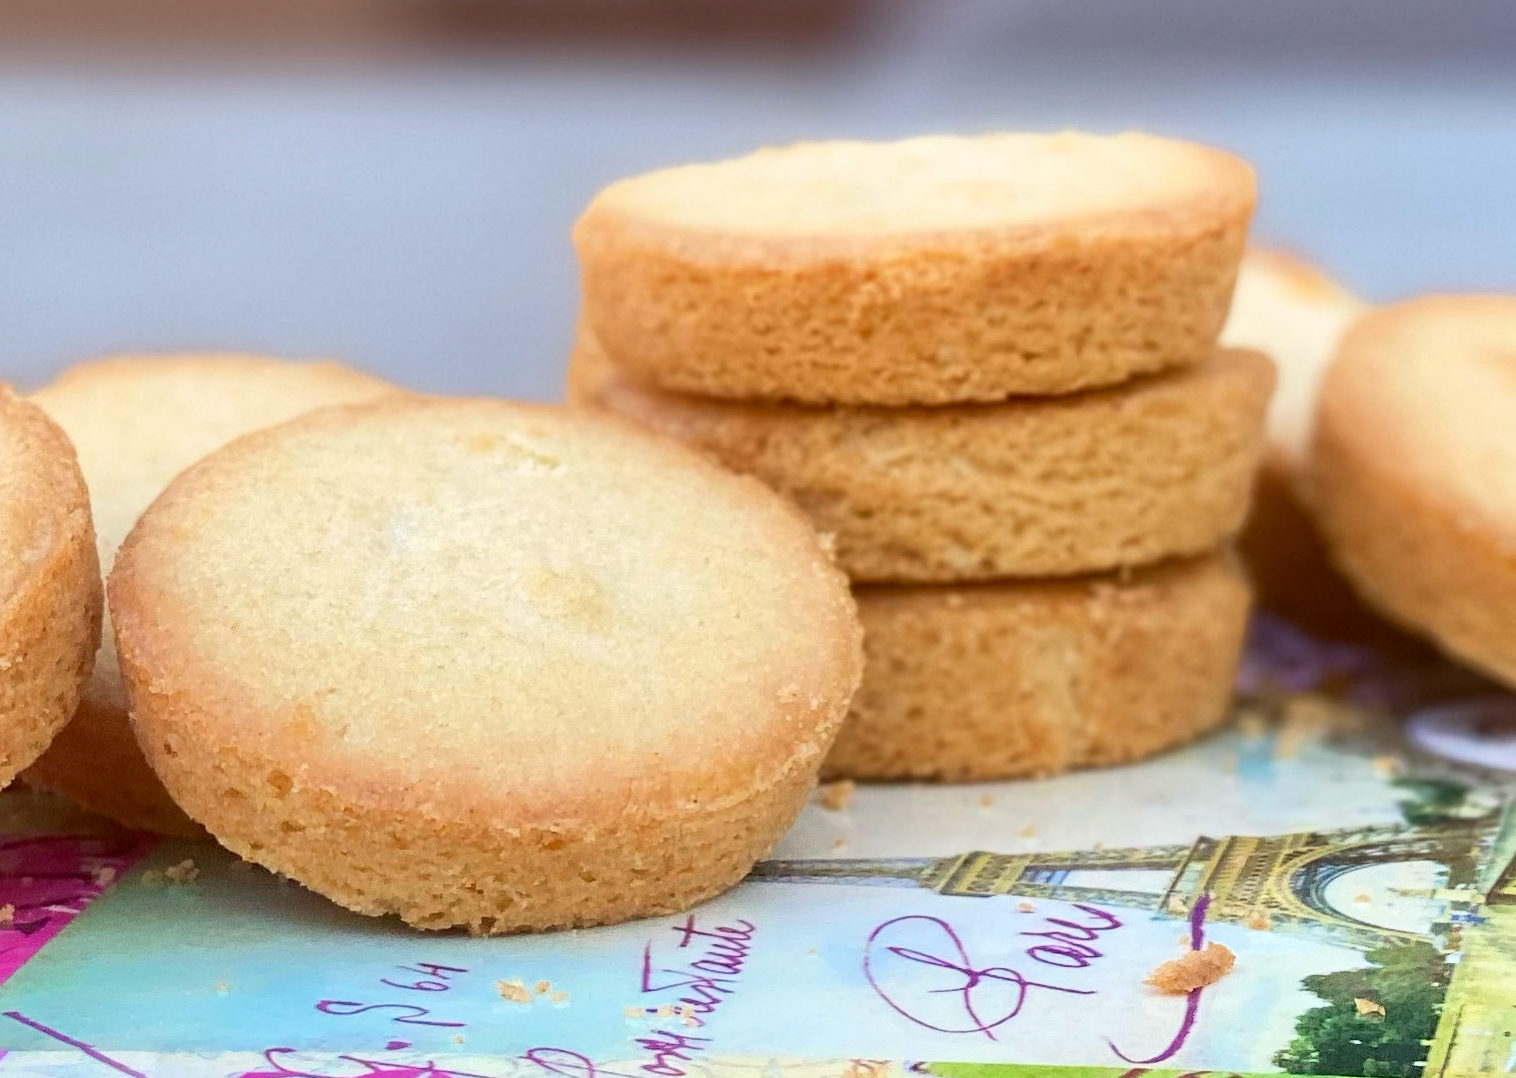
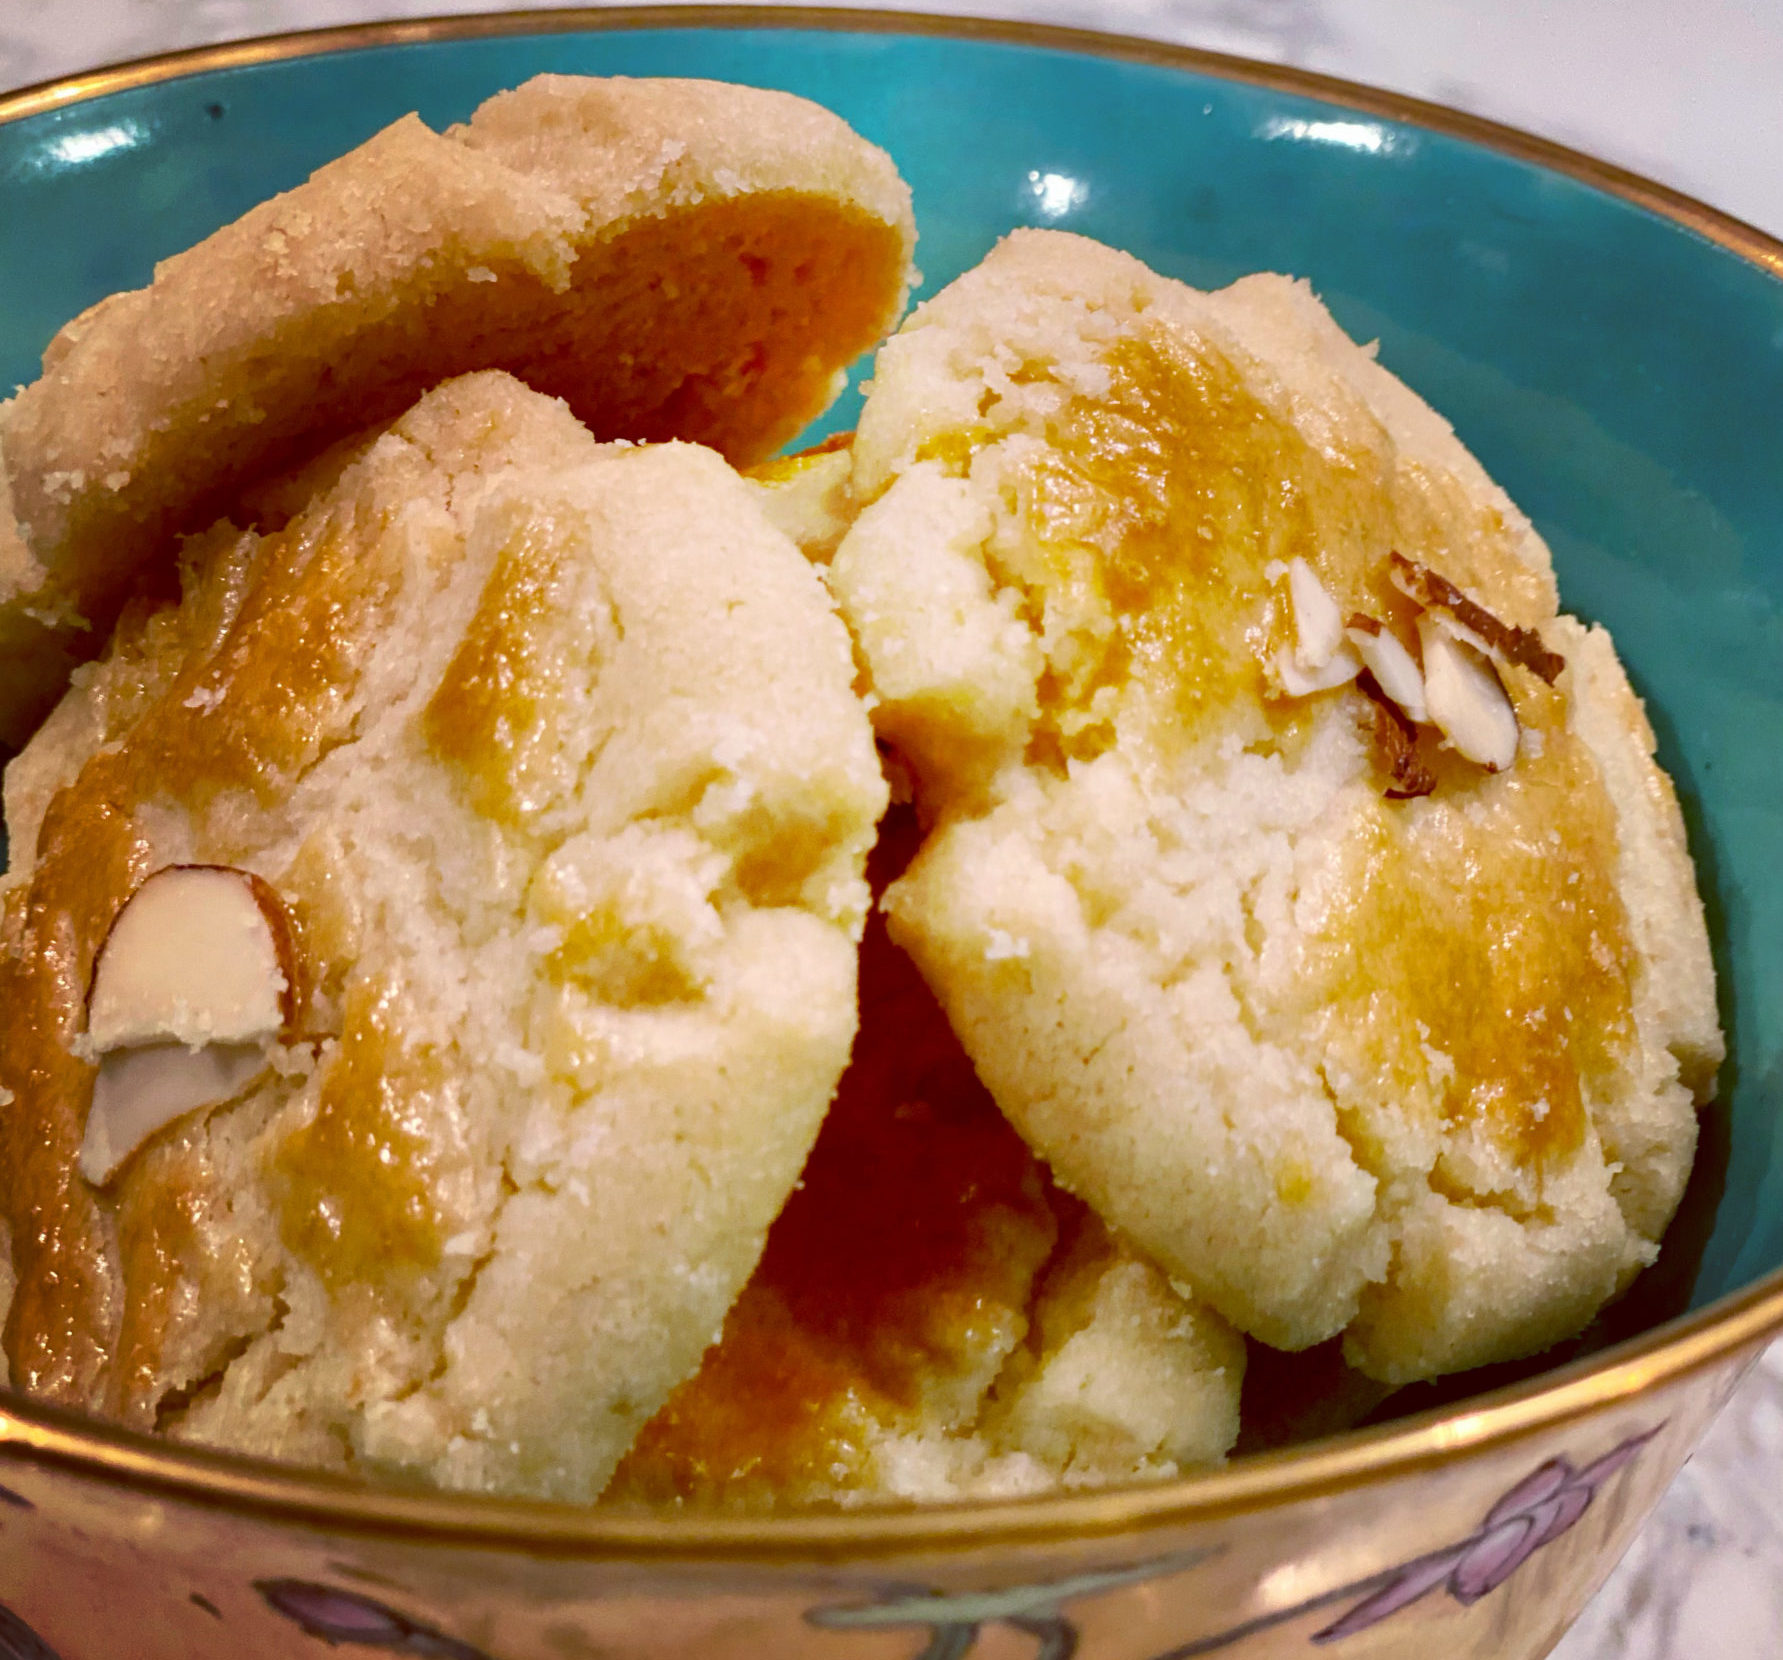
After the first batch, I tinkered with the recipe just a little. The cookies texturally were spot on. Here is the secret, the texture comes from using lard or shortening. Yep, no butter in these bad boys. Hmmm…butter-flavored shortening? Why not. This was my inaugural use of butter-flavored Crisco in place of regular shortening. Judging by the response to these cookies, it worked! If you have an aversion to butter-flavored shortening, use regular shortening. If and when I try lard I will report back. I have no problems using lard, it’s more of an access issue. I prefer leaf lard which is less processed than the stuff in supermarkets.
Let’s Go Nutty
The other tweak MORE almond flavor. I upped the amount of almond extract cause in my book, you can never have too much almond flavor. JK, but I did think the cookies benefitted from a smidge more.
Year of the Tiger
Don’t think cookie season is over! Chinese New Year is right around the corner and these would be purr-fect in an assortment of goodies to ring in the Year of the Tiger!
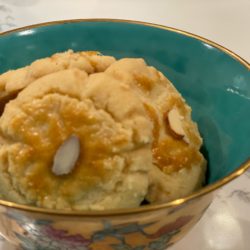
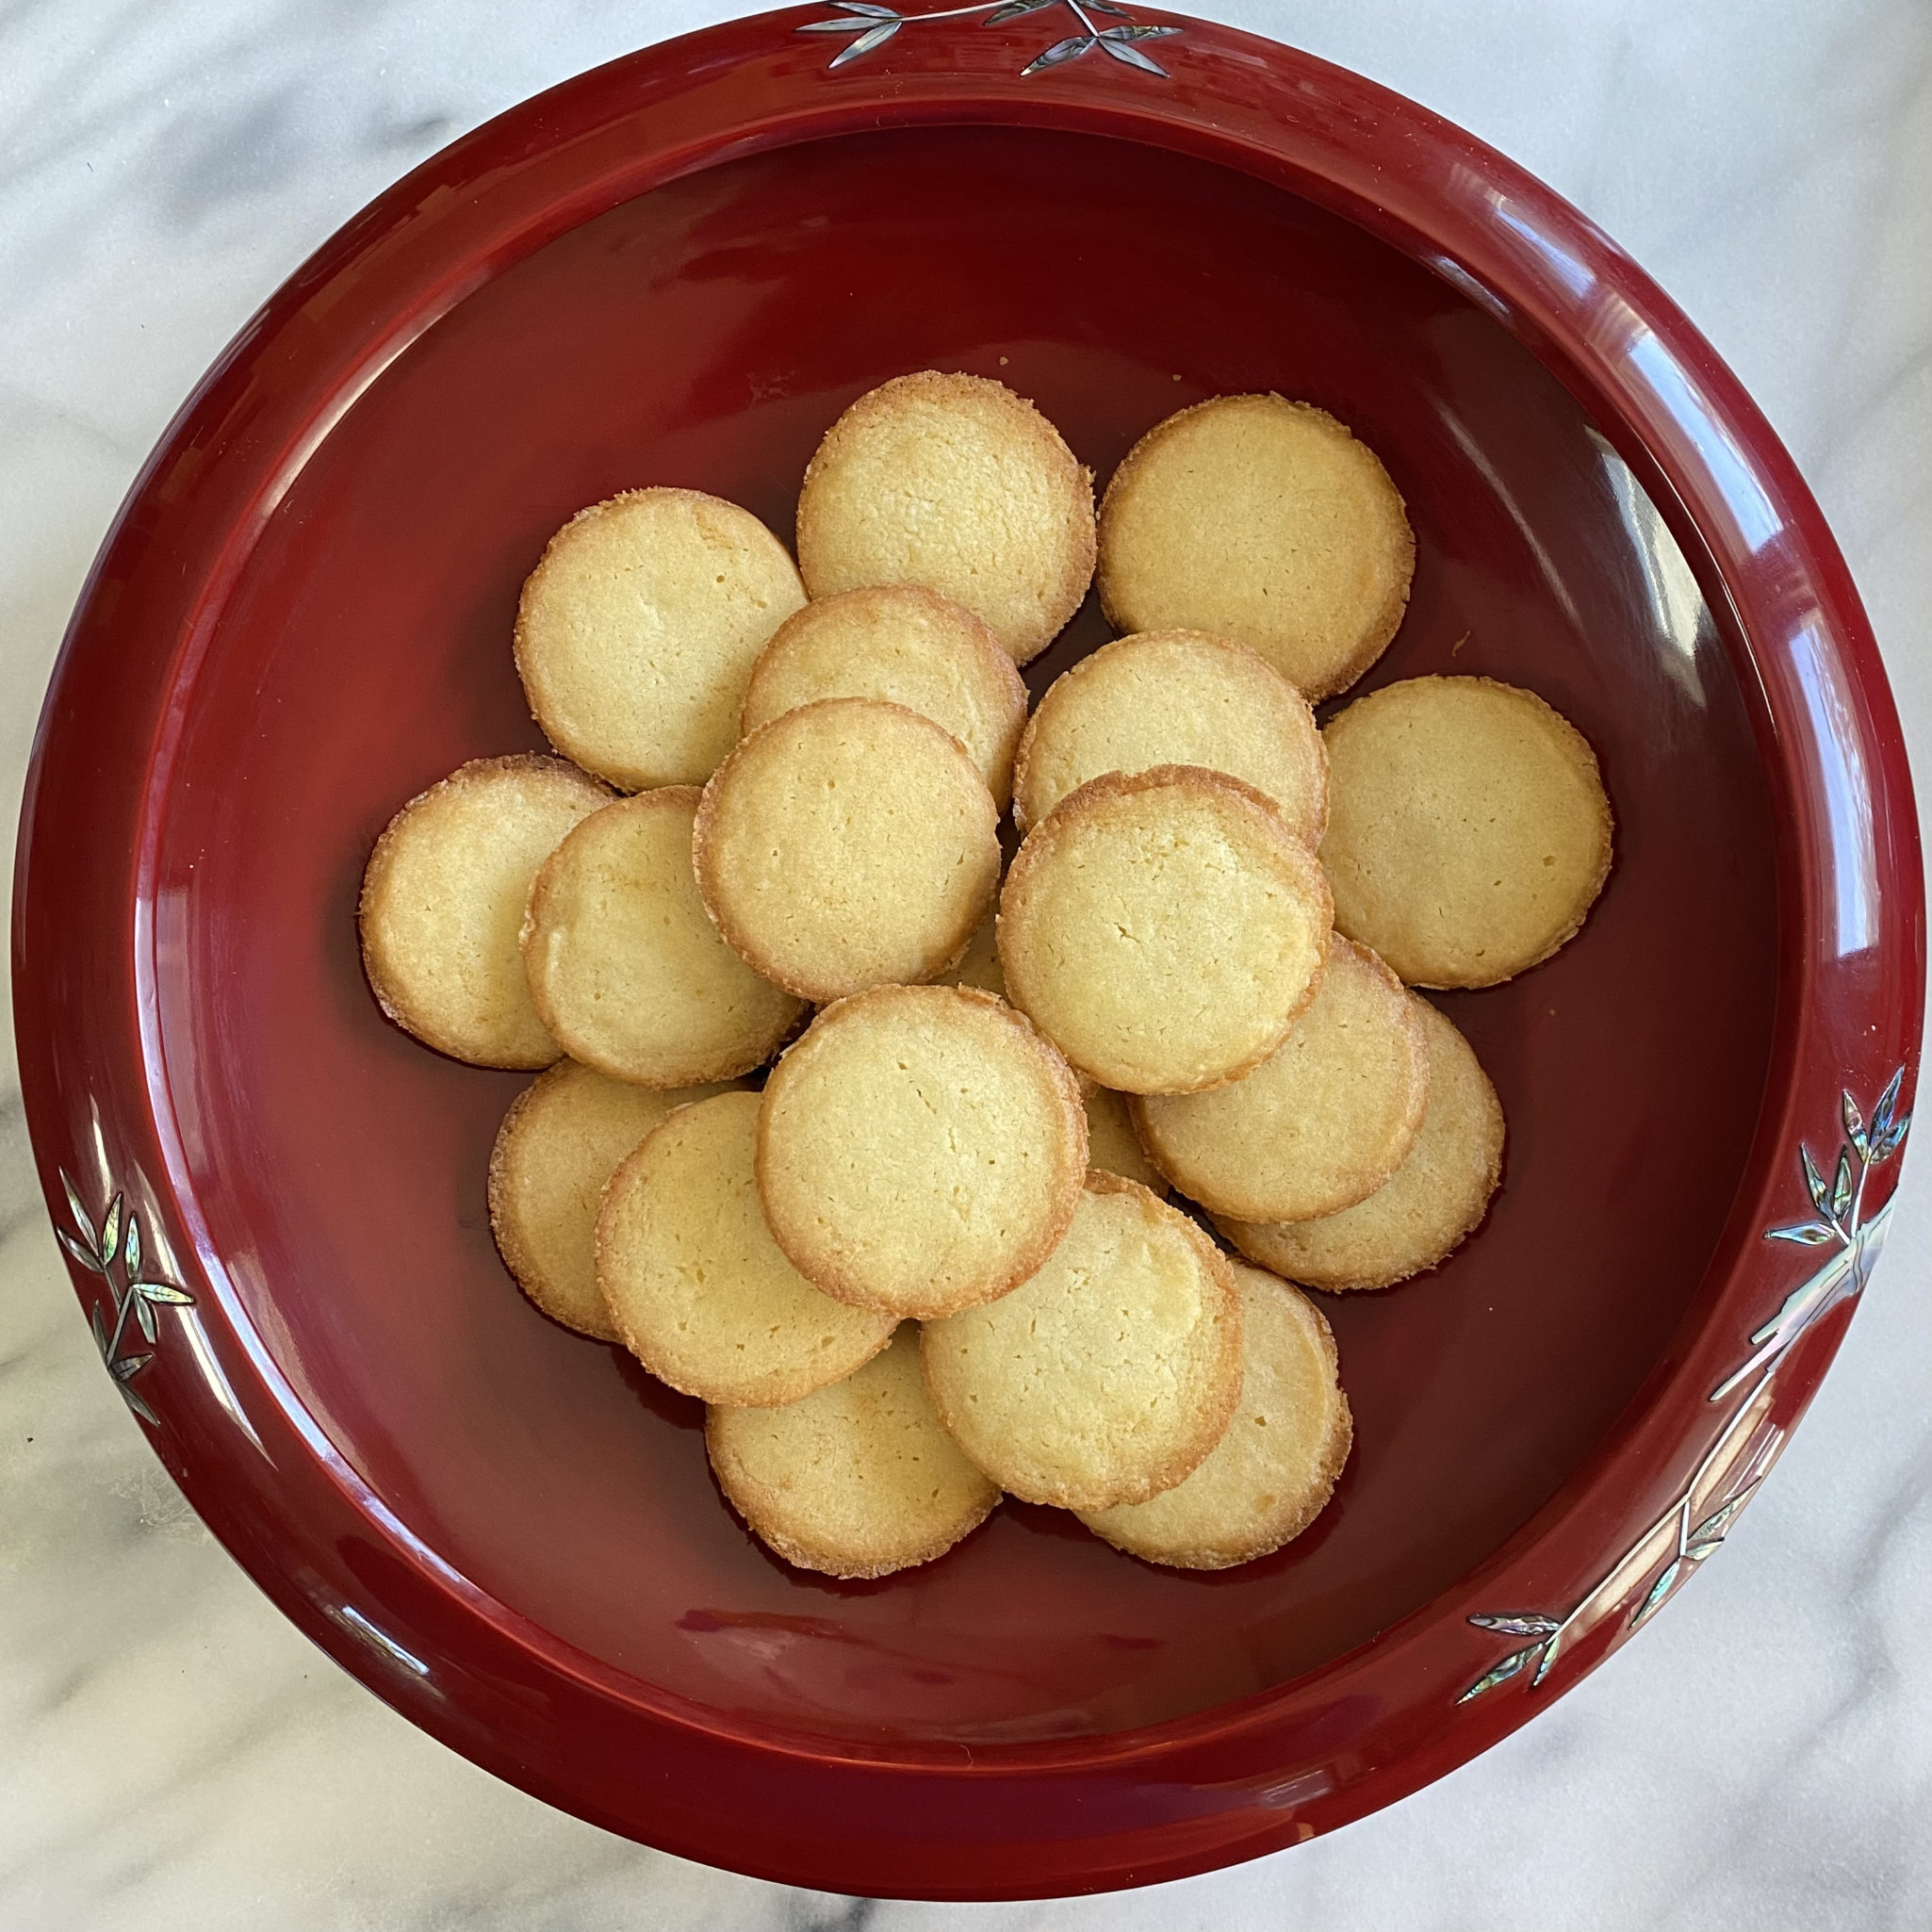
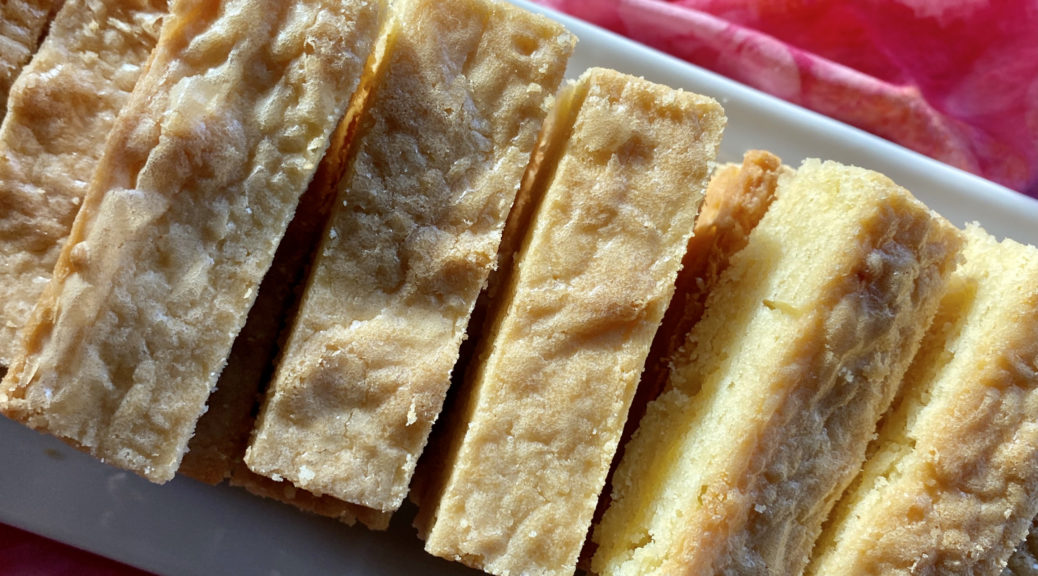
Almond Cookies -like the ones in Chinatown!
Ingredients
Dry Ingredients
- 5 cups sifted flour
- 1 tsp baking soda
- 1/4 tsp salt
Wet Ingredients
- 2 1/2 cups Shortening, either reg or butter-flavored 40T (35 T will do)
- 1 1/2 cups sugar
- 1 large egg lightly beaten
- 1.5 tsp almond extract Use up to 2 tsp
- 1/4 tsp potassium carbonate liquid or 1/4 t baking soda
Finishing Touches
- 1 egg beaten for egg wash
- almond halves or sesame seeds garnish
Instructions
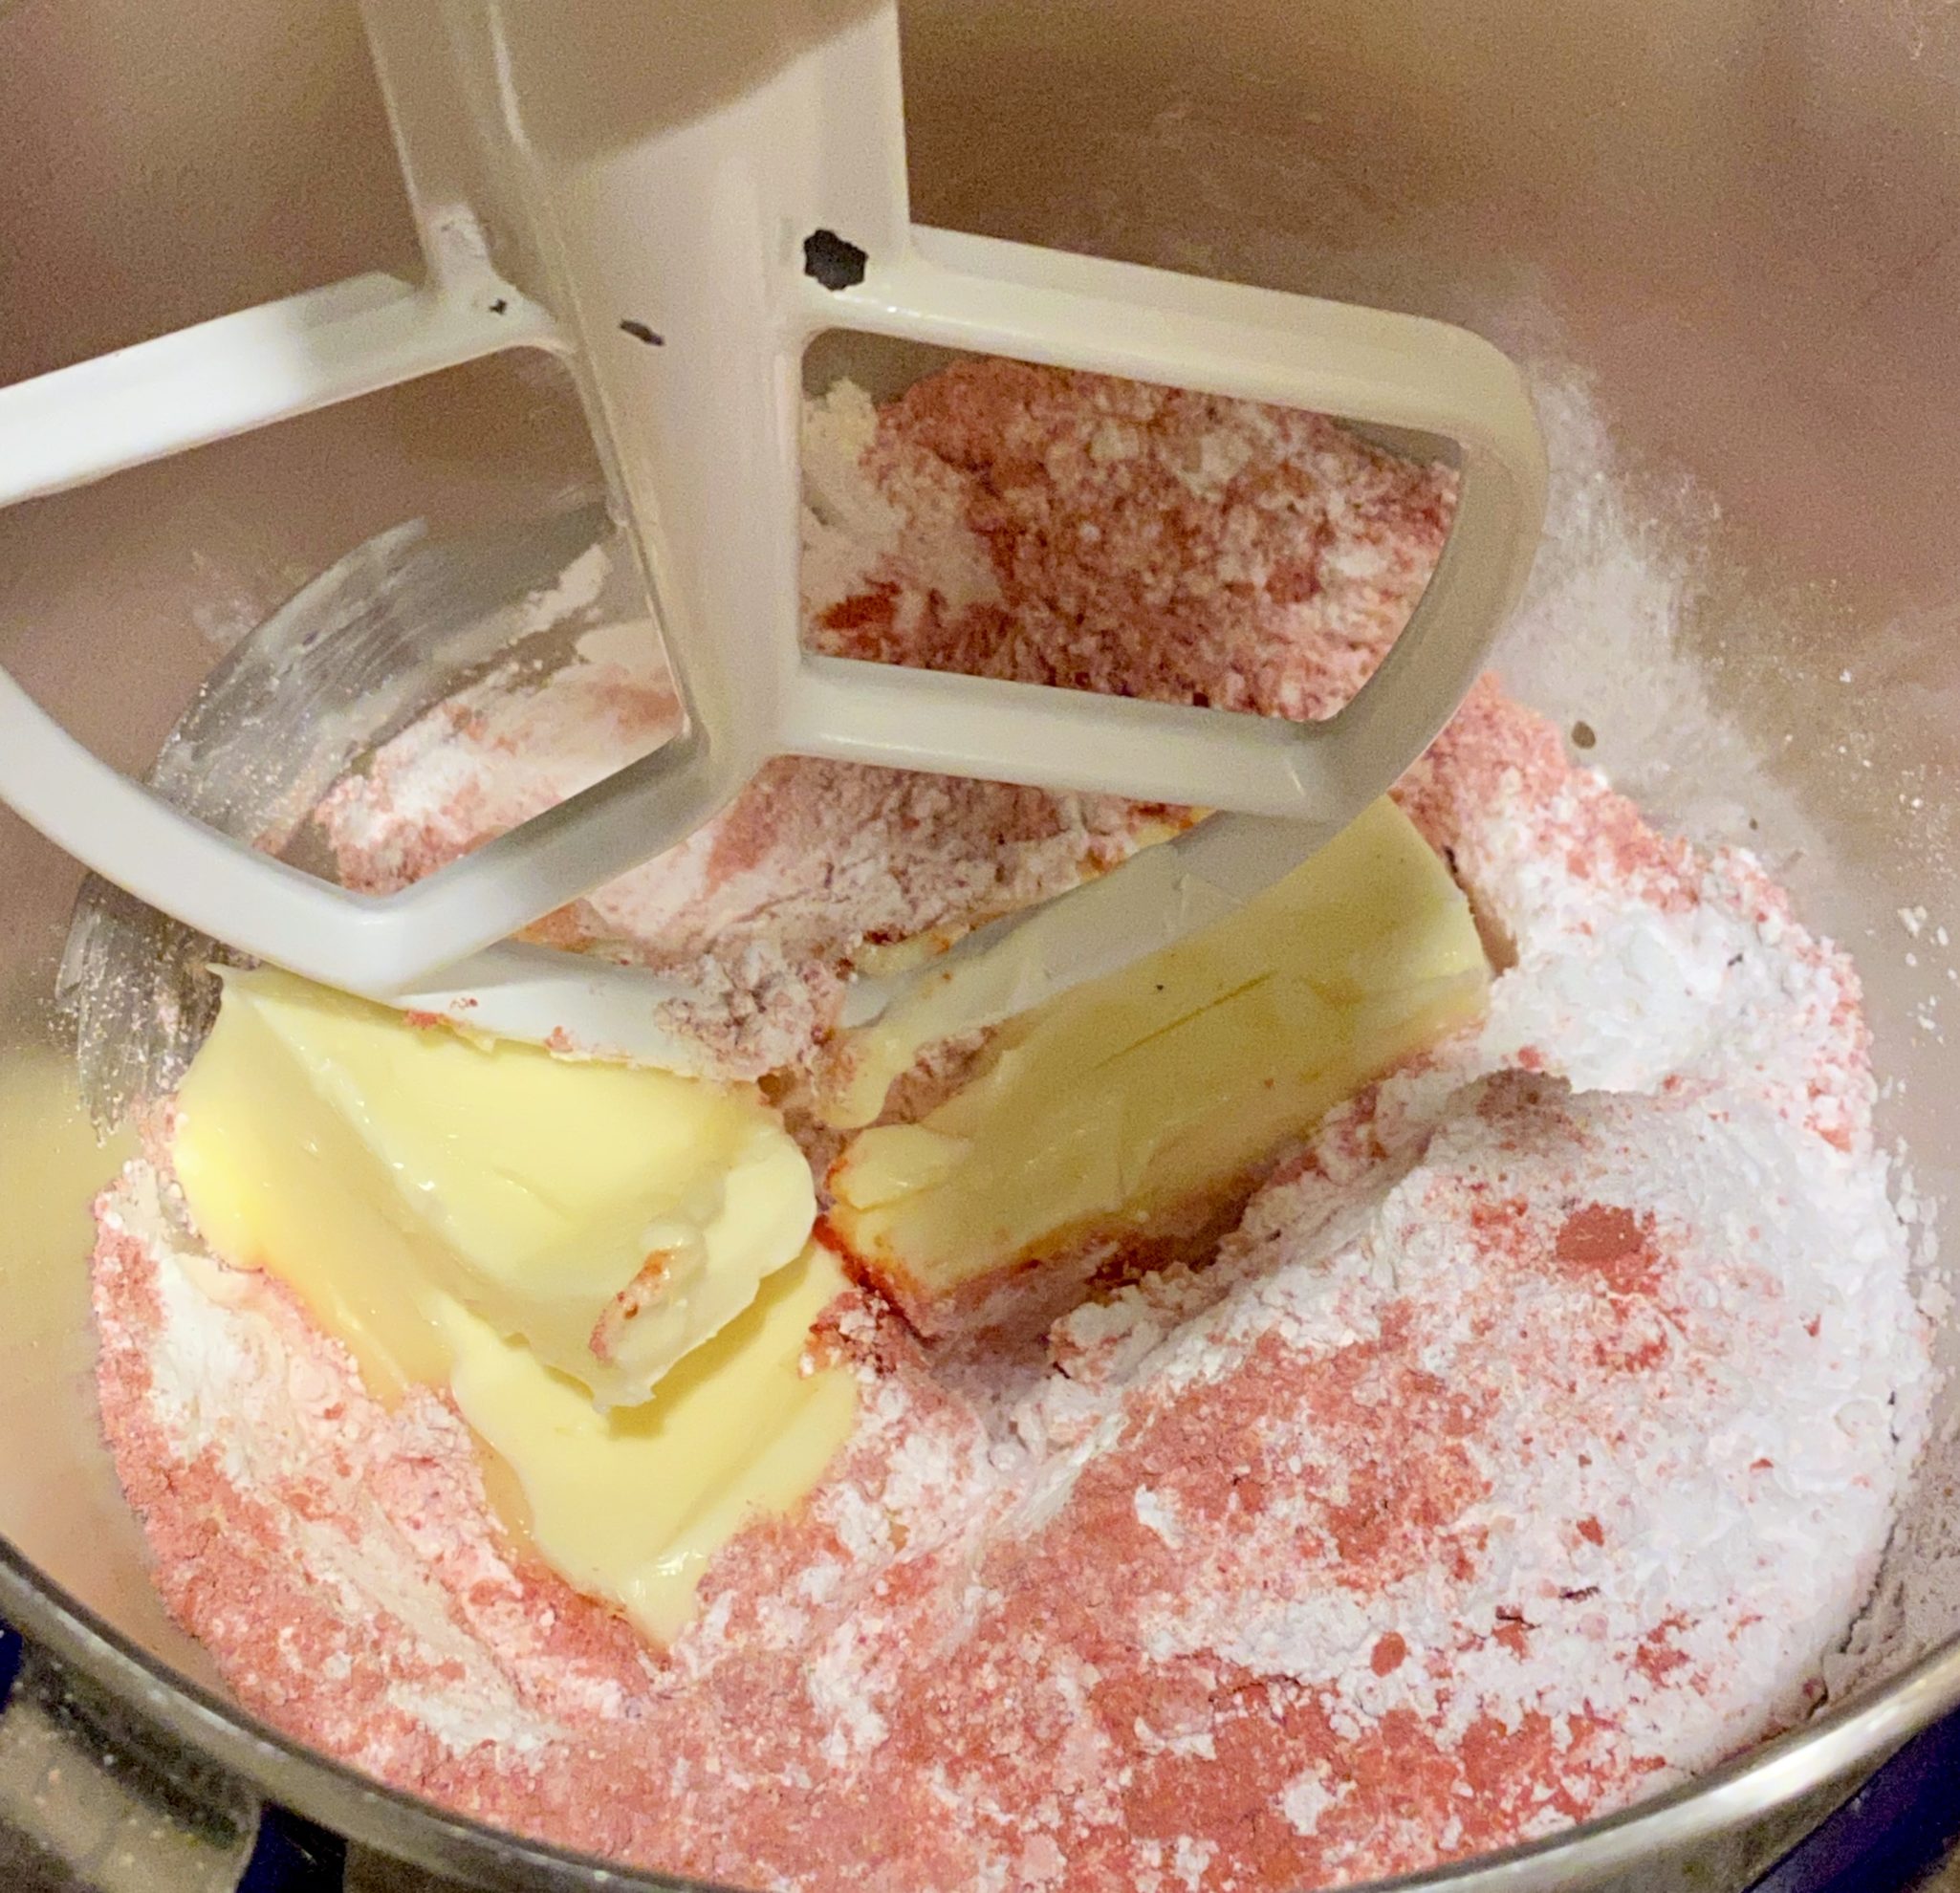
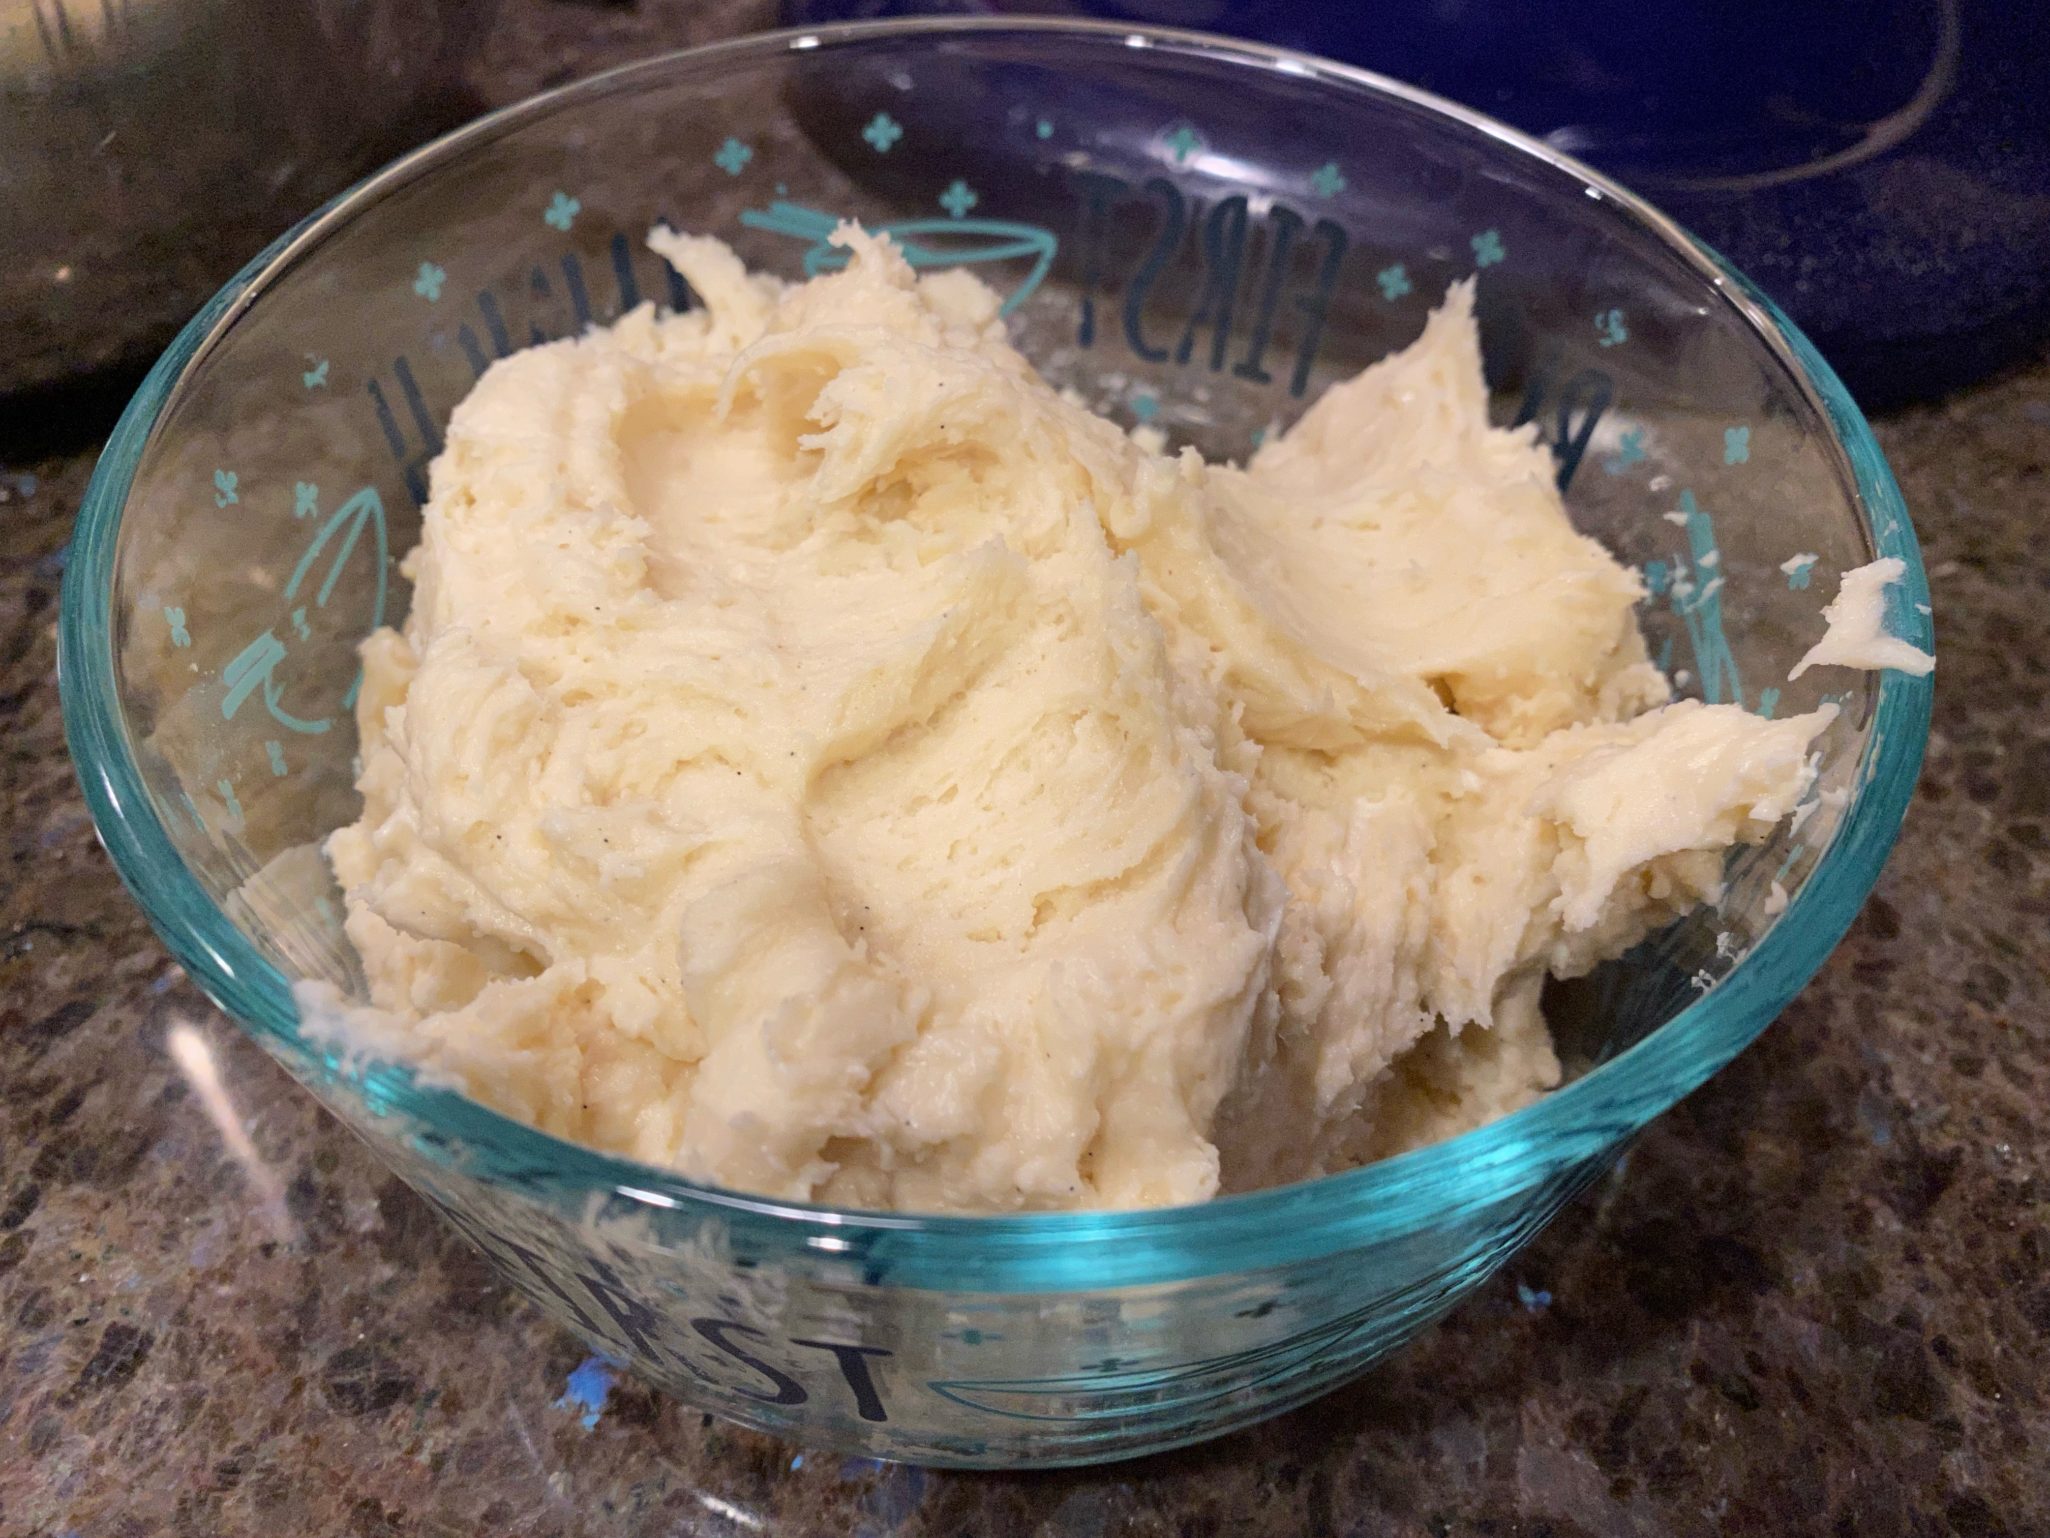
- Combine flour, baking soda and salt, set aside.
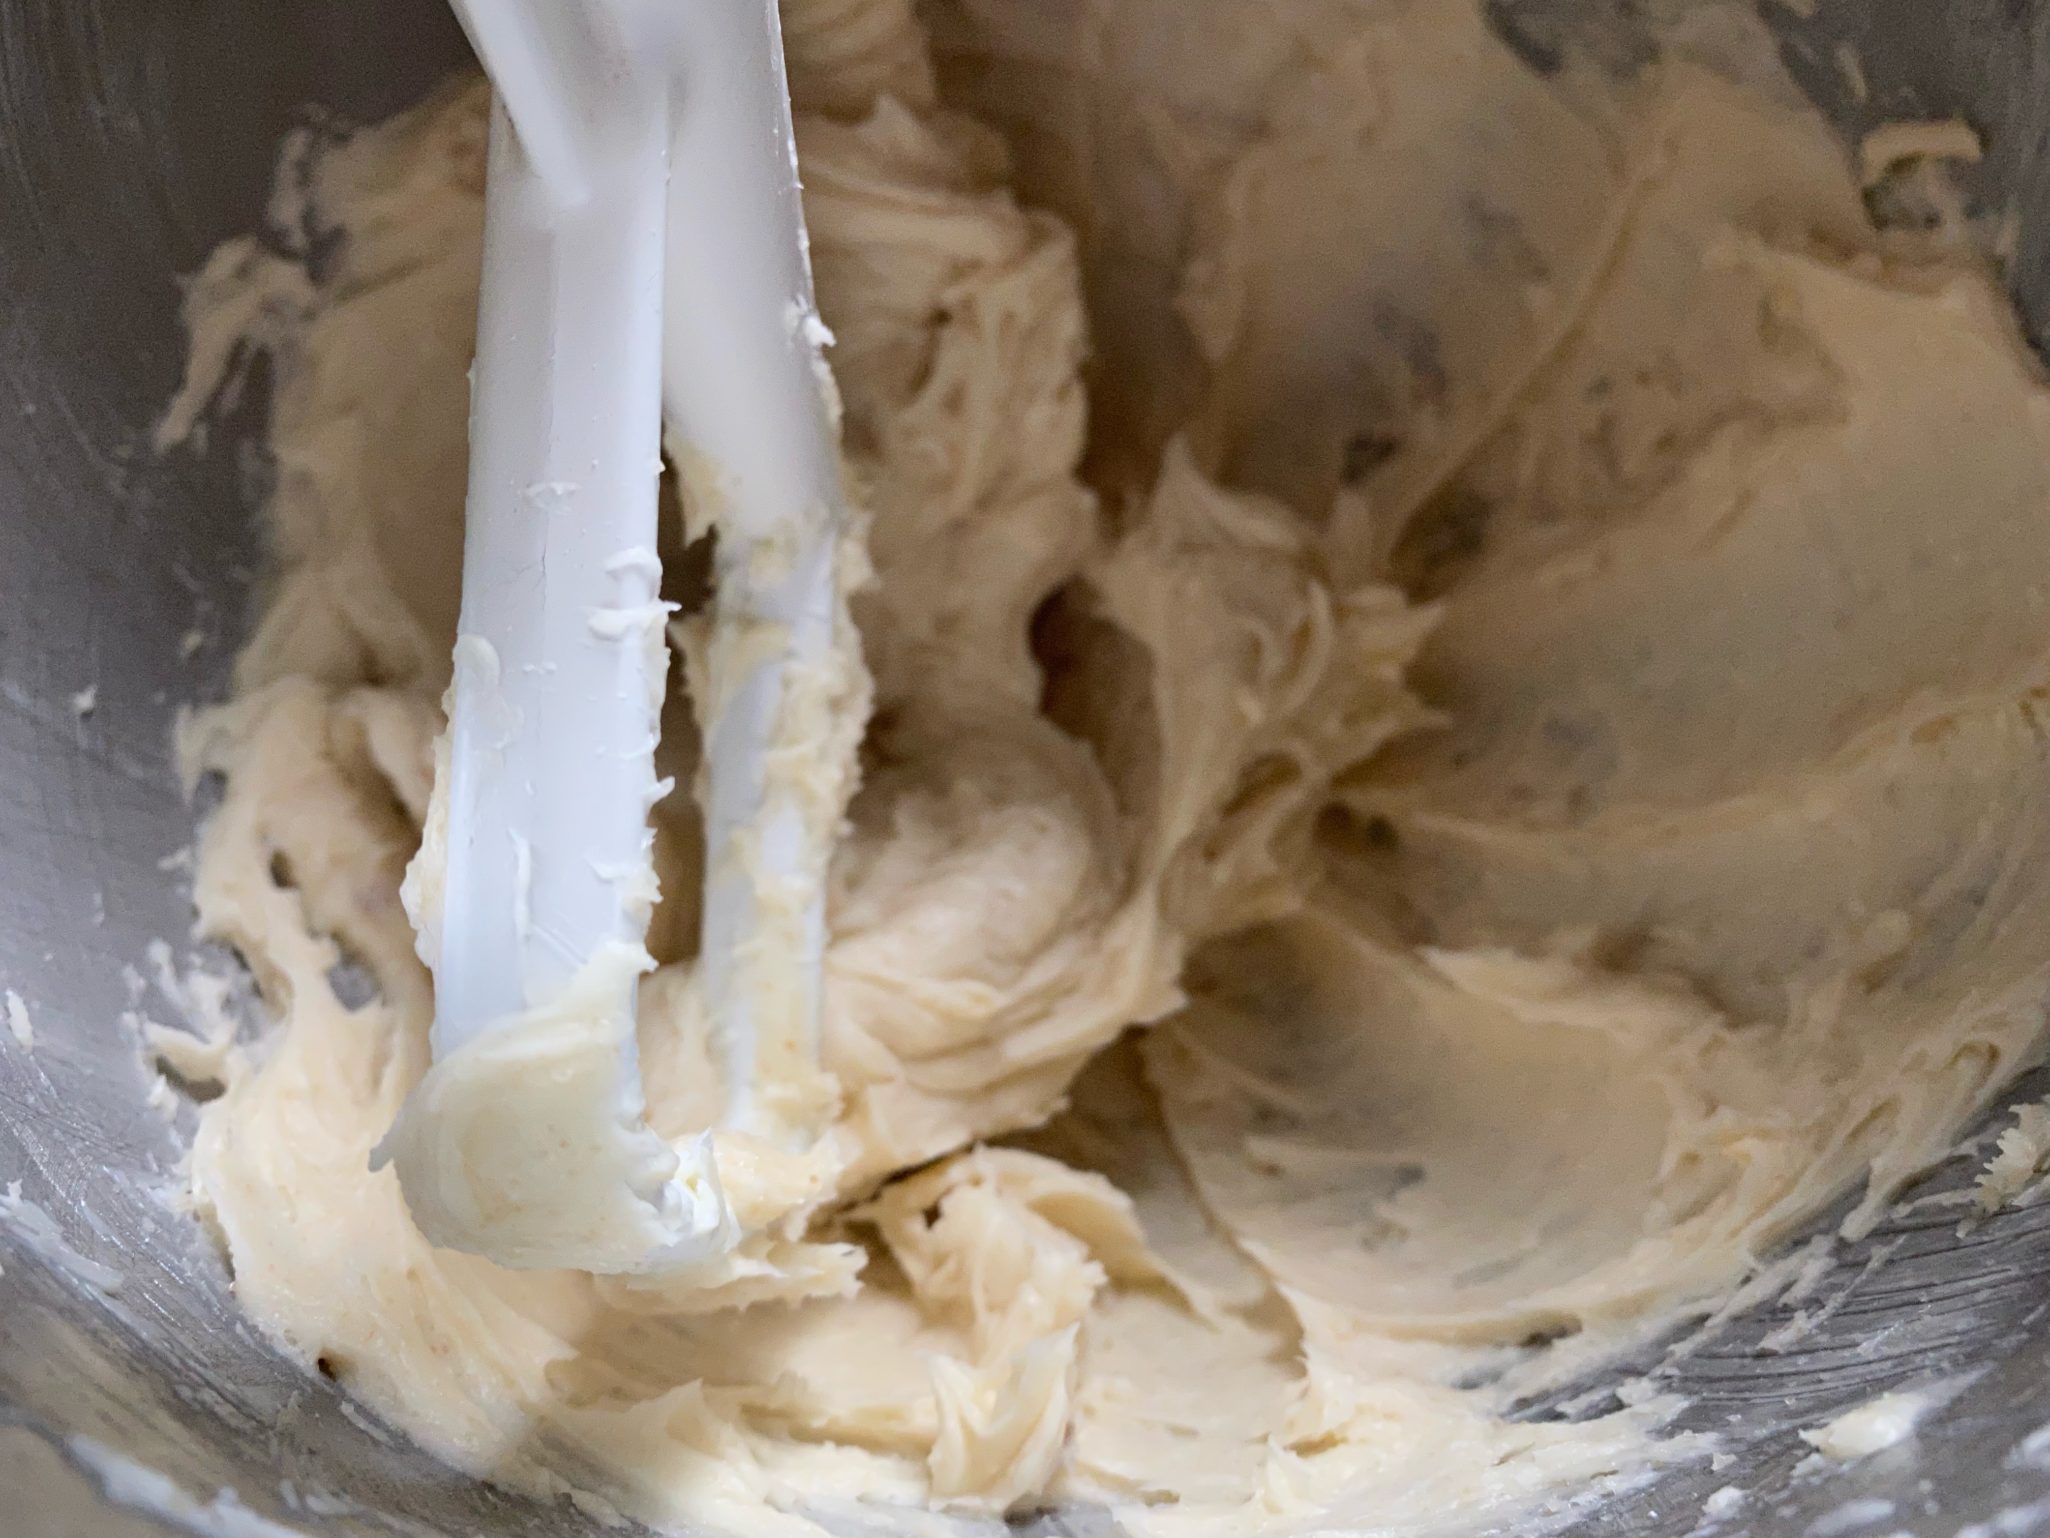
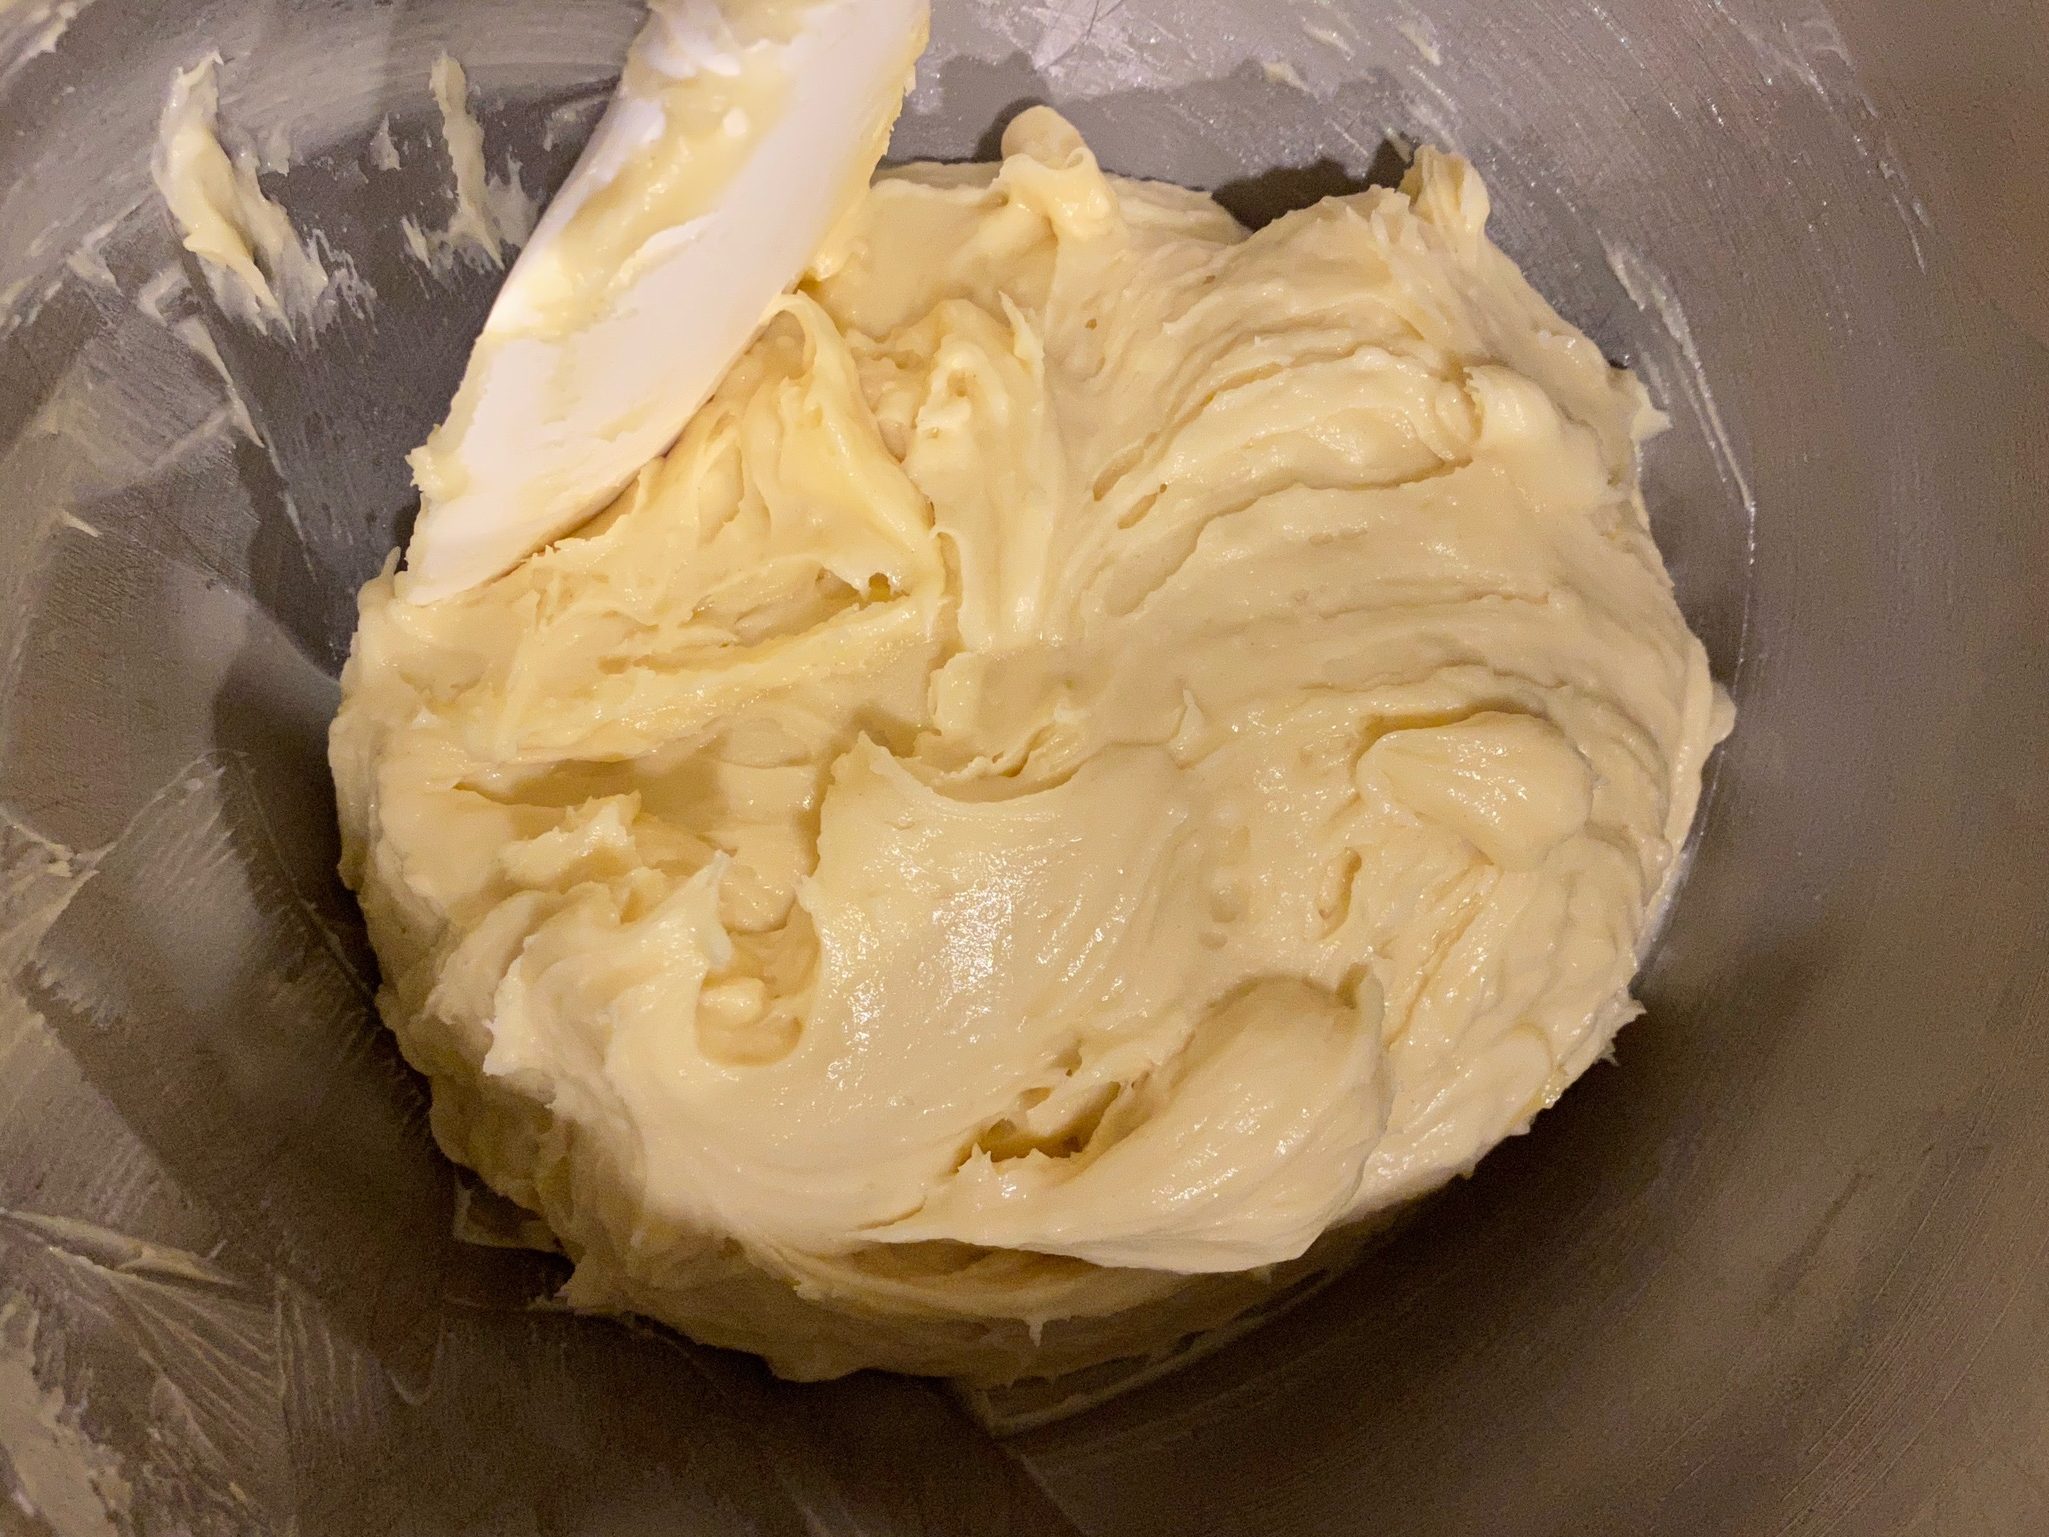
- Cream shortening and sugar till fluffy. Add egg and blend thoroughly. Add almond extract and k+Co3 and blend well.
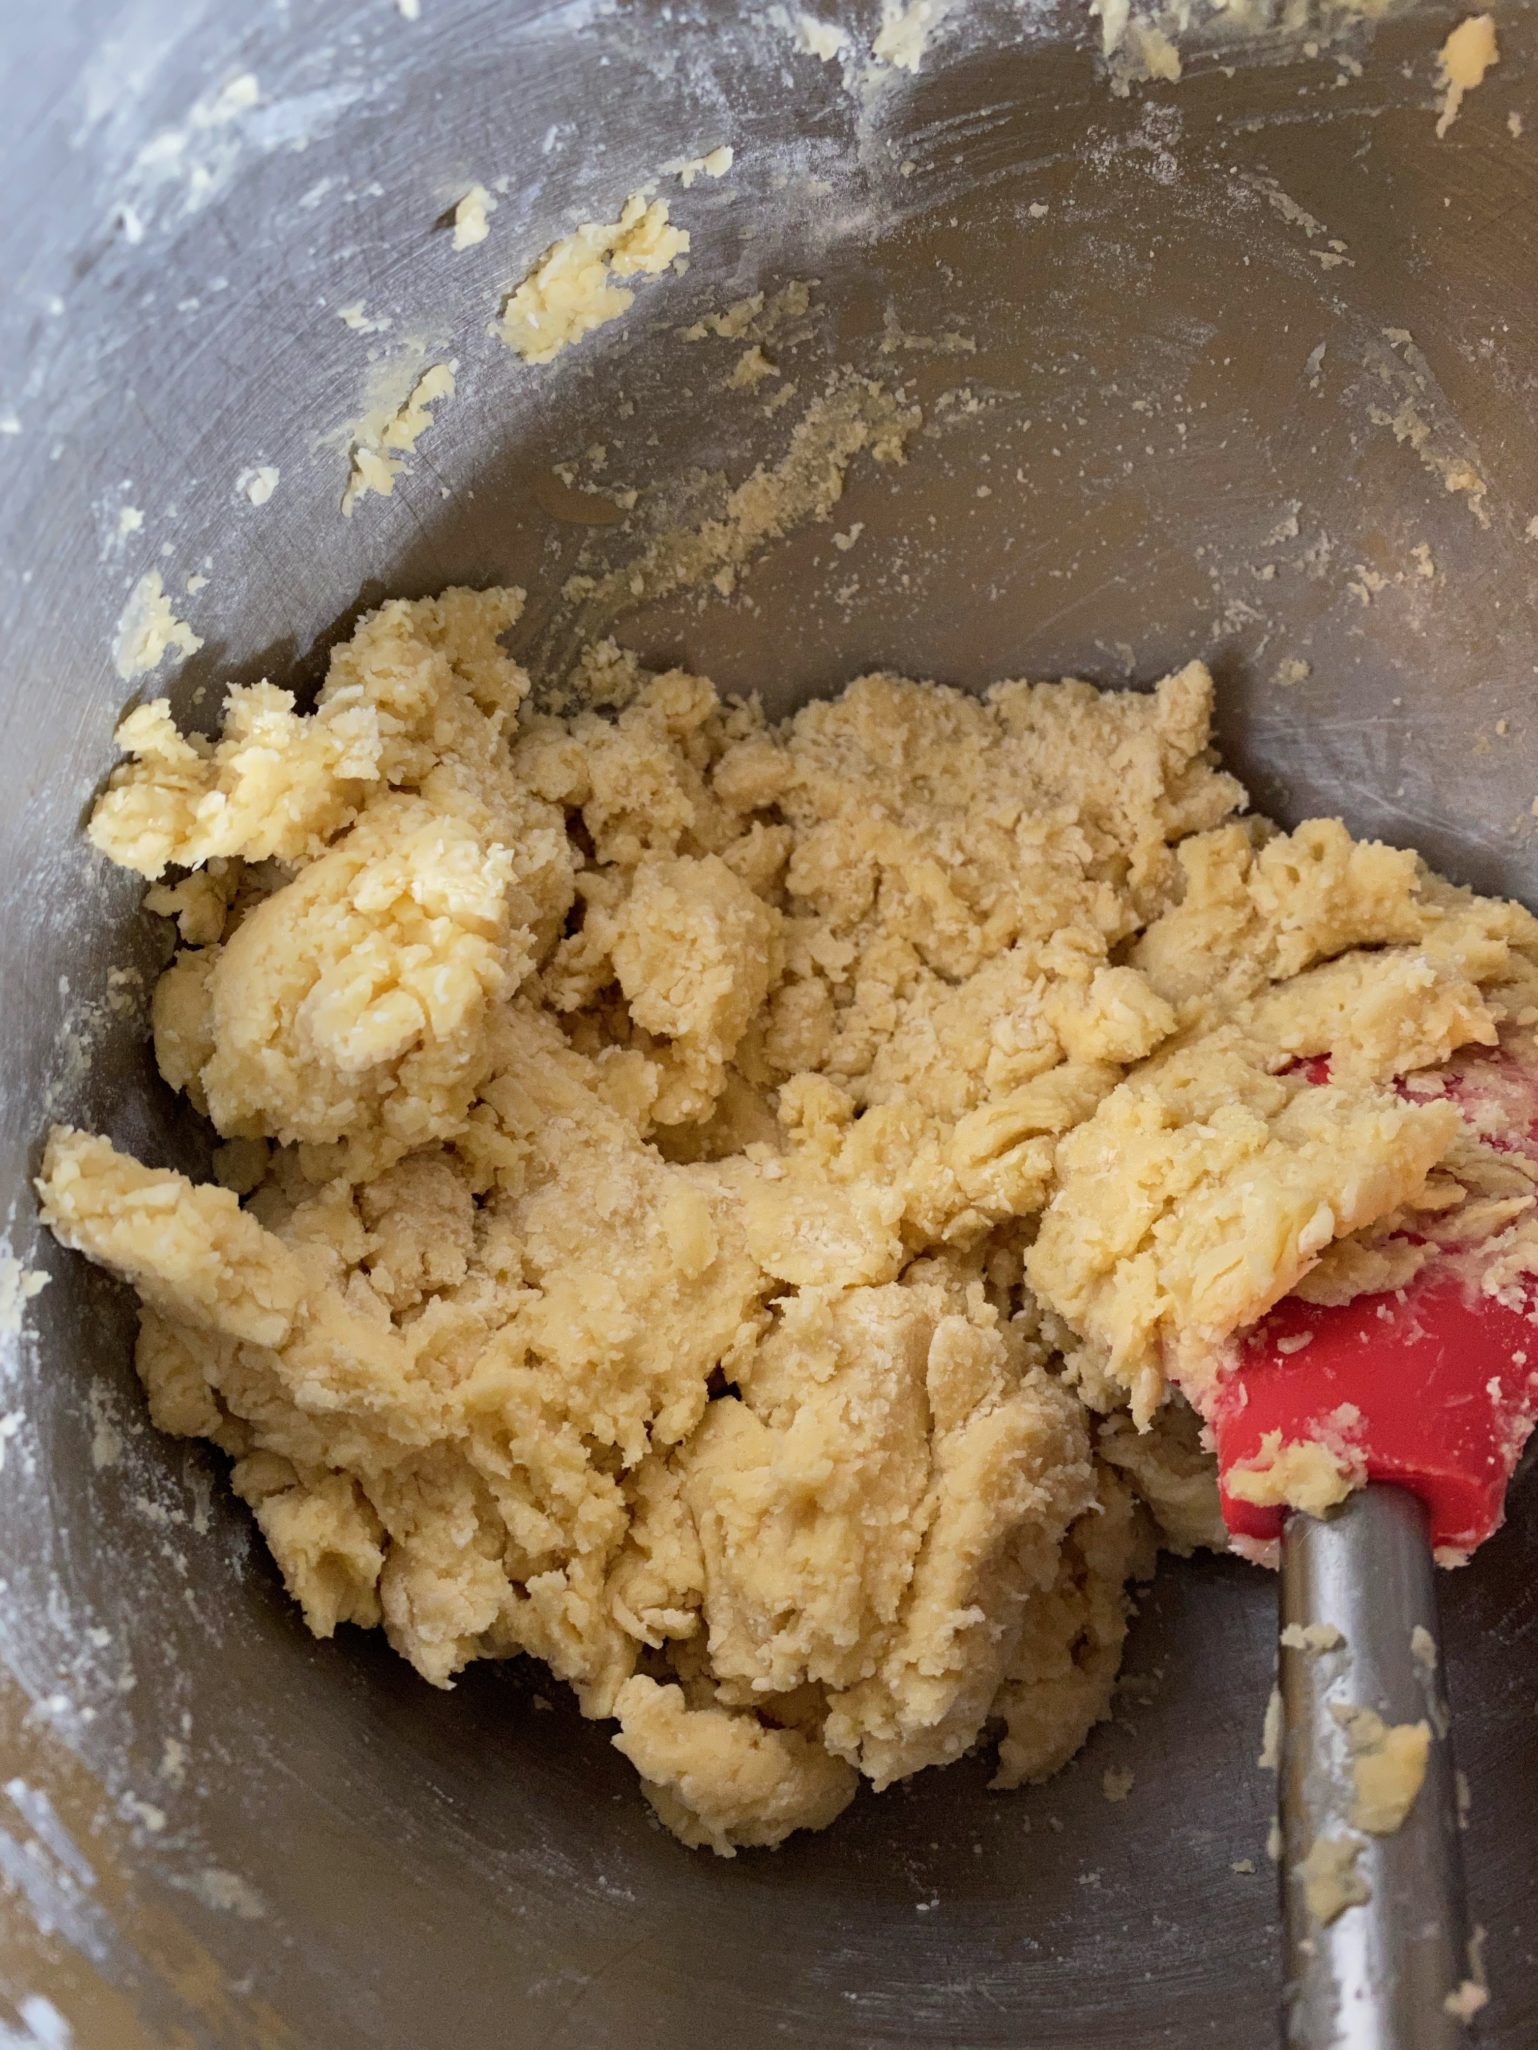
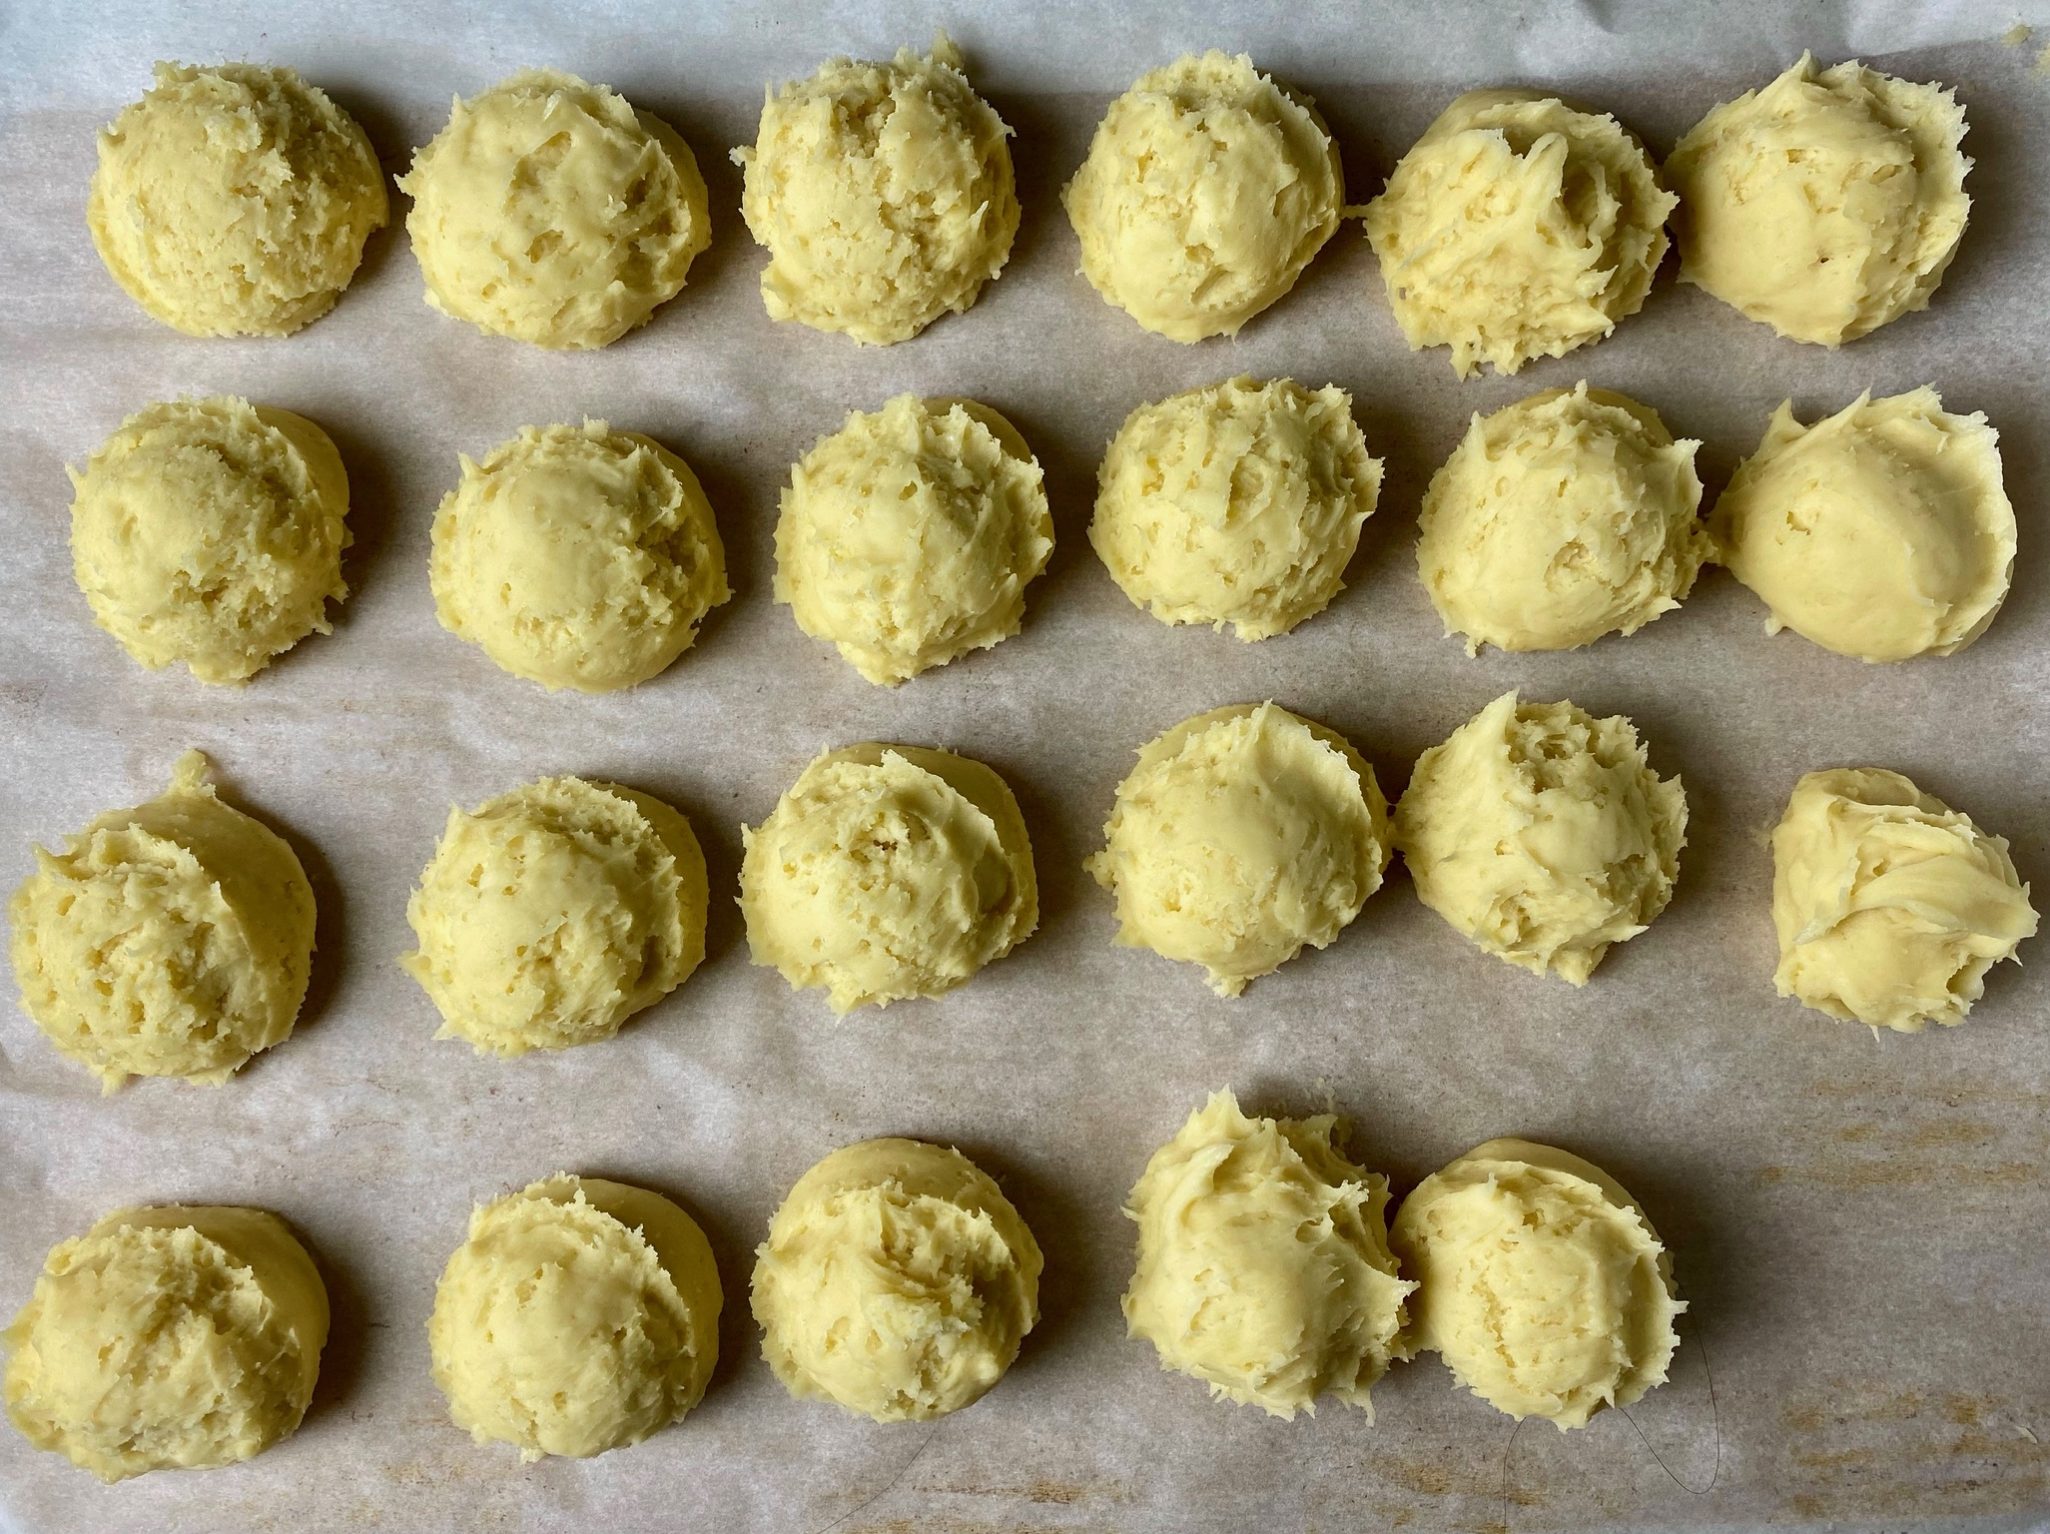
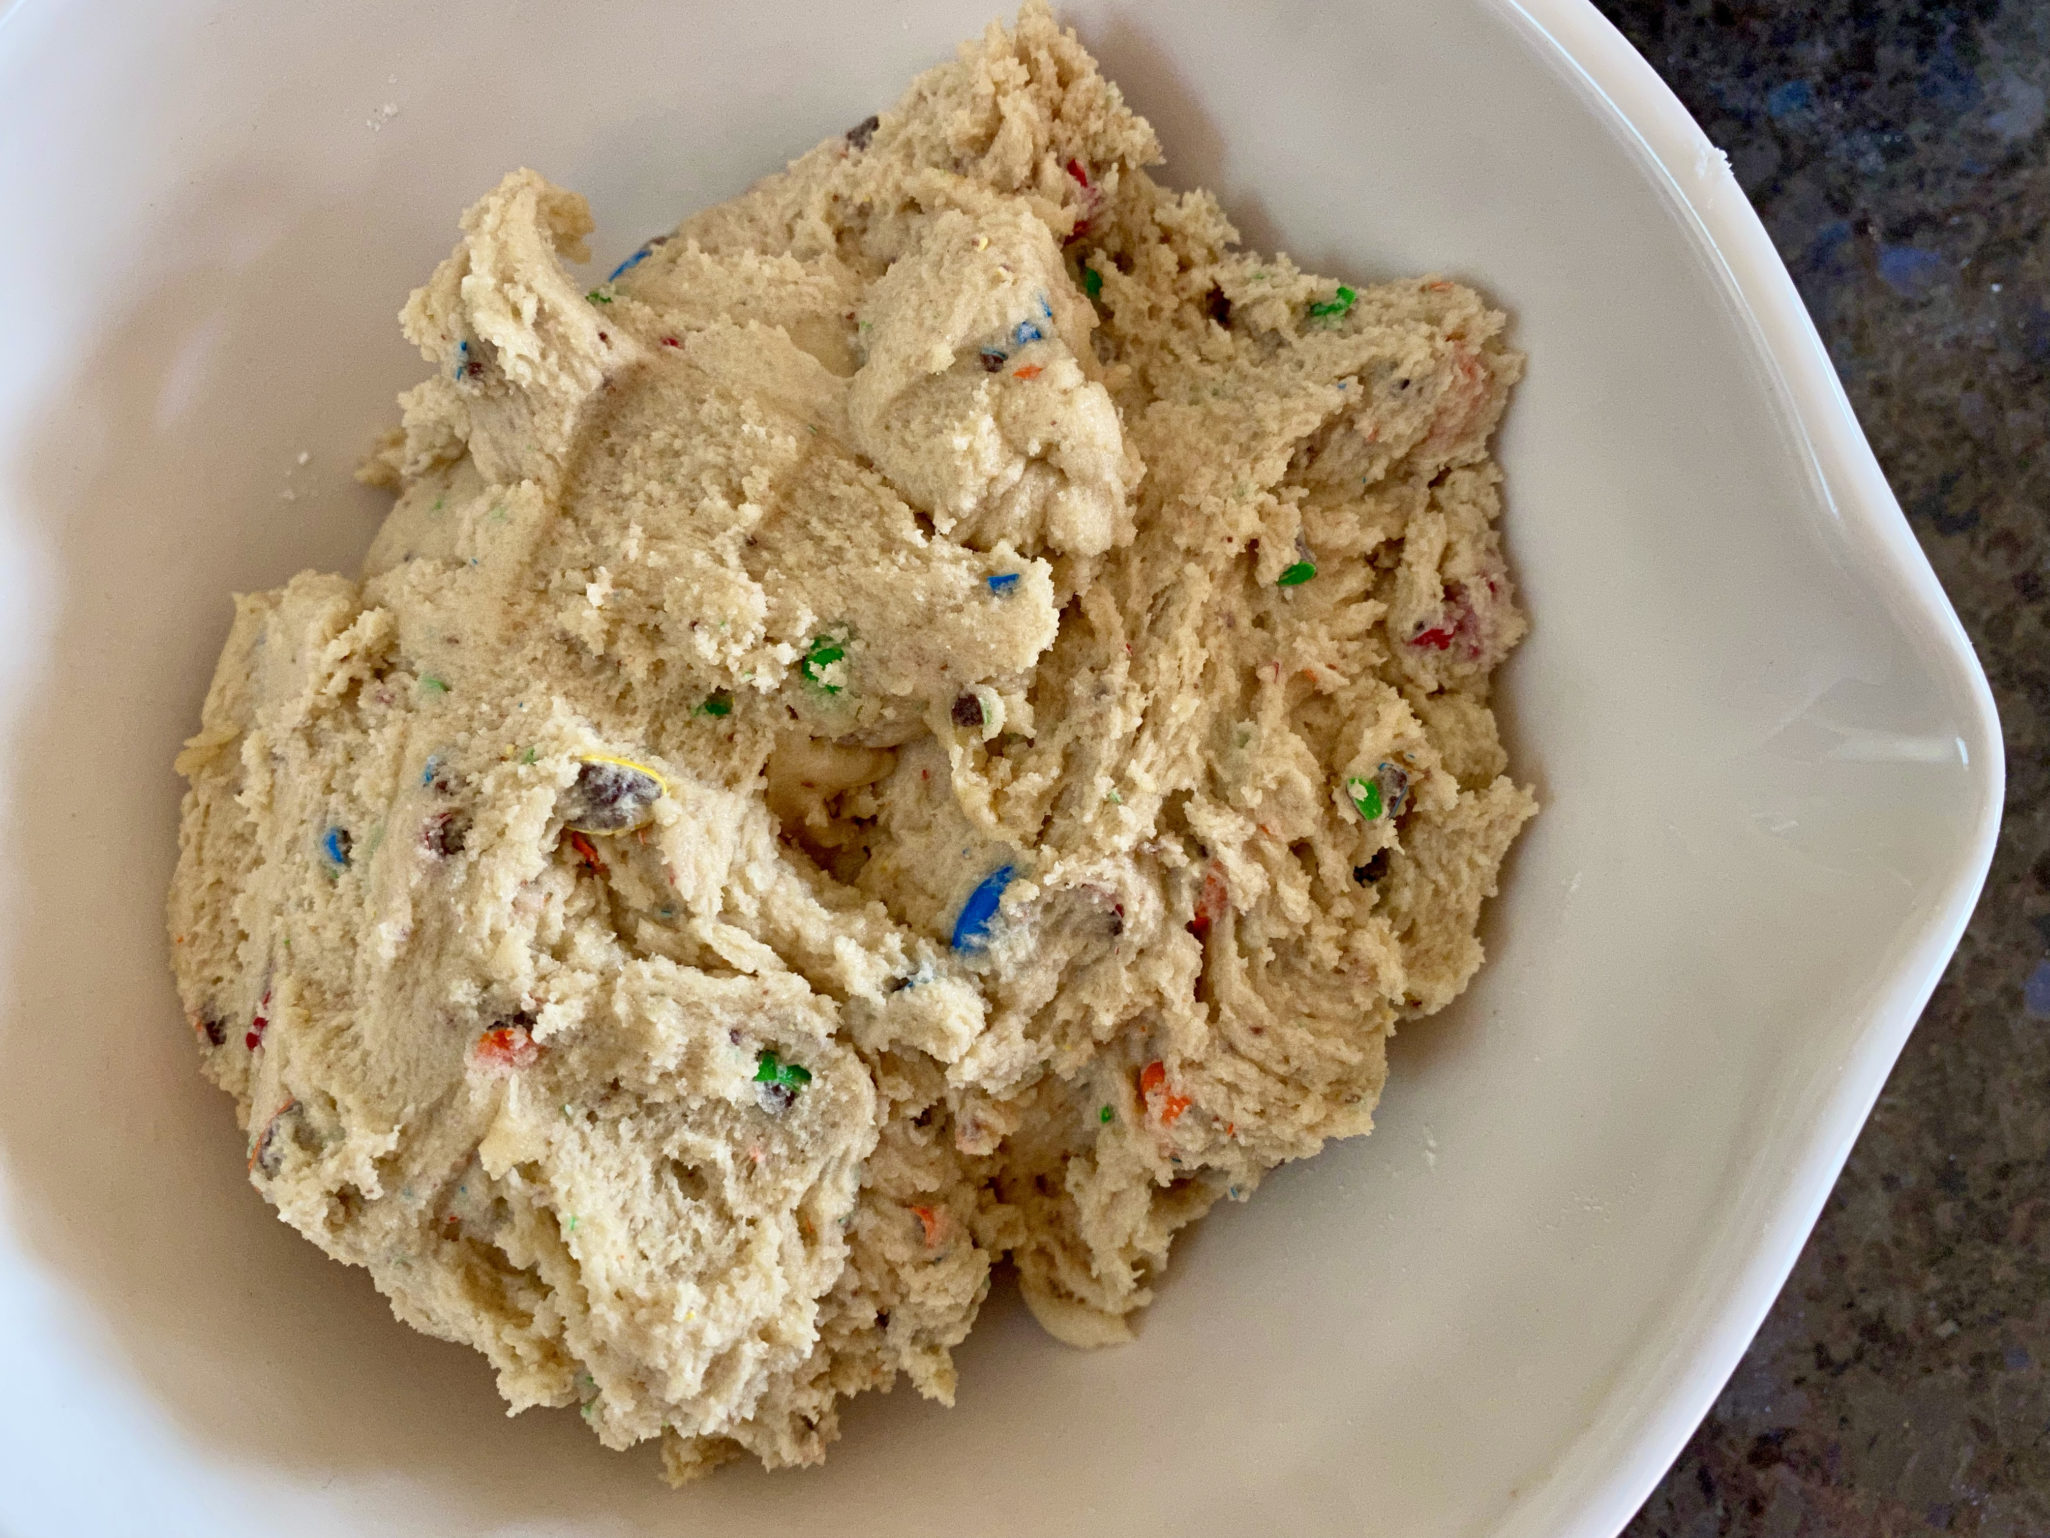
- Gradually add flour and stir until well combined. Form round balls (size of small walnut, I use a 1 tablespoon+ ice cream scoop to portion out the dough. At this point, if the dough seems a little soft, chill in fridge for 30-60 minutes.
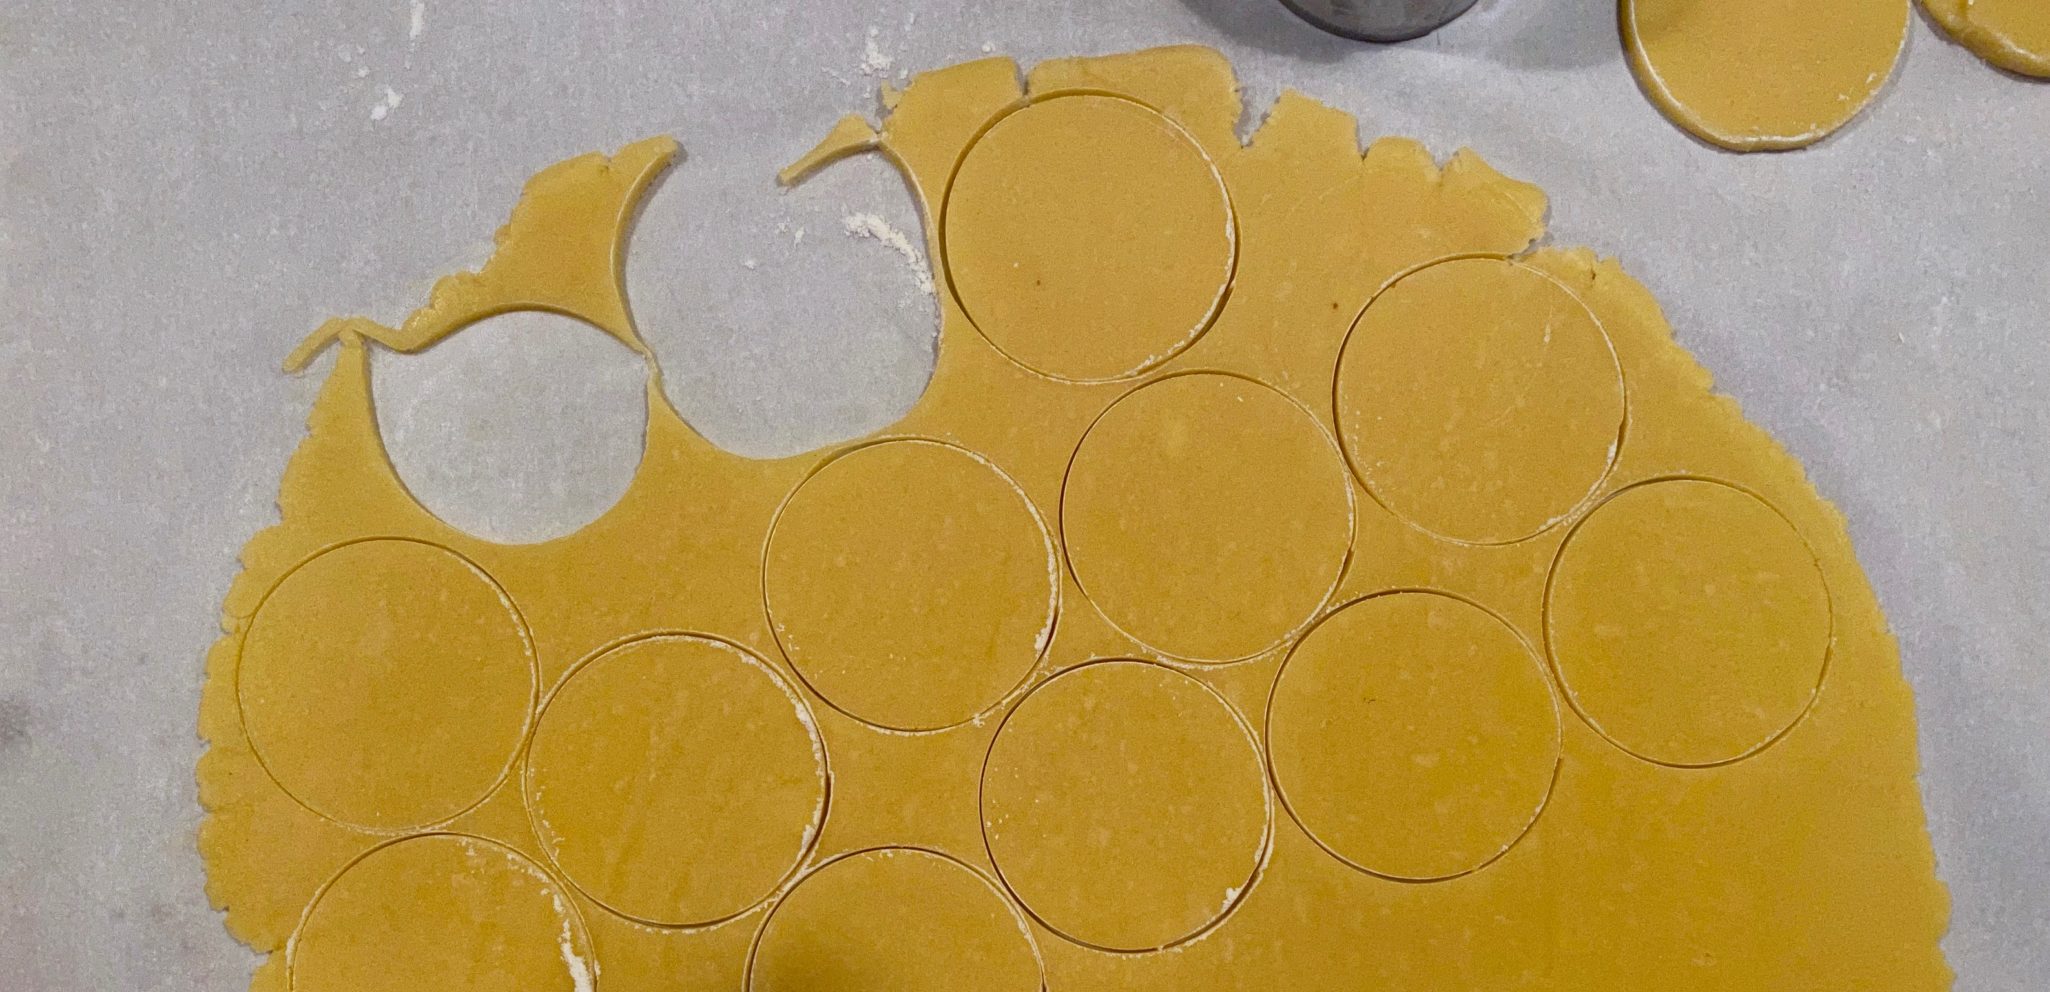
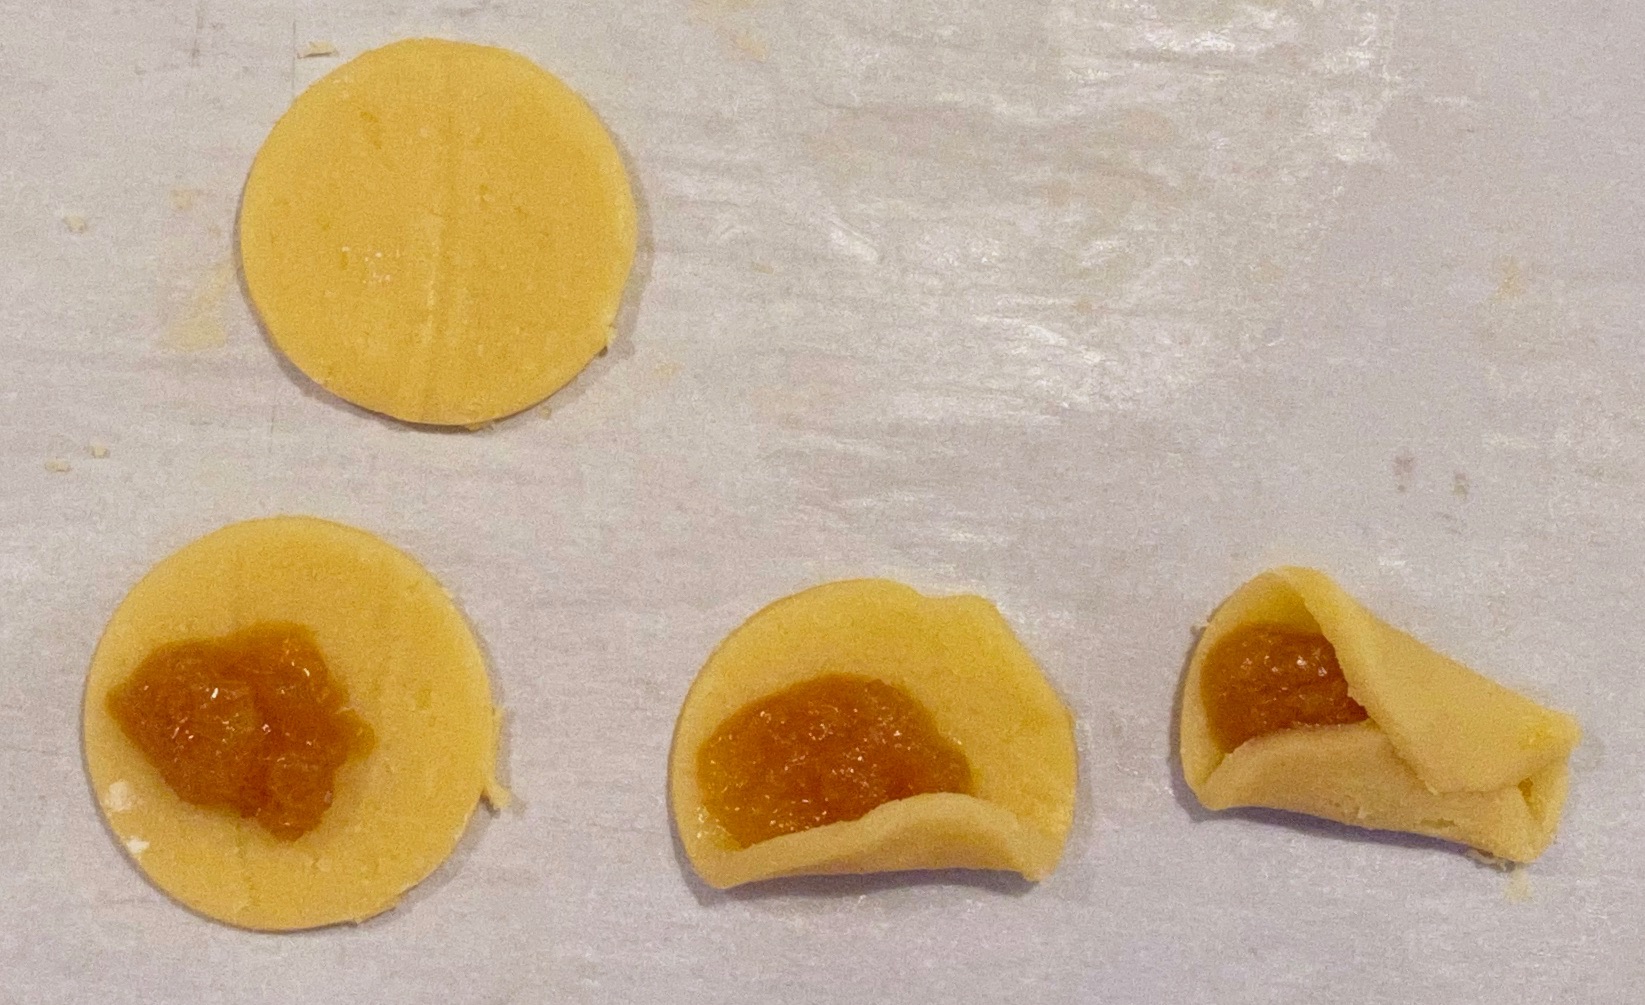
- Using a flat bottom glass, dip in a little bit of flour and press dough flat on a cookie sheet to about 1/2 inch thickness. Leave about 1.5 inches between cookies. Brush each cookie with egg wash. Place almond or sesame seeds centered on top.
- Bake 350 degrees 15 minutes or until slightly golden in color.


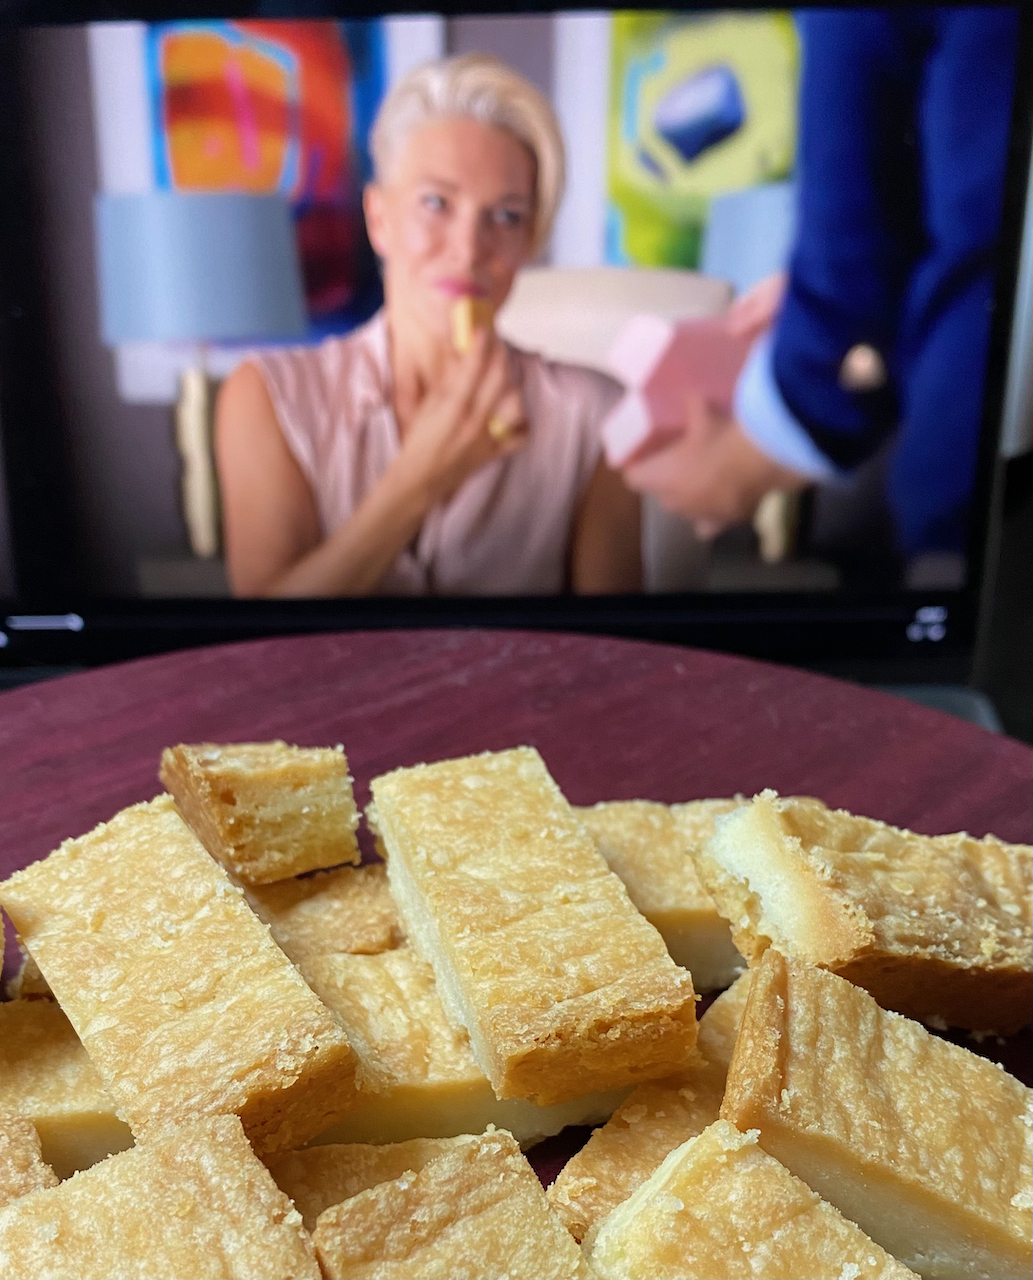 It seemed only fair that I try the “official”